Silhouette photos are incredibly powerful and eye-catching images. They add drama, mystery and interest to a photograph, emphasizing the shape of the subject. Perfect for maternity photos!
Looking to document your growing bump? This tutorial will help you take easy silhouette maternity photos from the comfort of your own home.
Looking to document your growing bump? This tutorial will help you take easy silhouette maternity photos from the comfort of your own home.

Steve and I have been together for over 10 years, and in that decade, we've taken hundreds of photos commemorating special moments and preserving memories. However, when taking photos, I am usually the one behind the camera. Sometimes I need to remember that it is also important to be the one in front of the lens - like when you are about to have a baby and want to remember your days with ‘the bump’ and your last days as a duo.
As we are on a budget, instead of hiring an expensive photography, I decided to take my own maternity photos at home with the tools I had available. I quickly realized, it is a lot easier than you would think.
Here's how you can take easy silhouette maternity photos at home.
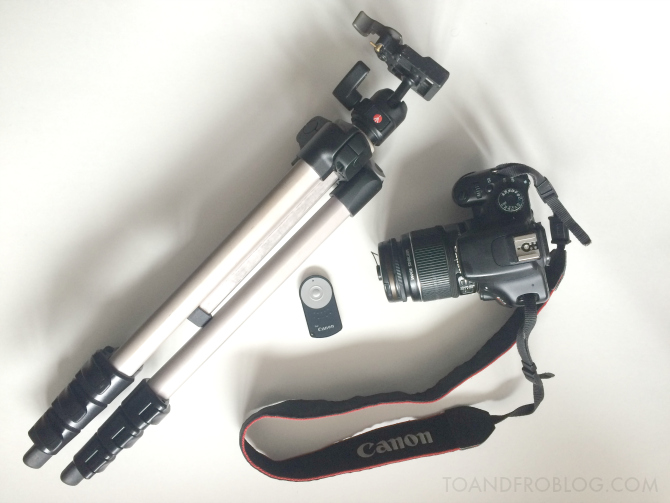
Equipment You’ll Need:
- DSLR camera
- Tripod (optional, see tips below)
- Wireless remote control shutter release
- Window with sheer curtains
- Clothing clips (or similar)
What to Wear:
- black tight fitting top (i.e. sports bra or tank top)
- black leggings
- hair with texture or shape (i.e. curled, in pony tail or messy bun)
You want your silhouette to be as simple and clean as possible. Try to wear clothes that eliminate lines and bunching. Show off those pregnancy curves!
Steps:
- Set up your camera.
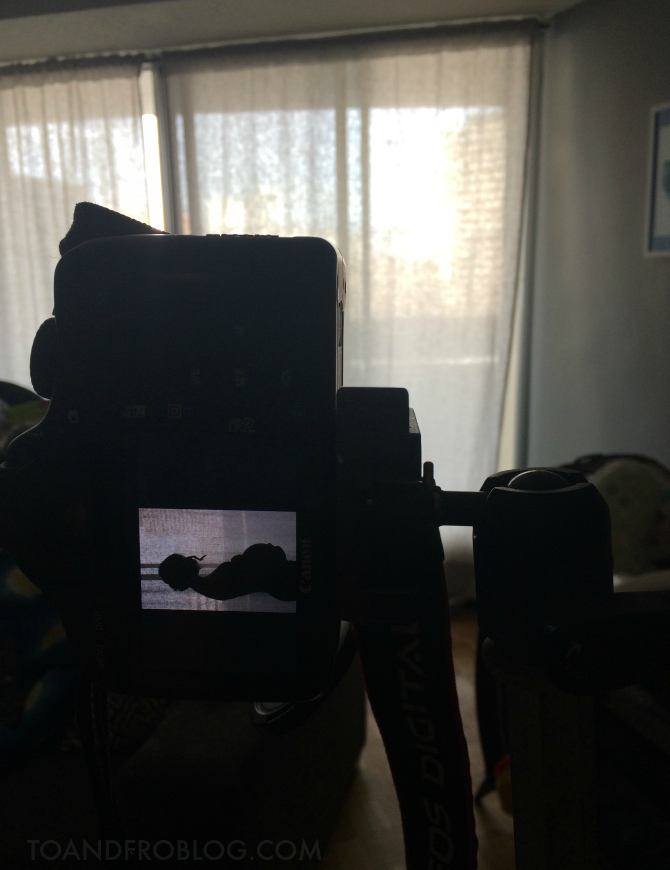
- To create a silhouette, place your subject (that's you!) in front of a light source, such as a window with sheer curtains. Remember: you always need to shoot into the light for silhouettes.
- Optional: If using a second model (aka your partner) have him/her stand in front of the window to frame your shot. Keep the frame simple, you are the focus of the photograph.
- If using your camera’s automatic setting, make sure to turn off the flash.
- Set your camera to the appropriate remote control or timer setting. If using the camera timer, make sure to give yourself plenty of time.
- Focus on the lightest part of the photo (i.e. area just above the shoulder) to set the exposure for the brightest part of the scene. By exposing the bright sky behind, the areas that are not so bright in the foreground will appear under-exposed or darker than normal, giving you a more dramatic silhouette.
- Step into the frame and strike your pose.
- With the help of the remote control, snap your shot. Make sure the remote is hidden when the camera goes off! (I used a remote shutter instead of the camera timer. I found it gave me more time to set up, and I was not rushed to 'get into position’, but it is personal preference.)
- Check your shot and adjust if needed.
Tips for Posing:
- Stand sideways and not straight on. Shooting straight on will lack detail. It looks best when you can make out the outline of limbs, faces, etc.
- Stand in a way that creates some shape to the photo (i.e. place your hands on your belly, bend a knee, etc.).
- If posing with a partner, make sure there is space between you and your partner, otherwise the silhouette will end up looking unrecognizable. Try turning sideways and facing each other.
- Do some research beforehand and create a pose list. Pinterest has a lot of great options.
Tips for Editing:
- Most of the time, silhouette photos are beautiful without any heavy editing.
- Usually a simple adjustment of brightness and contrast in your favourite editing software are all that are needed to finish the photo.
There is no right or wrong way to create a silhouette. It really comes down to personal preference. And the great thing about digital is you can take as many photos as you want to capture the perfect shot. Have fun and experiment!

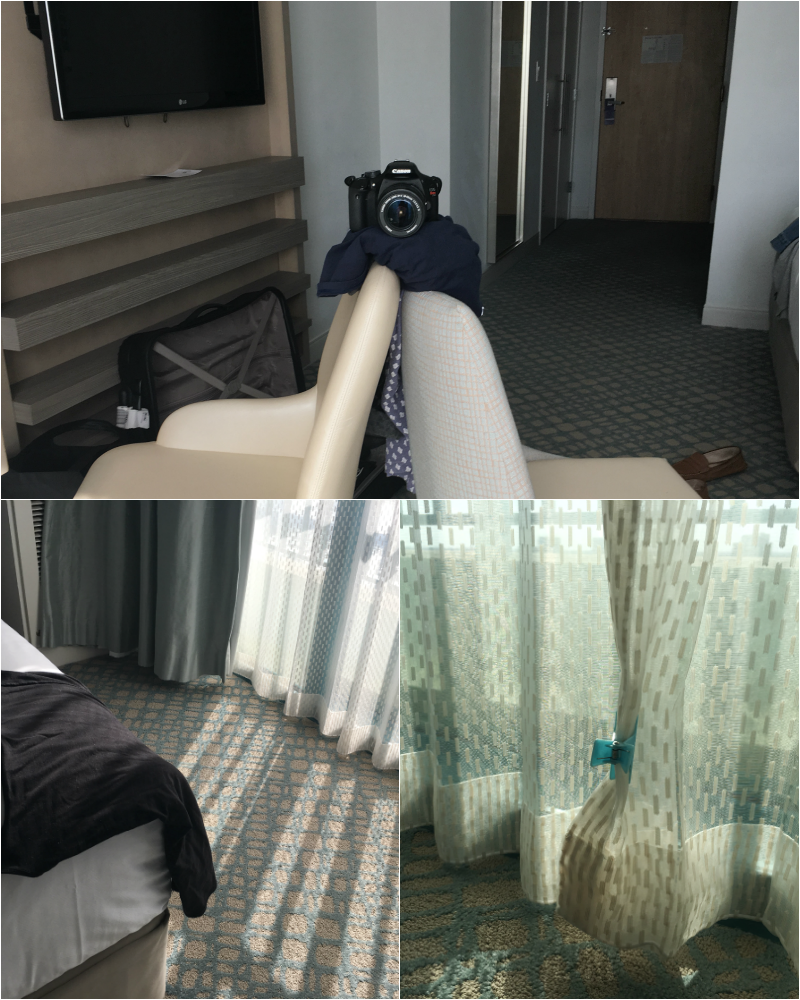
Issues You May Face:
1. If you don’t have a tripod: Instead, place two equal-height chairs back to back. Place a small pillow or folded piece of clothing, towel, etc., on top of the chair backs to help balance the camera. It doesn't have to be pretty, as long as it is balance.
2. If when reviewing your photos, you notice a reflection in the window: First, evaluate the items that are in front of you. For example, when I first started taking the photos, I noticed the reflection of something white in the window. Turns out, it was the white duvet on the bed. To minimize, either remove the item creating the reflection or cover the area with a dark item (i.e. black shirt) and it will remove the reflection from the photo.
3. If your sheer curtains won’t stay closed: Either move the frame of your shot so that it is only in front of one panel, or use a cloth clip to fasten both panels closed. Preference would be to place at the clip at the very bottom or top so that it is not in the shot. However, if the clip is placed more in the middle of the curtains, be sure that you are standing in front of it when taking your photo so that it doesn’t show.
Update: Thank you for making this one of the highest viewed posts on To & Fro! As we are now expecting baby #2, check out my newest silhouette photo documenting my growing 21 week bump.
Sometimes it is the simplest pictures that work best.
Have you ever taken your own photos to document a special time in your life?