March 12, 2021

Our Spin on the Baked Feta Pasta Recipe - BBQ Feta Pasta!


Tiger King, sourdough bread, TikTok dances and baked feta pasta. Just to name a few.

As we celebrate a year since the global pandemic began, it's hard not to look back and see what transpired over the past 365(ish) days. Including those things that went viral. 


I will admit, we binged Tiger King as fast as we could. We got a quarantine puppy. And most recently, we made the baked feta pasta recipe.

But, due to a lack of oven in our house we were forced to put our own spin on it.

So without further ado, I give to you... BBQ Feta Pasta.


A lack of oven has really forced us to get creative with what we make. And with the global pandemic and stay at home orders, we've had nothing but time to perfect our BBQ skills. Homemade pizza, Thanksgiving dinner roast, mac n' cheese, banana bread... just a few of the things that we have successfully cooked on the grill. And now, we can officially say we've 'been there, tried that' with the baked feta pasta recipe that went viral on social media. 

And we also now know just WHY it went viral on social media. It's easy to make with minimal ingredients and cooking time. A true one pot meal that your kids will LOVE. Oh ya, and it's freakin' delicious. Check out how we did it on the BBQ below.

BBQ Feta Pasta Recipe

Ingredients:

  • 2 pints cherry tomatoes
  • large chunk of feta cheese
  • 5 whole gloves garlic, smashed
  • olive oil
  • salt and pepper
  • dried italian seasoning
  • fresh basil, thinly chopped
  • pasta of your choice, cooked to al dente and drained

Directions:

  1. Turn up the BBQ burners to high.
  2. In a BBQ safe baking dish (we used a Pyrex), add cherry tomatoes. Toss in olive oil.
  3. Add feta cheese to the centre of the dish. Drizzle with olive oil, add smashed garlic cloves and salt, pepper and dried italian seasoning (amount to your liking).
  4. Once the BBQ reaches approximately 450F, turn down the centre to low. 
  5. Place the baking dish in the middle of the grill and close the lid.
  6. Allow to cook, checking every 10 minutes. 
  7. While tomatoes and cheese are cooking, thinly slice the basil.
  8. Cook the pasta to al dente.
  9. At approximately 30 minutes, turn off the BBQ. Mix the tomatoes and cheese. Add the pasta and mix until combined. Sprinkle with fresh basil.
  10. Enjoy!

>> For more details on how we made this recipe on the BBQ, hop over to my Instagram and check out this Reel


Tell me - what quarantine trends were your favourite? What were your least favourite? Have you tried the baked feta pasta?


PIN IT

SHARE:

January 14, 2021

Easy Make-at-Home Miso Soup Recipe

What do you think of when you think 'soup'? For me, it's warming up after a snowy adventure outdoors with the family. The ultimate comfort food. 

If you're looking for a new soup recipe to try (but also one that's super easy), check out this Easy Make-at-Home Miso Soup Recipe. All it takes is five minutes and minimal ingredients!

Easy Make-at-Home Miso Soup Recipe

There's nothing more comforting than a steaming bowl of soup and the smell of warm broth that warms you up. It's the ultimate comfort food. 

I'm a big fan of miso soup. I don't know if it's the saltiness (no sweet tooth here) or the fact that right after I finish a bowl, I'm typically going to mow down a huge meal of sushi. If only I were kidding...

All-you-can-eat sushi aside, while I knew miso soup was a winner from the first time that I tried it, what I didn't know was how EASY it is to make at home. 

If you're looking for a new soup recipe to try (but also one that's super easy), check out this Easy Make-at-Home Miso Soup Recipe. All it takes is five minutes and minimal ingredients!

Easy Make-at-Home Miso Soup Recipe

Easy Make-at-Home Miso Soup Recipe

Ingredients:

  • 4 cups low sodium broth (can be vegetable or chicken)
  • 1 sheet of nori, cut into rectangles
  • 1/2 cup medium-firm tofu, cubed
  • 1/2 cup green onions, chopped
  • 3-4 tbsp. miso paste

Directions:

  1. Bring 4 cups of broth to a low simmer.
  2. While broth is simmering, add 3-4 tablespoons of miso paste into a small bowl. Add a small bit of hot water and stir to combine. Miso should now be a 'creamy' consistency.
  3. Once the brother is simmering, add the miso and whisk to combine.
  4. Gently add the tofu and green onion and simmer for five minutes. 
  5. Once done simmering, add the nori pieces. 
  6. Remove from heat and taste. Add more miso if desired.

For those unfamiliar with miso soup or Japanese cuisine, nori is an edible seaweed, eaten either fresh or dried in sheets (think the green 'papery' stuff wrapped around sushi). Miso is a paste made from fermented soybeans and barley or rice malt. It can be white, red or a combination of the two. The taste of the miso depends on how long it is fermented - red miso is fermented longer and has strong, saltier flavour, whereas white miso is fermented for a shorter period and has lighter, sweeter flavour. 

In this recipe, I used red miso as it was all that I could find at my local grocery store. In the past, I have used white miso and it tastes just as good. Although, I am partial to the saltier flavours. Miso is also great to use in salad dressings, sauces (such as this Miso Ginger Sauce) and marinades!

Easy Make-at-Home Miso Soup Recipe

Ok, so this miso soup recipe may not be your traditional miso soup made with dashi (Japanese fish stock prepared with kombu, dried seaweed and dried bonito fish flakes), BUT for this soup lover, it's a welcomed substitution. And an easy one to make at that. (If only it's muted colours were as easy to photograph...)

If you enjoy soup as much as I do, check out these delicious recipes:

Please share - what is your favourite soup recipe? I'm always looking for new ones so I'd love to hear!

PIN IT

easy make at home miso soup recipe


SHARE:

September 28, 2020

How We’re Helping the Environment this School Year


There are many things that you can do to help reduce your environmental impact during the school year, and beyond. Today we’re sharing 5 ways that we’re helping the environment this school year, including an exciting new partnership between Babybel and TerraCycle!


How We’re Helping the Environment this School Year

How We’re Helping the Environment this School Year

Getting Outdoors

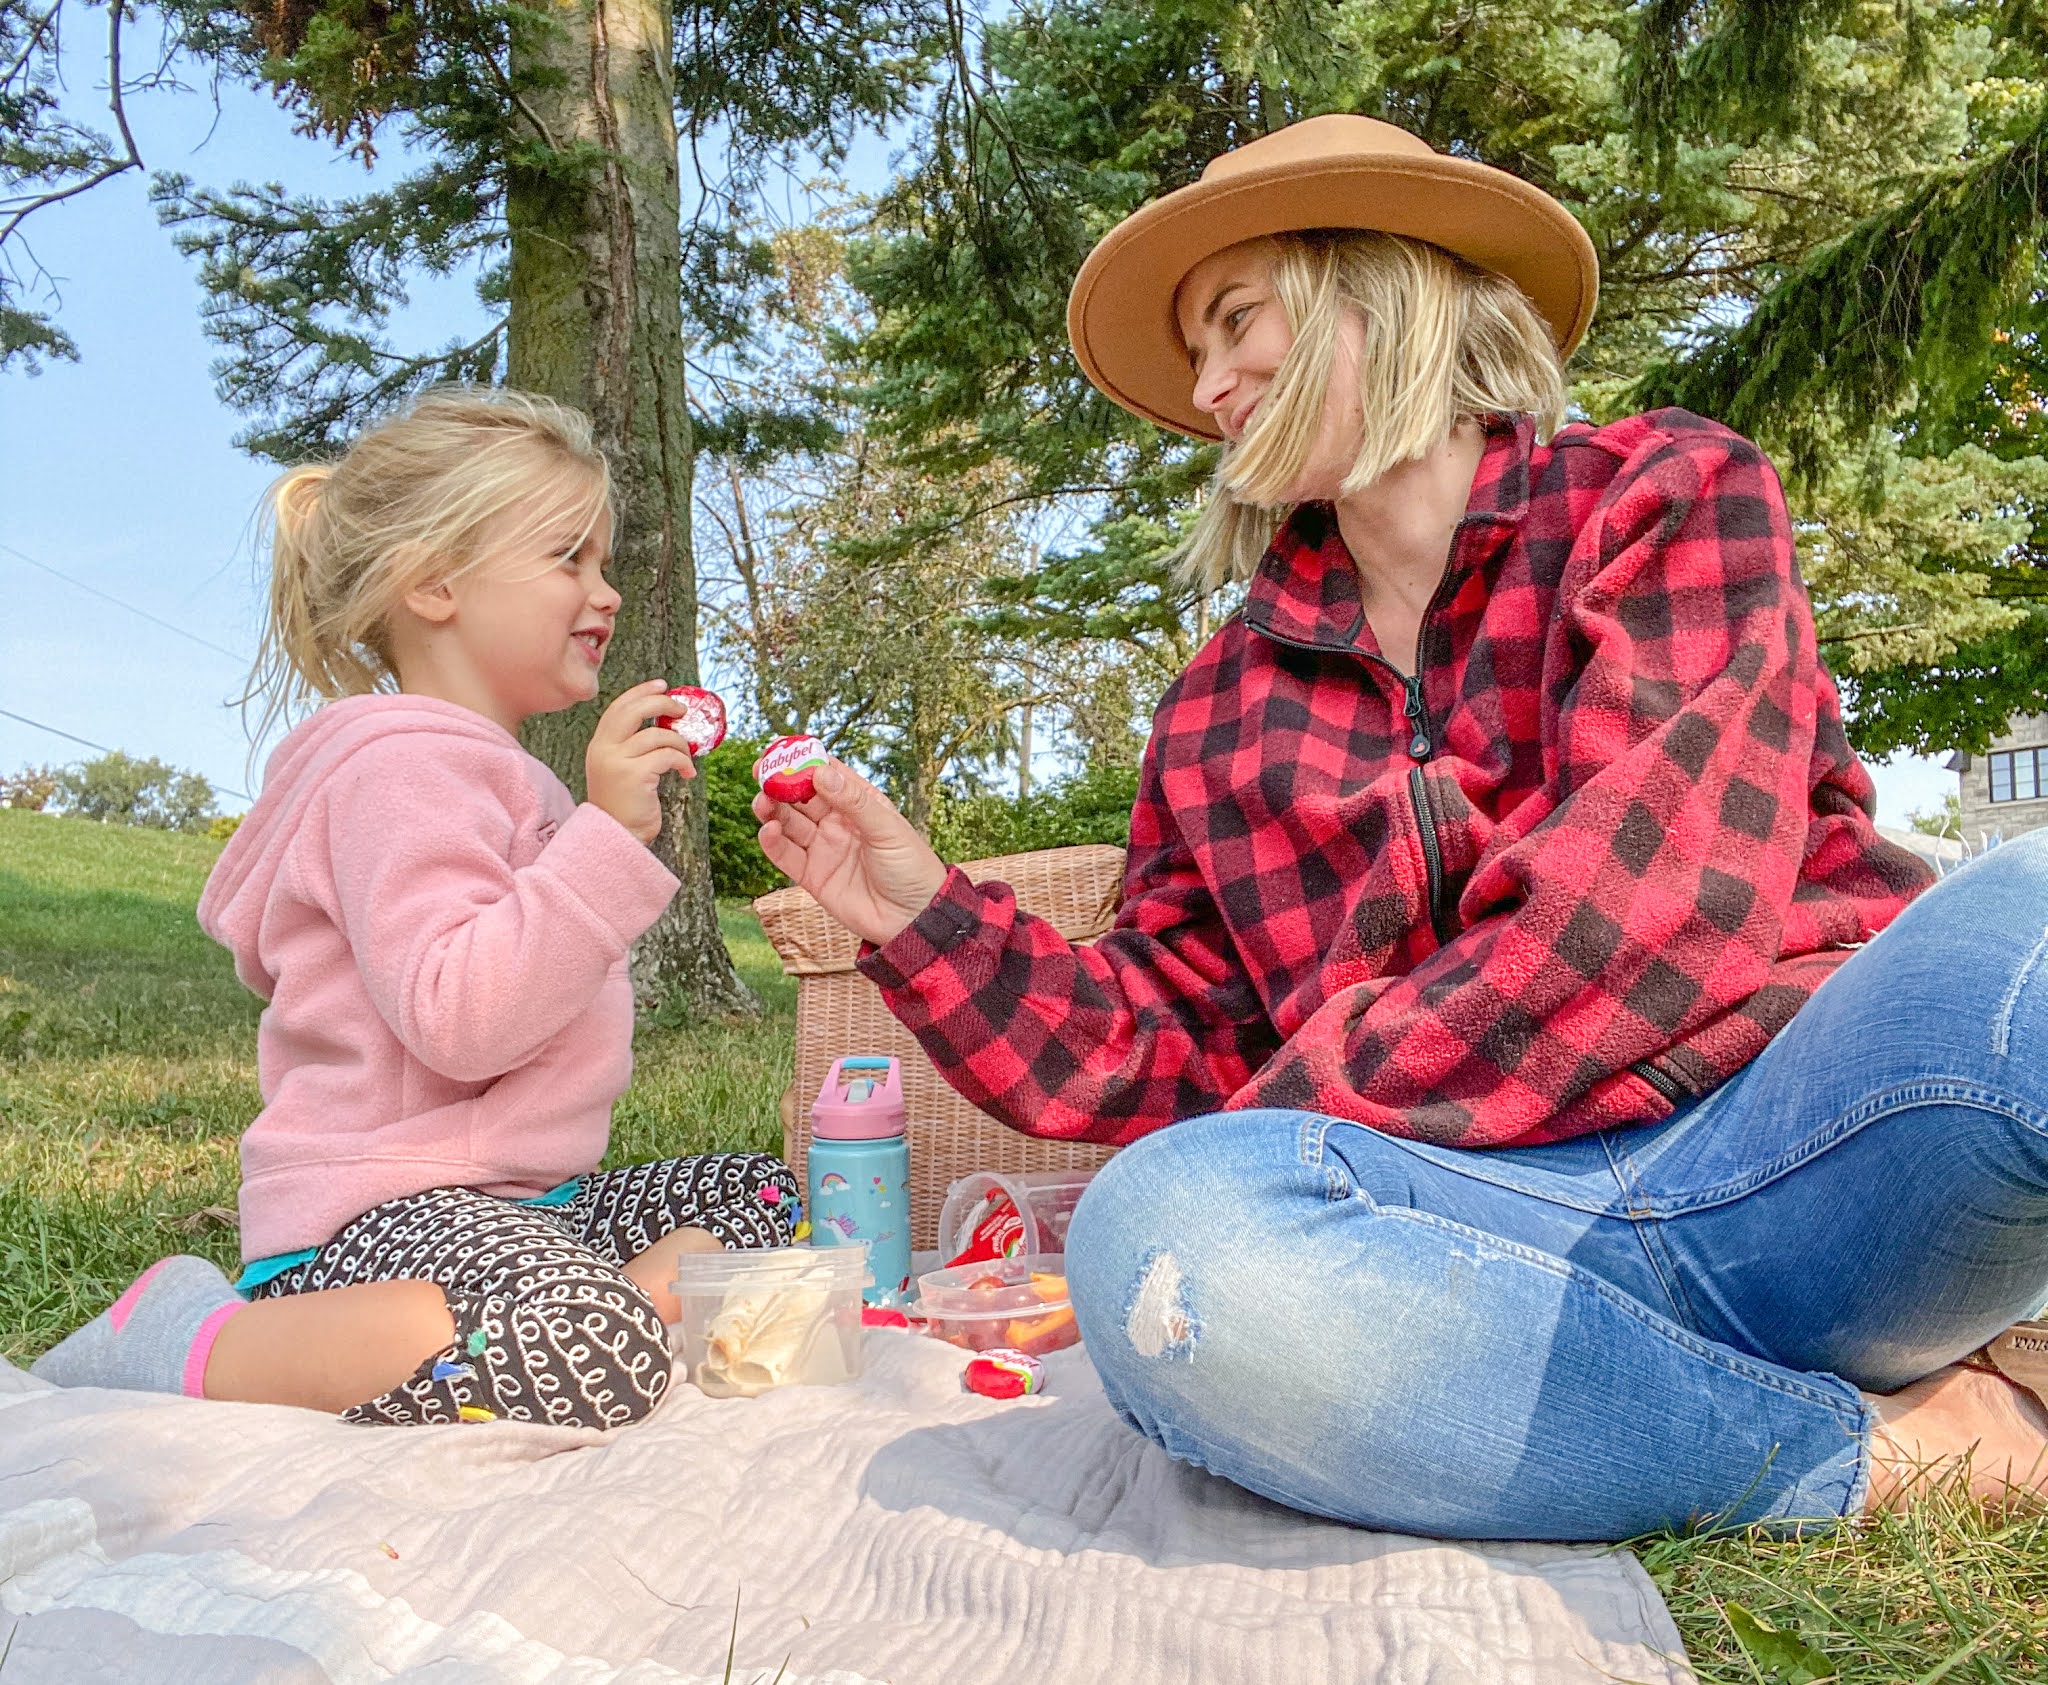
The first step is creating children that care for the environment is getting outside and connecting them with nature. If they have a connection with the environment, then they are more likely to care for it. Whether it is a hike on a local trail, a trip to the beach or even a picnic in your local green space, getting outside will help to solidify that connection and, overall, help to protect the environment. Remember, this doesn’t need to stop when the school year ends - it’s important to get outside all times of there year. Especially as there are proven physical and mental health benefits to getting outdoors as well. 

Pack Litter-less Lunches

On average, a school-age child with a disposable lunch generates about 30 kg of waste per school year. That’s more than my kindergartener weighs! It also means that if there are 25 students in a class, they are producing 737 kg of waste each year. And that number only gets bigger as you look at the rest of the school, and beyond. 


By taking a litter-less lunch, you produce 89 per cent less waste. Not to mention, litter-less lunches also often mean healthier (think fresh cut fruits and veggies) and saving money.


How We’re Helping the Environment this School Year

Use Reusable

A big part of going litter-less is using reusable containers for lunch, such as bento boxes, bamboo utensils and refillable water bottles. Ditch the single use plastics.


This school year, another thing that you can include in your child’s backpack that is reusable are fabric masks.


How We’re Helping the Environment this School Year

Support Local

By supporting local you are not only helping to boot the local economy, but you are also reducing the distance that many products need to travel. Products that travel greater distances to reach consumers may not be as fresh, and contribute to greater carbon emissions from the vehicles they are travelling. Opt for locally grown, raised and produced products, such as fruits, veggies and meat.


How We’re Helping the Environment this School Year

Recycle

Reducing the amount of litter you create is extremely important, but so is recycling those materials that are recyclable. Oftentimes, what can be recycled may differ between providers and cities, so be sure to check with your local municipality to see what can be recycled in your home.


In addition to curbside recycling, take advantage of alternative recycling programs, like TerraCycle!


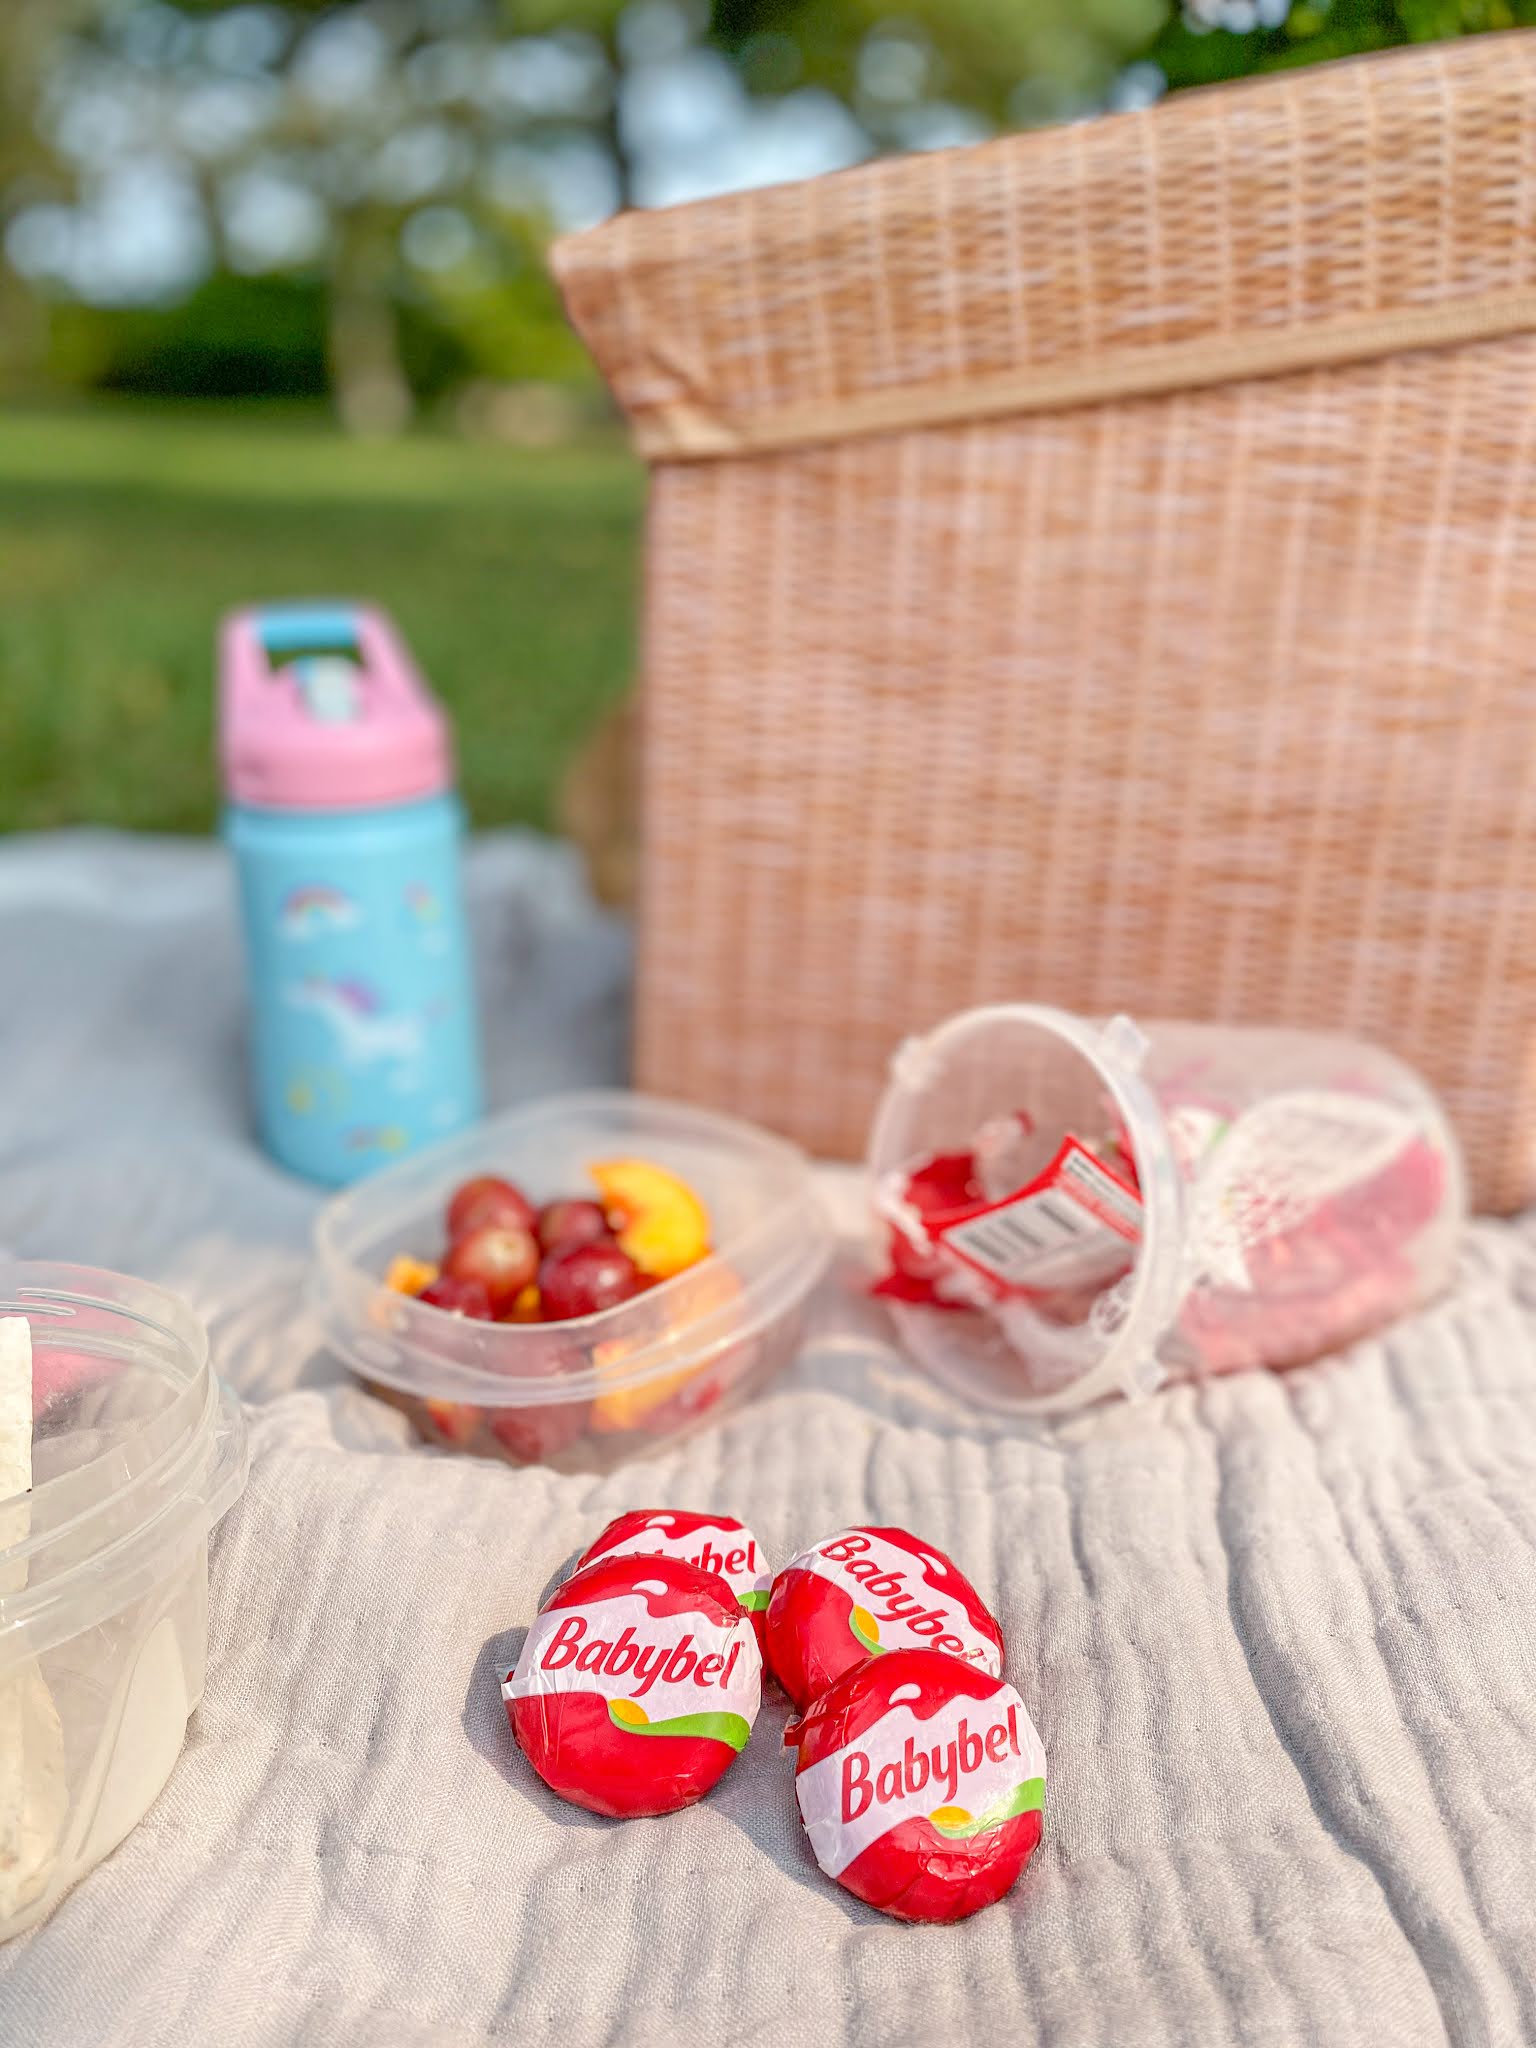
Babybel has partnered with TerraCycle to reduce the amount of waste going to landfill. Now, all Babybel packaging (for all the different varieties and formats), such as cellophane, tag, net, metal clasps, wax, and plastic wrappers can be recycled! This partnership is Babybel’s first step towards becoming more environmentally-friendly. 


Participating is simple and free,

  1. Start by signing up for TerraCycle’s free recycling program.
  2. Keep all the nets, tags, metal clasps, cellophane wrappings and wax in a box.
  3. Once your box is full, seal it tightly, print a prepaid label and mail your recyclables to TerraCycle for free.
  4. For every box of recyclable material that you mail, you will earn points that can be converted into donations to the charitable organization of your choice.

How We’re Helping the Environment this School Year

What happens to the materials, you ask? The cellophane, nets and tags are used to make other plastic items. The metal clasps are separated from the tags and then melted to make joints, nuts and bolts. After being melted and filtered to remove any impurities, the wax can be used to make new candles.


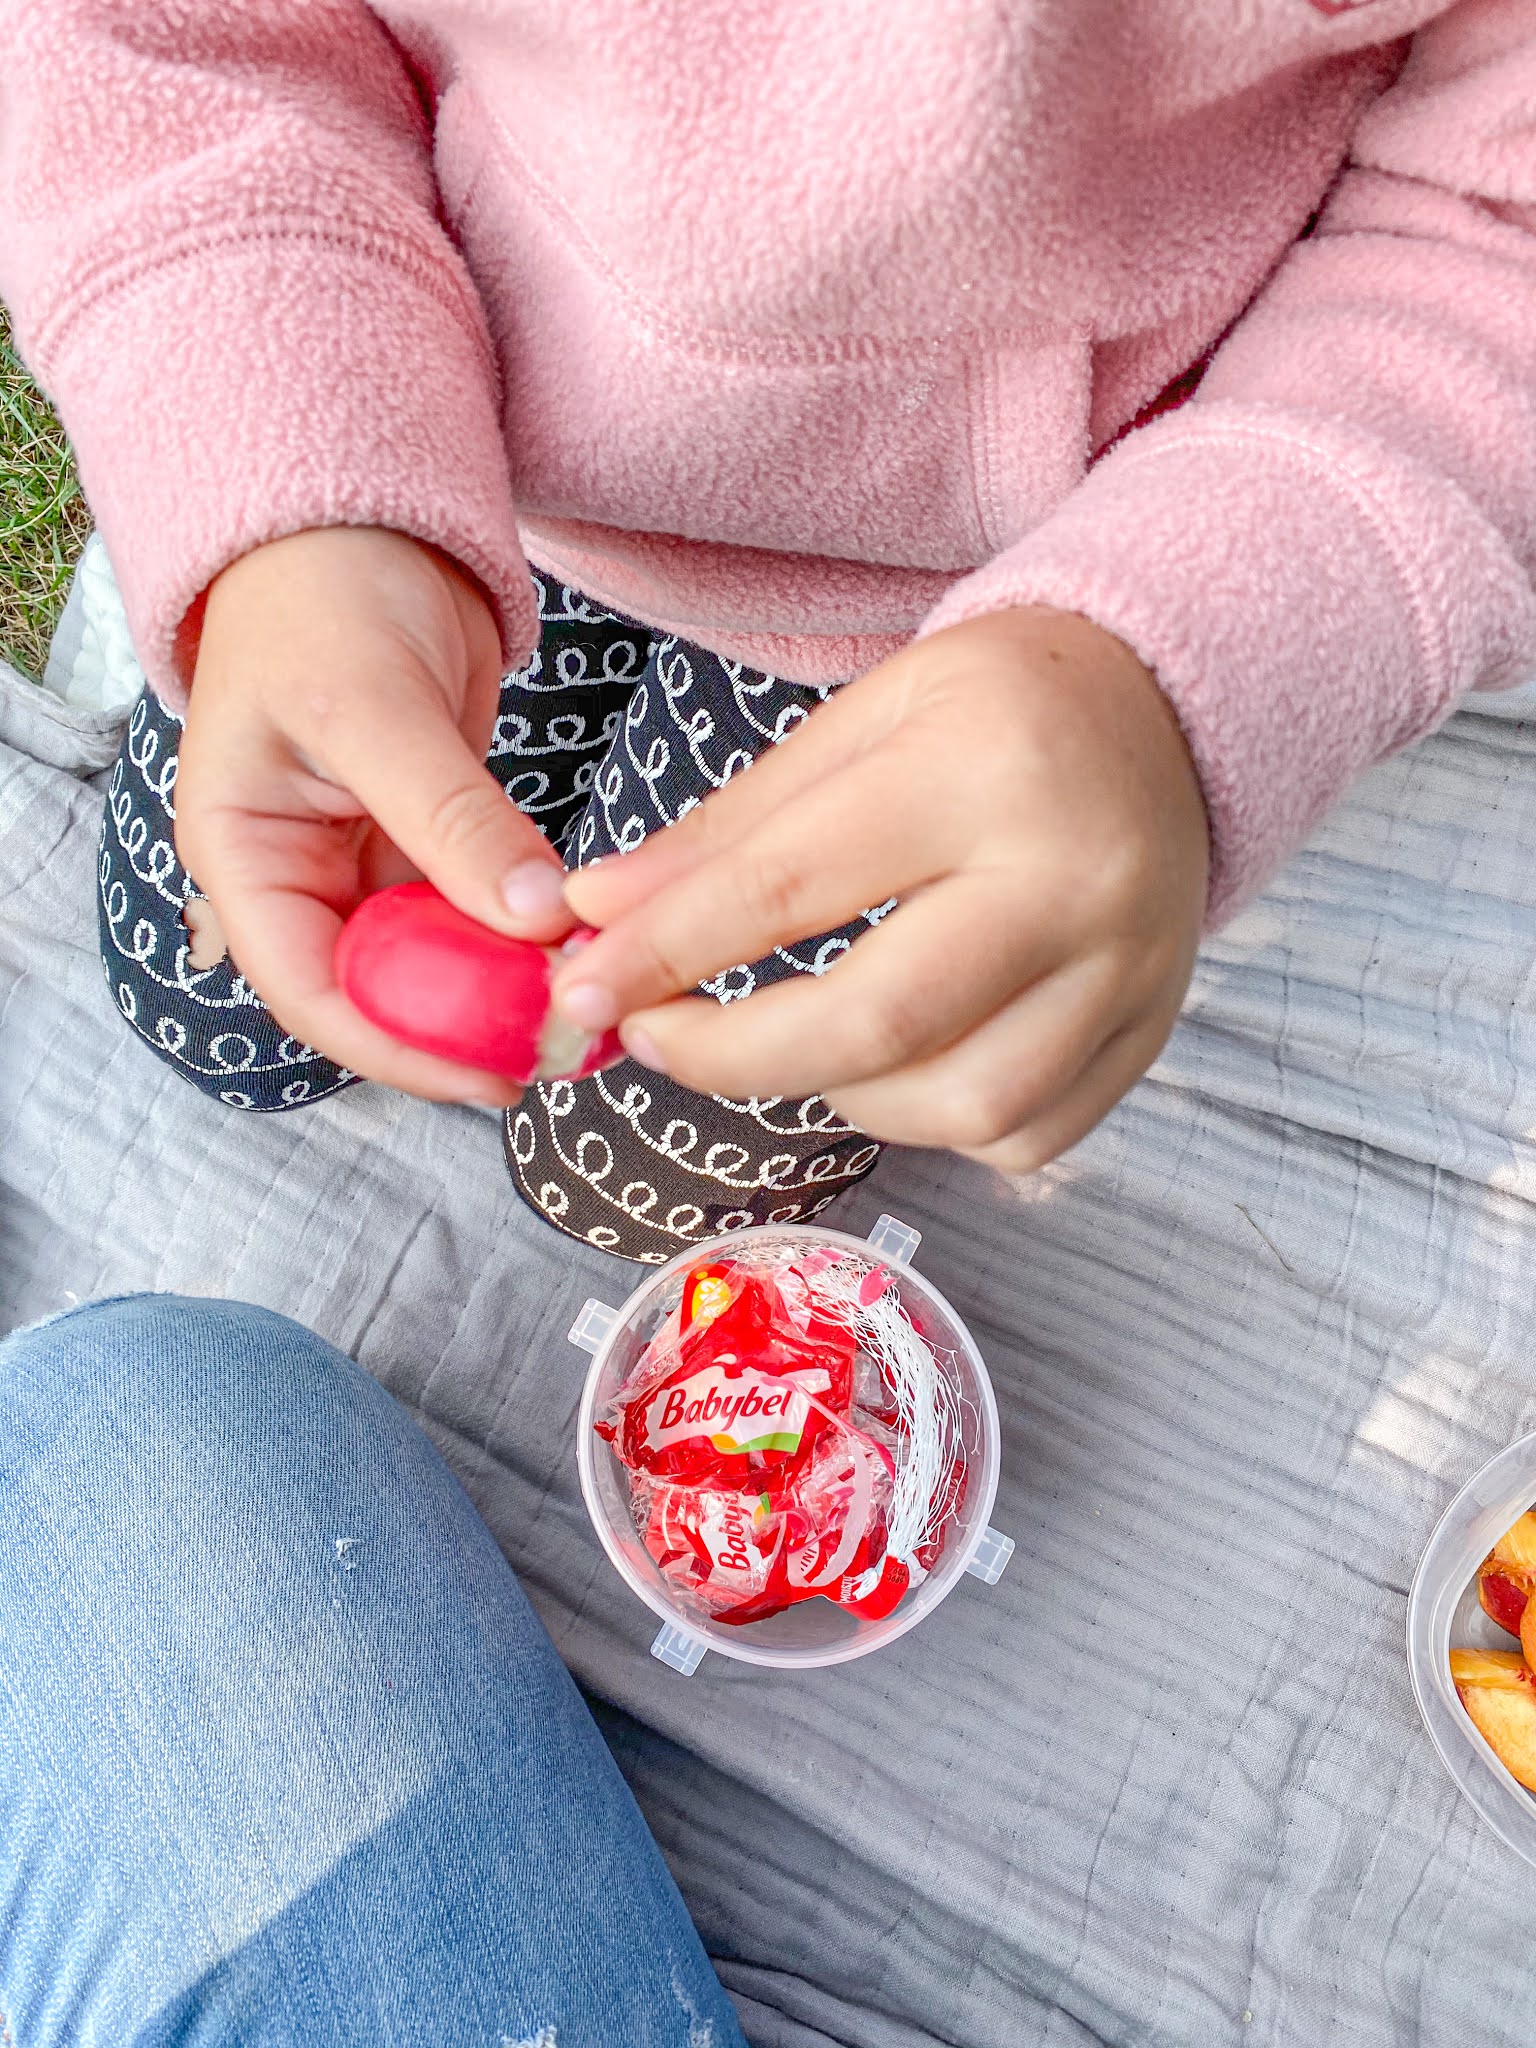
It really is simple to do - we keep a reusable container on the counter, and whenever we eat a Babybel, instead of going into the trash, we put the packaging into the container. Once it is full, we follow the steps above and send it off the TerraCycle to be recycled.


By recycling your Babybel packaging, you are not only doing a positive action for the planet, but you are also giving back to charity. Recycling is an easy choice to make a positive change in the world we live in.


How We’re Helping the Environment this School Year


Remember - caring for the environment doesn’t stop when the school year ends! These steps can be followed at all times of the year to ensure we all do our part to help take care of the environment.


What actions do you take to consume less, recycle and be more environmentally-friendly? I’d love to hear!


*Disclosure: I have participated in a paid partnership with Babybel. Opinions in this post are not my own.


SHARE:

September 17, 2020

Favourite Packable Kid-Friendly School Lunch Ideas


There’s no denying that for children everywhere, the 2020-2021 school year will look different than those in the past. Just how different, is yet to be fully determined. But one thing that will remain constant is lunch time, and the need to pack your child’s lunch. 


Check out some of our favourite packable kid-friendly school lunch ideas, made with Mastro/San Daniele cooked deli meats.


Favourite Packable Kid-Friendly School Lunch Ideas


This September, our family enters a new chapter - our oldest daughter enters kindergarten. And while we're all excited for her to go to "big girl school", one thing I'm NOT looking forward to? Having to pack her lunch every day. 


I was having a conversation with a girlfriend the other day about school lunches. For the past six months, I’ve made my girls’ lunch every. single. day. Making my kindergartener lunch for school should be no different, right? Wrong. We may only be a few days into the school year, but I’ve quickly found that the opposite is true.


So much more planning needs to go into school lunches - ensuring they have enough food to last the entire day, that what you pack is peanut-free, that your kids actually like and eat what you pack, that the lunch contains minimal packaging, that they can easily open any of those packages, and so on, and so on. 


Favourite Packable Kid-Friendly School Lunch Ideas


At the end of the day, regardless of whether our children are in kindergarten or high school, we just want them to eat lunch. Am I right?! But, coming up with creative ideas that ensure no food gets left behind can often be a challenge. 


Mastro/San Daniele offers a variety of cooked deli meat products that are great for families and can make going back-to-school easier. They are versatile, light and can be used to elevate a dish that you eat regularly (think that reliable lunch sandwich) or incorporated into a tasty snack. 


Check out our favourite packable kid-friendly lunch ideas made with Mastro/San Daniele cooked deli meats - meals that are easy to whip up the night before, but delicious and healthy to keep our kiddos fuelled throughout their busy day (regardless of what that may look like this school year).

Favourite Kid-Friendly School Lunch Ideas 

Nectarine Wraps

Kids won’t eat fruit? Try this fun alternative. Mastro Prosciutto Cotto is full in flavour, extra lean and low in fat. Combined with the sweet nectarine, its a winning combination.


What you’ll need:

  • Mastro Prosciutto Cotto
  • Nectarine (can also use peach, pear or melon)


What to do:

  1. Slice the nectarine into manageable sizes. 
  2. Wrap each individual slice of nectarine in an approximately sized piece of prosciutto cotto.


Favourite Packable Kid-Friendly School Lunch Ideas

Ham & Cheese Flatbread

A fun spin on a classic sandwich! Slow cooked to perfection, Mastro Capocollo’s distinctive flavours make it ideal in sandwiches, antipasto and pizzas.


What you’ll need: 

  • Mastro Capocollo
  • Cheese, thinly sliced
  • Small pita or naan bread
  • Mayonnaise (optional)
  • Mustard (optional)
  • Shape cutters (optional)


What to do:

  1. If your child likes mayonnaise and mustard, add a thin layer of each to the top of the pita or naan.
  2. Add a piece of Mastro Capocollo on top of the bread. 
  3. On top of the cooked deli meat, add a piece of thinly sliced cheese (your choice of variety). 
  4. If you want to get really fancy and fun, use shape cutters to cut fun shapes into the bread, meat and cheese.

Favourite Packable Kid-Friendly School Lunch Ideas

Lunch Sandwich Sushi

Perfectly portioned, two-bite sandwich rolls. It’s like kid-friendly sushi! San Daniele Mortadella is gently prepared and cooked to savoury perfection, a great choice for this lunch sushi. It comes in three varieties - classica, light and hot.


What you’ll need:

  • San Daniele Mortadella
  • Whole wheat tortilla
  • Cream cheese
  • Cucumber, thinly sliced


What to do:

  1. Peel and thinly slice cucumber.
  2. Lay out the tortilla on a flat surface, and cover in a thin, even layer of cream cheese.
  3. At the bottom of the tortilla (closest to you), lay a few thin slices of cucumber.
  4. Layer a piece of San Daniele Mortadella on top of the cucumber.
  5. Starting from the bottom (closest to you), roll up the tortilla. If the wrap does not stay closed, use a bit of cream cheese to hold it together. 
  6. Using a sharp knife, slice in one inch sections.

Favourite Packable Kid-Friendly School Lunch Ideas

Check out this link for $1 OFF your next Mastro Prosciutto, Mastro Capocollo or San Daniele Mortadella purchase. 


What are your favourite kid-friendly lunch ideas? Any tips or tricks for this new school-aged kiddo mom? I’d love to hear!


*Disclosure: I have participated in a paid partnership with Mastro/San Daniele. Opinions in this post are my own.


PIN IT

Favourite Packable Kid-Friendly School Lunch Ideas


SHARE:

January 18, 2019

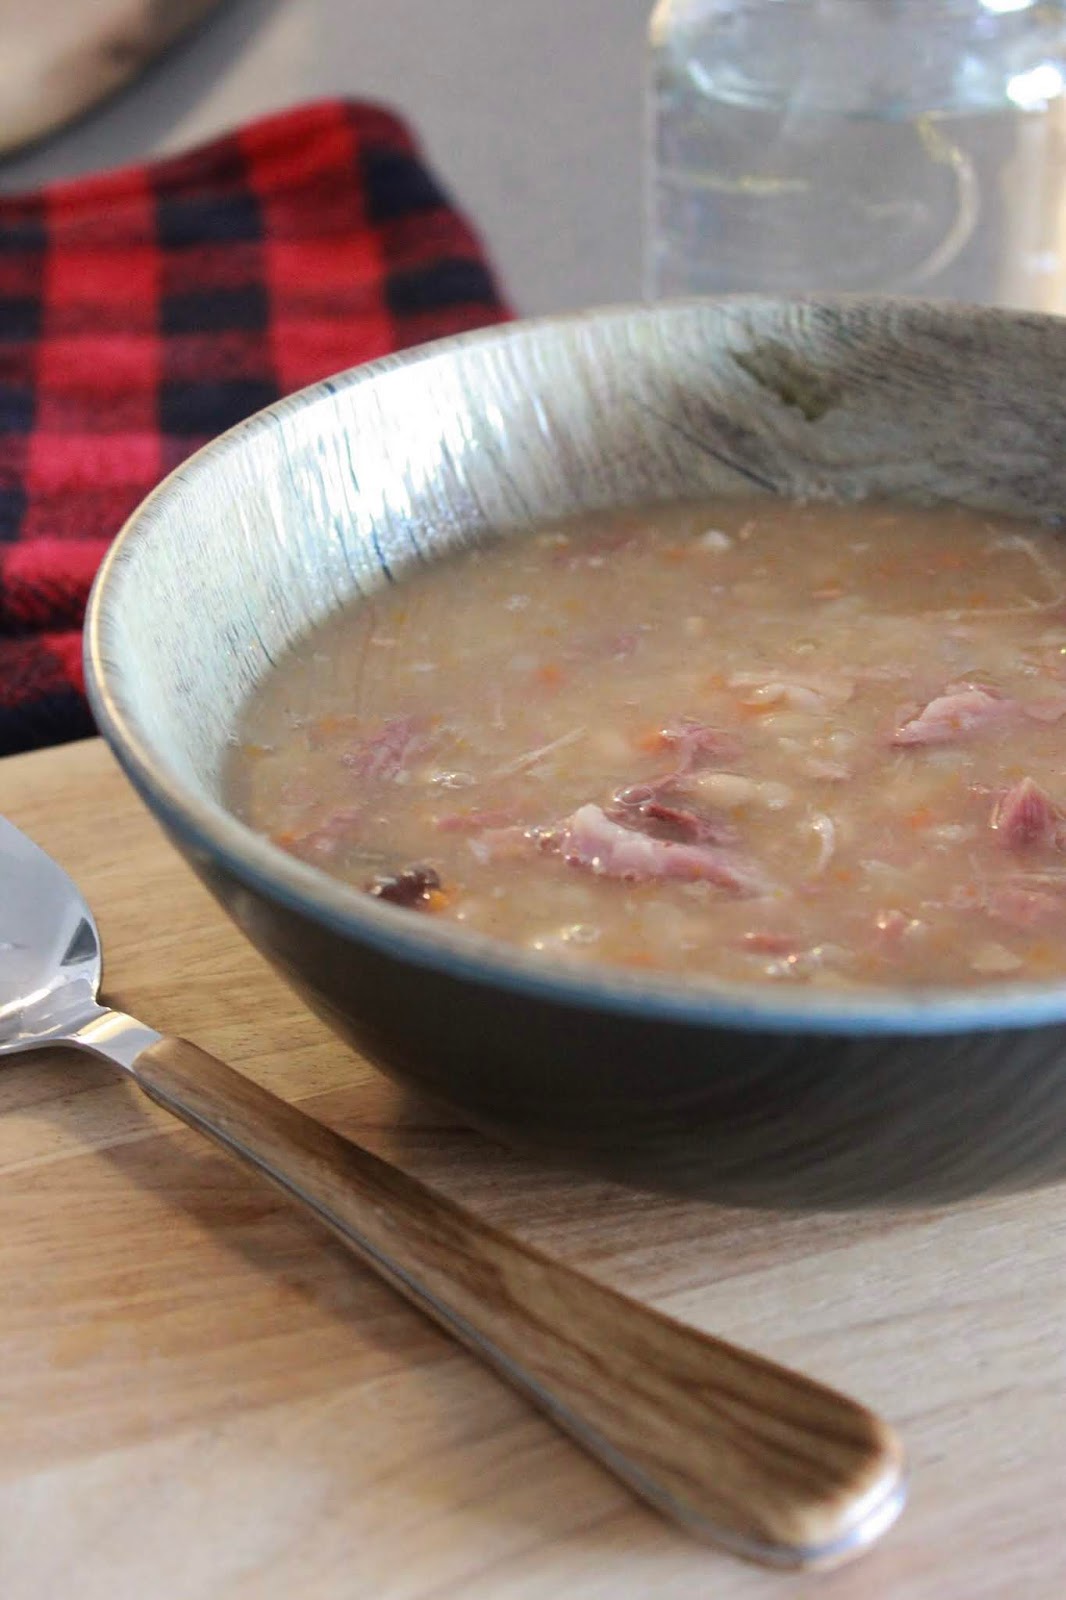
Mama's Slow Cooker Bean Soup Recipe


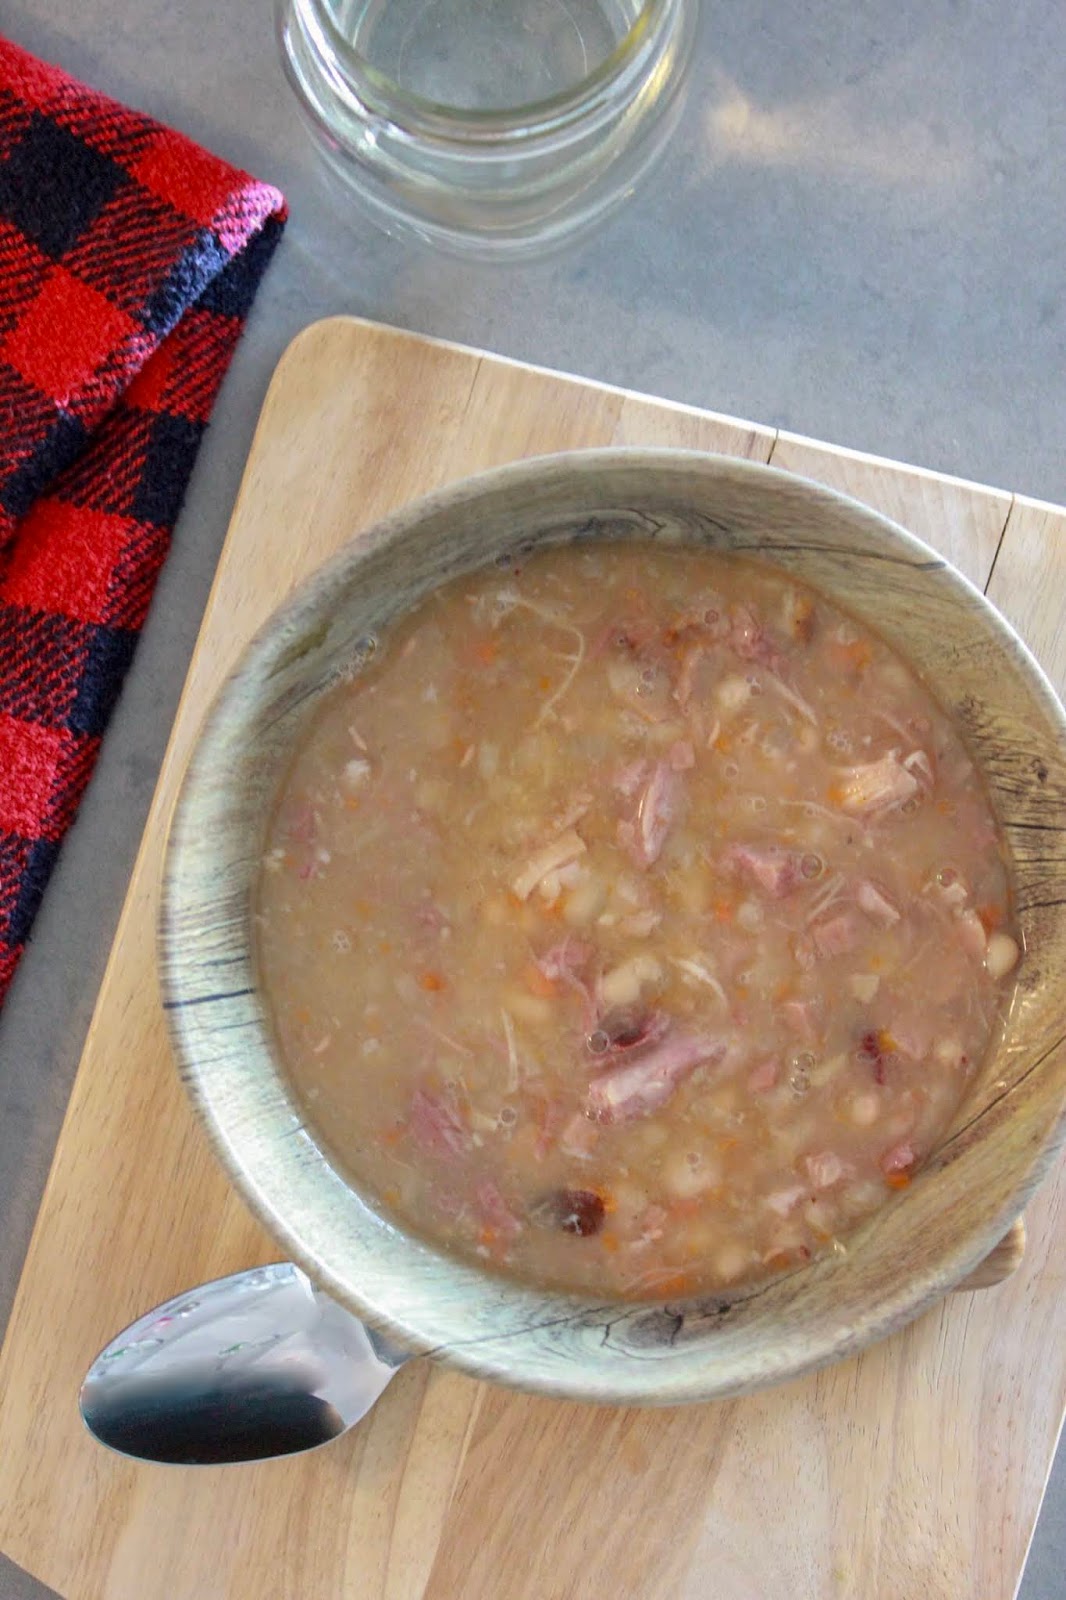
Love soup? Looking for the perfect winter comfort food? Check out Mama’s Slow Cooker Bean Soup Recipe. It’s sure to be a tummy pleaser!

Slow Cooker Bean Soup Recipe

If you’re like me, you have a leftover ham bone in the freezer from Christmas. Or maybe even as far back as Thanksgiving. Either way, it’s taking up space and you need to get rid of it. Am I right? 

Or, if that’s not you, maybe you just love a good recipe for comfort food? Maybe some hot soup on a cold day? A reason to bust out the slow cooker or crock pot?

Slow Cooker Bean Soup Recipe

Well, whether it’s reason a or reason b (or maybe even a combo of both), you’ve come to the right place.

Today, I’m sharing Mama’s Bean Soup recipe. And yes, that mama is me. And my mama, because I can’t take all of the credit. She taught me how to make it. 

It's easy to make, it's tasty, it's hardy and it scream winter comfort food. It's also sure to be a tummy pleaser. Hey, if a "three-nager" devours an entire bowl, you know that's a fact.

All you need is said leftover hambone (or a ham hock purchased from the store), some veggies, chicken stock and dried navy beans. 

Enjoy!

Slow Cooker Bean Soup Recipe

Mama’s Slow Cooker Bean Soup

Serves: 6-8 people

Ingredients:
  • Ham bone, with leftover ham (or ham hock)
  • 1 cup dried navy beans
  • 4 cups low sodium chicken stock
  • 4 cups water
  • 1 cup carrots, shredded or diced
  • 1 small onion, diced
  • 2 stalks celery, sliced
  • Salt and pepper, to taste

Directions:
  1. Locate the slow cooker or crock pot from back of cupboard and dust off.
  2. Add onion, carrot, celery to bottom of the slow cooker.
  3. Place ham bone on top of vegetables.
  4. Pour dried beans around ham bone.
  5. Top with chicken stock and water, so that majority of bone is covered. Add water if needed.
  6. Set on high and cook for 6-8 hours, or until beans are tender and ham is falling off the bone.
  7. Remove the ham bone. (Be sure there are no ham bone fragments in the soup.)
  8. Remove leftover ham from the bone. Cut up and add to soup. Also cut up any large chunks of ham already in the soup.
  9. Season with salt and pepper, to taste.
  10. Can be stored in the fridge, covered for one week, or can be frozen for later. 

Note 1: I use half chicken stock and half water to make my broth, mostly to cut back on the sodium. The salt from the ham will help to flavour the broth. If you like a saltier broth, instead use chicken stock for the full 8 cups. 

Note 2: If you do not have a ham bone, you can purchase a ham hock from the meat department at your local grocery store. It will work just as well to flavour the broth, however, you may not get as much meat off the bone.

Slow Cooker Bean Soup Recipe

If you enjoy soup, you may also want to check out these recipes for The Best Chicken Dumpling Soup and Fall Harvest Root Vegetable Soup.

What is your favourite comfort food recipe? Do you enjoy soup? I’d love to hear!


PIN IT:

Slow Cooker Bean Soup Recipe

SHARE:

October 11, 2018

Toddler-Friendly Oatmeal Peanut Butter Cookies


Have you ever heard of a kid that DOESN’T like chocolate? 

No? Well, they do exist. Because I have that kid… 

If you ask her, she will flat out tell you she doesn't like chocolate. If you try to trick her and hide the chocolate, she'll find it. She will instantly spit it out first bite, and you'll get the point pretty quickly. In true toddler fashion, it's extremely dramatic. 

But, I guess I should say, the apple doesn’t fall far from the tree. I don’t have much of a chocolate tooth either. So when I bake, I usually steer towards recipes that are chocolate optional. That means no chocolate chip cookies, no chocolate cake and no banana bread with chocolate chips. My poor sweets-loving husband.

Toddler-Friendly Oatmeal Peanut Butter Cookies

What my toddler does love is peanut butter and oatmeal. Combined, it’s her go-to breakfast. This toddler-friendly recipe for Oatmeal Peanut Butter Cookies combines the best of both worlds in a snack form, and always leaves her asking for more. 

And despite asking, “Where’s the chocolate?!” after taking his first bite, my husband was a fan too.

Enjoy!

Toddler-Friendly Oatmeal Peanut Butter Cookies

Oatmeal Peanut Butter Cookies

Prep Time: 10 minutes
Cooking Time: 9-11 minutes
Serving Size: approximately 4 dozen

Ingredients:

  • 3/4 cup oil (we used canola)
  • 1/2 cup creamy peanut butter 
  • 1 cup brown sugar
  • 1/2 cup white sugar
  • 1 tsp vanilla extract
  • 1 tsp baking soda
  • 2 eggs
  • 2 cup white flour
  • 1 cup quick oats
  • optional: 3/4 cup chocolate chips

Directions:

  1. Preheat oven to 375 degrees F. Line a cookie sheet with parchment paper and set aside.
  2. In a large bowl, beat together the oil and peanut butter until smooth, about a minute. Add the sugars and beat until creamy.
  3. Add the vanilla extract, baking soda and eggs, beating to combine after each addition.
  4. Add the flour and oatmeal, and beat until just combined.
  5. If using, add the chocolate chips and store to combine.
  6. Scoop approximately 1 tablespoon of cookie dough onto the prepared cookie sheet.
  7. Bake at 375 degrees F for approximately 9 to 11 minutes, or until lightly golden brown on top.
  8. Remove from the oven and allow to cool before removing from cookie sheet.

Toddler-Friendly Oatmeal Peanut Butter Cookies

What is your favourite recipe to make with your kids? I'd love to hear!


PIN IT:

Toddler-Friendly Oatmeal Peanut Butter Cookies


SHARE:

August 17, 2016

Tex Mex Quinoa Salad in a Jar

Can I let you in on a little secret? I love salads. Like, LOVE salads. No matter how full I am, I always have room for salad. We call it the "salad pocket".

I mean, I guess there could be worse things that I could love to eat.

The whole salad-in-a-jar thing is a genius invention for salad lovers, such as myself. All you need is one 32 oz mason jar with a lid. Dressing goes on the bottom, yummy ingredients are in the middle and leafy greens are on the top. Everything stays separate and dressing-free until you toss it together in a bowl.  No more messy containers or the chance for your salad dressing to leak all over your work or lunch bag. (Because let's be honest, it's happened to the best of us.) Most importantly, no more soggy salads. Genius.

This healthy and simple Tex Mex Quinoa Salad-in-a-Jar recipe is no exception to my love of salads. I promise you, it will reinvent the way you look at lunch. 

Tex Mex Quinoa Salad-in-a-Jar Recipe

Tex Mex Quinoa Salad-in-a-Jar


INGREDIENTS

For the quinoa:
  • 1 cup quinoa
  • 1 tbsp olive oil
  • 1 medium onion, finely chopped
  • 3 garlic cloves, minced
  • 2 cups water
  • 1/2 tsp each salt and pepper 

For the dressing:
  • 1 tsp olive oil
  • 1 tsp white wine vinegar
  • 1/8 tsp salt
  • 1 tsp taco seasoning
  • 1/2 tsp chia seeds

For the salad:
  • 1/4 cup corn
  • 1/4 cup black beans, rinsed and drained
  • 1 tsp jalapeño, diced (optional)
  • 6 small whole grape of cherry tomatoes
  • 1 cup greens (romaine, arugula and/or baby spinach)


DIRECTIONS
  1. Make the quinoa: In a pot, sauté onions in olive oil in medium heat until soft, approximately 5 minutes. Add garlic and stir 1 minute. Add water, quinoa, salt and pepper. Bring to a boil, lower heat, cover and simmer for 15 minutes. Remove from heat and fluff with a fork. Set aside to cool completely.
  2. Add dressing ingredients in a bowl and combine. Add 1/2 cup cooked quinoa to bowl and toss with dressing until well combined. Add to bottom of large mason jar.
  3. Layer the remaining salad ingredients in the mason jar, in the following order: corn, beans, tomatoes and greens. Pack the greens in to get as much as possible in the jar.
  4. Put a lid on the jar (like this reusable plastic mason jar lid) and refrigerate. Salad stays fresh approximately 4 to 5 days.
Tex Mex Quinoa Salad in a Jar Recipe

Do you enjoy salads? What is your favourite? 

 photo TampF sig_zpsi50j9kbk.jpg

SHARE:

May 29, 2015

Raise a Glass to the Mint Julep

May 30 is Mint Julep Day - a celebration of this simple, yet delicious, bourbon cocktail. 

The recipe for this summery libation is simple: bourbon or whisky, mint leaf, sugar and ice. It's simple, it's delicious, it's brilliant.

mint julep recipe

Ingredients:
  • Leaves from 4-5 mint springs
  • 2 sugar cubes (or 1/2 oz simple syrup)
  • 2 1/2 oz bourbon or whisky
  • Heap of crushed ice

mint julep recipe

Directions:
  1. Add ice cubes and mint leaves to a glass. Pour in a small amount of liquor to soak sugar cubes. Gently muddle the leaves and sugar. (Muddling opens up the veins of the mint leaves and releases the essential oils for greater mint flavour.)
  2. Fill the glass to the brim with ice (crushed works best).
  3. Add bourbon whiskey.
  4. Garnish with mint spring and enjoy!
mint julep recipe

The original mint julep recipe calls for bourbon, however, whisky will also work just fine. Traditionally they are served in silver or pewter cups and held by the handle or rim in order for the cup to maintain optimum frost, but they work just as well in any tall glass.
Enjoy bourbon? Sad that Mad Men is over? Now you can drink like Don Draper all of the time with this recipe for a delicious old fashioned cocktail.
Do you enjoy mint juleps?
SHARE:
Blog Design Created by pipdig