December 6, 2016

Felt Christmas Tree Tutorial - Perfect for Baby!

This shop has been compensated by Collective Bias, Inc. and its advertiser. All opinions are mine alone. #DamageFreeHoliday #CBias #CollectiveBias

Are you looking for a baby-safe Christmas tree alternative? This baby-friendly felt Christmas tree tutorial will add a festive flair to your home this holiday season, while creating a learning opportunity for your little one.


Baby-Friendly Felt Christmas Tree Tutorial

My husband, 8 month old daughter and I are currently living in a teeny tiny one bedroom apartment as we await the completion of our first home. We are so excited to celebrate baby's first holiday season, but since she is starting to become quite the mover, we are worried about her safety around the Christmas decorations in our small space. 

We usually opt for a real tree complete with all of the fancy decorations, but this year we are trying something a little different. 
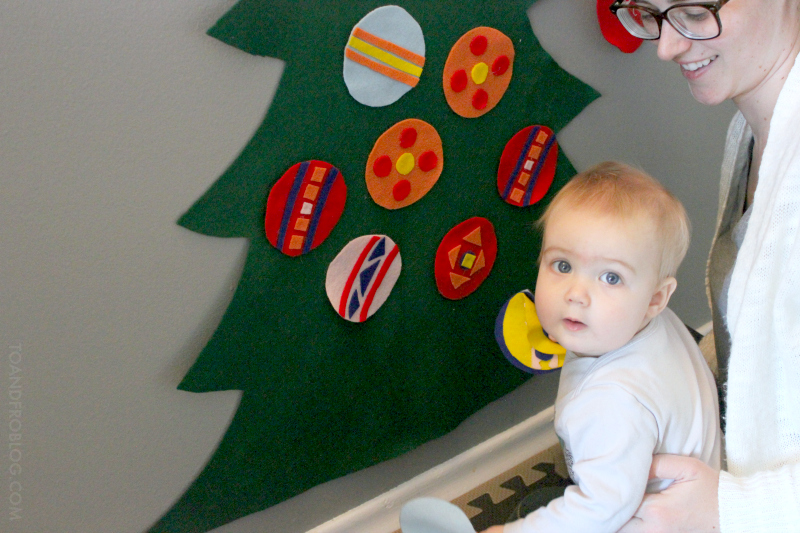
While we still have a small tree tucked out of the way for mom and dad, we have also added this felt Christmas tree to the living room wall, just for baby. 

The simple to make felt Christmas tree is baby-safe, maintenance-free and decorated with lots of brightly coloured ornaments that baby can easily rip off and put back on. It adds a festive flair to our teeny tiny abode, while creating a great learning opportunity for little miss Morley. 

Why not make one for your little one this holiday season?

Baby Felt Christmas Tree Tutorial


    Materials

    • 1 metre green felt
    • Several squares of felt, assorted colours
    • Square of yellow felt
    • Glue gun and glue
    • Scissors
    • Measuring tape
    • String
    • Marker
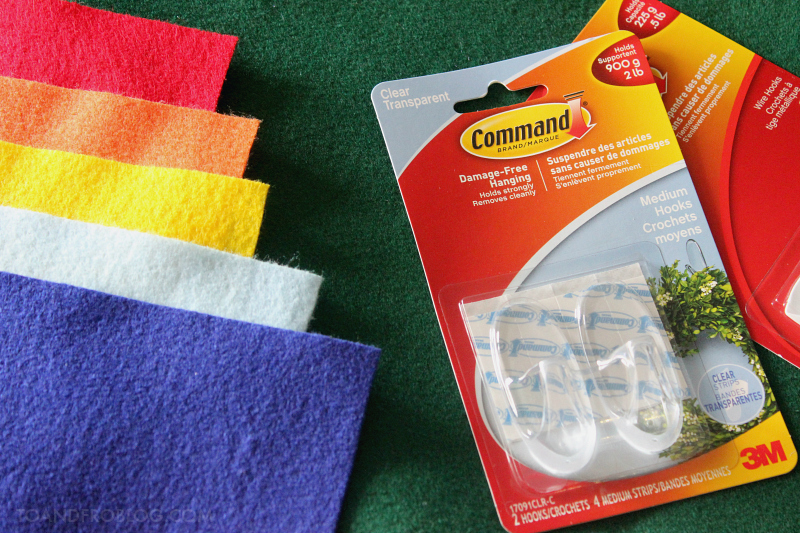
    • One Command™Clear Medium Hook 

    Baby-Friendly Felt Christmas Tree Tutorial

    Directions

    I purchased the felt from my local fabric store. They sell small individual squares in a variety of colours, for making the ornaments, as well as felt by the length, which I used to make the tree.

    First, make the star for the top of your tree using the yellow felt. I started with the star because I had a limited amount of yellow felt and the size I made it would determine the size of the tree. 

    Lay your tree fabric on the floor and fold in half vertically. Using a marker, draw the outline of your tree. Cut along the line, through both layers of green felt. Open the fabric back up to reveal your bare tree. Attach the star to the top with hot glue.

    Next step is to make the ornaments. I made circular ornaments for my tree because they are easy for my daughter to grab. Get creative - you can make any size or shape you desire! Use the scrap felt to spruce up the ornaments. You won't need anything to help hang these ornaments on the tree because felt sticks to felt like magic.

    The possibilities with this tree are endless. You can add as many different colours and shapes of ornaments as you wish! If you are feeling especially creative, you can even make presents to go "under the tree".

    Baby-Friendly Felt Christmas Tree Tutorial

    Don't worry about making it perfect - your baby is not going to judge you if the tree is not symmetrical or the colours of your ornaments don't match. They are going to love it either way!

    Now it's time to hang your tree. Using the glue gun, add a loop of string to the top of the star/tree. This will be how you hang the tree on the wall.

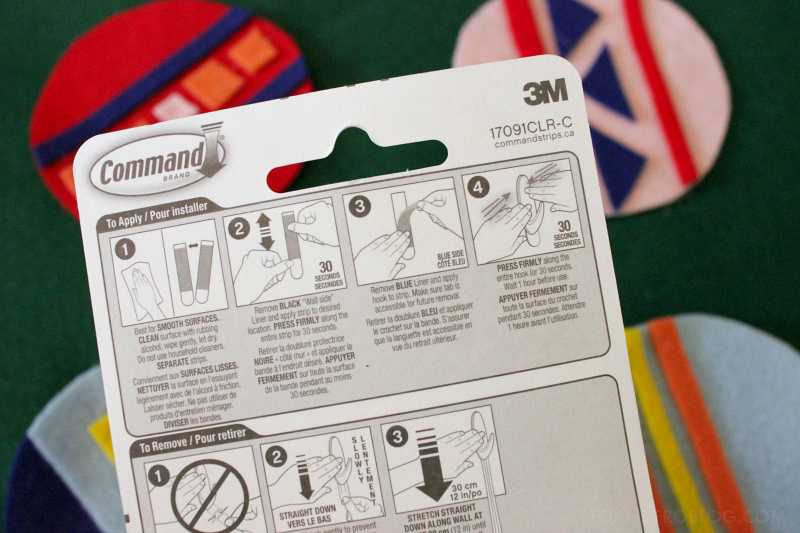
    Make sure that the wall you hang the tree on is a smooth surface. With the tape measure, measure the height of your tree on the wall. Following the directions on the package, affix the Command™Clear Medium Hook to the wall. 

    Baby-Friendly Felt Christmas Tree Tutorial

    Hang the tree on the Command™Clear Medium Hook. Since our apartment is so dry, the felt automatically clings to the wall. However, you can repeat the above steps with a few more Command™Clear Medium Hooks to support the branches, if needed. Ensure the weight of the tree is evenly distributed across the hooks. 

    The great thing about using Command™Brand products for this tree is that if you don't like the placement, or need to move it for any reason, you can do so without the fear of holes or damage!


    Baby-Friendly Felt Christmas Tree Tutorial

    Using leftover felt, hot glue, string and glitter paint, I also created a small stocking and affixed it to the wall beside the tree using Command™Small Wire Hook. 


    Baby-Friendly Felt Christmas Tree Tutorial

    Now it's time to let baby play and have some fun with their new tree! But please remember, do not leave your child unattended while doing this activity.

    Baby-Friendly Felt Christmas Tree Tutorial

    Command™ Brand products provide an easy transition throughout the holidays, removing cleanly from the walls. At the end of the holiday season, simply remove the hook from the wall, fold up the felt ornaments and tree and store in your Christmas bin for another year!

    Since we've never had a permanent space to call our own, we've always used Command™Brand products in our indoor decorating, instead of having to patch holes and touch up paint. They’re easy-to-use, come off clean, and can handle any decorating task I put them up to, including hanging photos on the walls to personalize our space. The ability to remove hooks without a scratch and paint touch-ups makes them a win for those in a temporary space. 


    Baby-Friendly Felt Christmas Tree Tutorial

    Command™ Brand products, including the Command™ Clear Medium Hook and Command™ Small Wire Hook used in this tutorial, can be found in the holiday section at your local Walmart. Make sure to stock up for all of your decorating needs this holiday!


    Baby-Friendly Felt Christmas Tree Tutorial

    For more baby-friendly activities, check out this recipe for baby-safe paint.


    What are some of your tips and tricks for decorating your indoor spaces around the holidays? I'd love to hear!

     photo TampF sig_zpsi50j9kbk.jpg
    SHARE:

    October 11, 2016

    Baby's First Halloween - Treat Bag DIY

    This shop has been compensated by Collective Bias, Inc. and its advertiser. All opinions are mine alone. #BacktoBabyBasics #CollectiveBias

    Looking for a fun activity to celebrate you little one's first Halloween? Make your own Halloween treat bags with this tutorial, and simple recipe for baby-safe paints.

    Baby's First Halloween Treat Bag DIY & Baby Safe Paint Recipe

    As a child, Halloween was one of my favourite times of the year. What's not to love about dressing up in a fun costume, canvassing the neighbourhood with your friends and then devouring all of your candy until your stomach hurts? Now that I have a daughter of my own, I can’t wait to celebrate Halloween through her eyes (and candy bag). 

    At 7 months old, Morley's a little young for the typical Halloween shenanigans. However, we still plan on celebrating her first, by dressing her up in a super adorable costume and giving family members these homemade Halloween treat bags, decorated with baby-safe paints and filled yummy goodies.

    DIY Halloween Treat Bag


    Materials
    • baby safe paint (recipe below)
    • small aluminum pie pans (one for each paint colour)
    • painting tools - brushes, popsicle sticks, foam pieces, etc. (optional)
    • paper lunch bags
    • large garbage bag and/or large piece of craft paper
    • tape
    • decorations (halloween/fall-themed stickers, stamps, googley eyes, etc.)
    • glue
    • markers
    • hole punch
    • twine, ribbon or string

    Directions
    1. Set up baby’s workspace - i.e. high chair, bath tub, living room floor, outside, etc. This activity can easily be done in the highchair, to help contain the mess, or by taping a garbage bag and/or craft paper to the floor, making it a great tummy time activity. We chose to do this activity on the living room floor by layering garbage bags with craft paper on top. This made it much easier to clean up when the activity was done.
    2. Lay out the paper bags and paint (in the pie tins) on the working surface.
    3. Set baby up. Make sure they are in their diaper, or clothes that can potentially be ruined by the paint. Make sure you are also in clothes that can get dirty, because you will get dirty!
    4. If your child is old enough, provide them with painting tools. If not, their fingers will do just fine.
    5. Let baby go to town on creating their masterpiece.
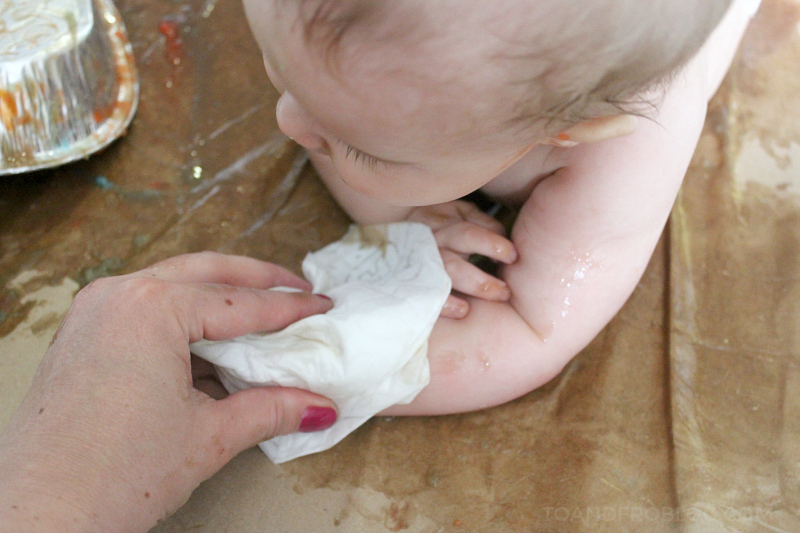
    6. Once they are finished painting (or in our case, start to fall asleep in the paint), immediately clean baby. I recommend having Huggies Natural Care wipes handy and a bath ready to go.
    7. Since the paint is quite thick, allow the bags to dry for at least 24 hours.
    8. Once the bags are dry, it is time for mom and/or dad to take over the activity. Decorate with Halloween-themed stickers, stamps, etc. Using the glue gun, we added foam pumpkins and googley eyes. 
    9. Using a marker, add recipient's name to the bag. 
    10. Fill with candies, tie closed and deliver to that special someone!
    Baby's First Halloween Treat Bag DIY & Baby Safe Paint Recipe

    Baby-Safe Paint 


    Ingredients
    • 3 tbsp white sugar
    • 1/2 tsp table salt
    • 1/2 cup cornstarch
    • 2 cups water

    Directions
    1. Combine ingredients in a small sauce pan and stir until combined.
    2. On medium low heat, warm until thickened, stirring continuously.
    3. If mixture becomes too thick, or goopy, add a bit more water to thin it out.
    4. Remove from heat and allow mixture to cool.
    5. Divide mixture equally amongst containers of choice. Choose containers that are baby safe, and easy for baby to access (i.e. small aluminium pie plates). 
    6. Add food colouring to achieve colour of choice. Stir to combine.
    7. Leftover paint can be stored in a sealed container in the fridge for up to 3 days.

    Important notes: Any finger paint that you use for young children must be non-toxic by mouth and non-irritating to the skin.  If your child is allergic or intolerant to any food substances in this recipe, please do not use this paint. These paints are not to be eaten, but if tasted, are safe for baby. And I promise you, there will be tasting. Please do not leave your child unattended while doing this activity.

    Baby's First Halloween Treat Bag DIY & Baby Safe Paint Recipe

    Painting is such a fun activity for young children. Not only does it allow them to express their creativity (yes, even at 7 months old), but it’s also fun! Sure, it can make a mess, which can equal stress for us adults. But for baby, messy is good. Messy play stimulates the senses, allowing baby to explore different colours and textures. It also helps develop hand and eye coordination and fine motor skills. What may look like a mess to you, is actually a learning experience for your child. So, roll up your sleeves and have some fun creating these Halloween treat bags. They are sure to be a hit amongst family and friends!

    Baby's First Halloween Treat Bag DIY & Baby Safe Paint Recipe

    To help keep the mess at bay when doing this fun activity with your little one, turn to Huggies Natural Care wipes! They’re gentle on baby’s skin and do a great job of cleaning up all sorts of messes. Huggies products, including these Natural Care wipes, can be found in the baby care (diaper, wipes, creams, etc.) aisle at your local Babies “R” Us

    Baby's First Halloween Treat Bag DIY & Baby Safe Paint Recipe
    Baby's First Halloween Treat Bag DIY & Baby Safe Paint Recipe
    Baby's First Halloween Treat Bag DIY & Baby Safe Paint Recipe
    Location of Huggies products, including Huggies Natural Care wipes, in Babies "R" Us.

    Did you know that Babies “R” Us is more than just a retailer destination? I love shopping in store because not only do they have a great selection of baby products, from diapers and wipes, to items to help celebrate baby's first Halloween (like super cute costumes) and beyond, they are also a great resource for all things baby, including some great baby-friendly events!

    Make sure to visit your local stand alone Babies “R” Us on 10/15 from 11am-12pm for some Halloween celebrations with baby! Celebrate baby’s first with a keepsake craft and parade around the store, and help mom get ready for colder weather with great product solutions and tips. This celebration is a great opportunity to meet and mingle with local moms who have babies of similar age, and your chance to win some incredible giveaways and raffle prizes!

    Baby's First Halloween Treat Bag DIY & Baby Safe Paint Recipe

    Happy Halloween, from our family to you and yours!

    How do you celebrate baby’s firsts? Any exciting Halloween plans? I’d love to hear!

     photo TampF sig_zpsi50j9kbk.jpg
    SHARE:

    September 21, 2016

    A Visit to 3 of My Favourite Canadian Cities


    Canada is such a beautiful country. I don't think you really get the full appreciation for how big and how beautiful it is until you see it with your own two eyes.

    I've had the privilege of travelling a large portion of the country, crossing Yukon, British Columbia, Alberta, Saskatchewan, Manitoba, Ontario and Quebec off of my list. This past year alone, I've been lucky enough to set foot in three provinces - Alberta, Manitoba and the one we call home, Ontario. Every single time I visit a new city or province, I am blown away by its beauty, the people and the things to see and do. 

    Discover Your Canada with Radisson + a Giveaway

    I think it's pretty obvious that I'm a big fan of zoos and aquariums - they are a great place to visit with family, an amazing learning opportunity, and give you the chance to explore the wide range of animals that call this planet home. Whenever we venture to a new city, scoping out their zoo or aquarium is high on my list.

    Of course, that's the first thing I did when I visited Winnipeg, Manitoba and Edmonton, Alberta, and enjoyed a Canadian staycation in Toronto, Ontario, this past year.  

    If you find yourself in one of these cities, I definitely recommend adding these top attractions to you "to do" lists.

    Winnipeg, Manitoba


    Winnipeg is home to the Assiniboine Park Zoo. While there are over 80 acres of Zoo to explore, the highlight for me was the award-winning Journey to Churchill exhibit. Two words, polar bears. And all of my other favourite Arctic animals. As a leader in the Zoo community, and with its proximity to polar bear territory, the Assiniboine Park Zoo plays a large role in polar bear research, conservation and education in Canada. The comprehensive exhibit allows visitors to discover the magic of the North, while making a connection with these iconic Arctic species. 

    Insider tip: If you visit, make sure you spend a good chunk of time in the Gateway to the Arctic building. The impressive Sea Ice Passage gives visitors the rare opportunity to view polar bears and seals swim from below the surface of the water. 

    Discover Your Canada with Radisson + a Giveaway
    Discover Your Canada with Radisson + a Giveaway

    Other recommended attractions to visit in Winnipeg: Assiniboine Park, Canadian Museum for Human Rights, The Forks

    Edmonton, Alberta


    Edmonton is home to the Edmonton Valley Zoo. Nestled on the banks of the North Saskatchewan River, this small zoo is home to approximately 350 animals from all different climates and habitats.   While no polar bears call this place home, you will have the opportunity to see wolves and lemurs, tigers, owls and more! The lemurs and wolves were definitely my favourite. The Zoo is currently undergoing a renewal which will recreate natural habitats for the animals that live here, enhancing their quality of life and allowing guests to better appreciate the natural world.  

    Insider tip: If you visit, plan to check out their daily animal talks, a great chance to learn more about some of your favourite animals.

    Discover Your Canada with Radisson + a Giveaway
    Discover Your Canada with Radisson + a Giveaway

    Other recommended attractions to visit in Edmonton: West Edmonton Mall, Telus World of Science, Muttart Conservancy

    And while I love exploring new cities, sometimes a staycation is in order as well…

    Toronto, Ontario


    While Toronto is home to the Toronto Zoo, this mermaid at heart is pretty partial to Ripley's Aquarium of Canada. Located in the heart of downtown, directly underneath the CN Tower, the Aquarium is home to over 16,000 marine animals, including 450 species of fish and invertebrates and two green sea turtles. Not only do they have 57 live exhibits and 5.7 million litres of water to ogle over, they also have some pretty incredible experiences, from touch tanks to dive shows and more. 

    Insider tip: If you're into an adventure, check out one of their many paid guest experiences, such as diving with the sharks or swimming with the stingrays. I highly recommend both. 

    Discover Your Canada with Radisson + a Giveaway
    Discover Your Canada with Radisson + a Giveaway

    Other recommended attractions to visit in Toronto: Toronto Zoo, CN Tower, Royal Ontario Museum

    Planning a visit to one of my favourite Canadian cities?


    Whether you're visiting family and friends, road tripping across Canada or crossing iconic Canadian landmarks off your bucket list, let Radisson help you get there and save big! With locations in several Canadian cities, each hotel is uniquely designed with individual style all their own. 

    Explore your own Canada with Radisson and take advantage of savings up to 20%! Details found here.

    Discover Your Canada with Radisson + a Giveaway
    Radisson Admiral Hotel
    Located downtown Toronto, on the Harbourfront, steps from Ripley's Aquarium of Canada.

    **Giveaway for an e-certificate for a one-night stay at any Radisson in Canada or the US in NOW CLOSED (10/3/16 at 11:59pm EST), and the winner has been contacted.  Thank you to everyone that entered, and for your continued support of To & Fro!**


    Get out there and explore!


    Of all the Canadian Radisson locations, which city is your favourite to visit, or on your must see list, and why?


    SHARE:

    September 25, 2015

    New Job Survival Kit DIY

    This shop has been compensated by Collective Bias, Inc. and its advertiser. All opinions are mine alone. #EatASNICKERS #CollectiveBias

    new job survival kit


    Starting a new job can be a stressful time. New commute, new routine, new environment and new people. It's like starting from scratch all over again.

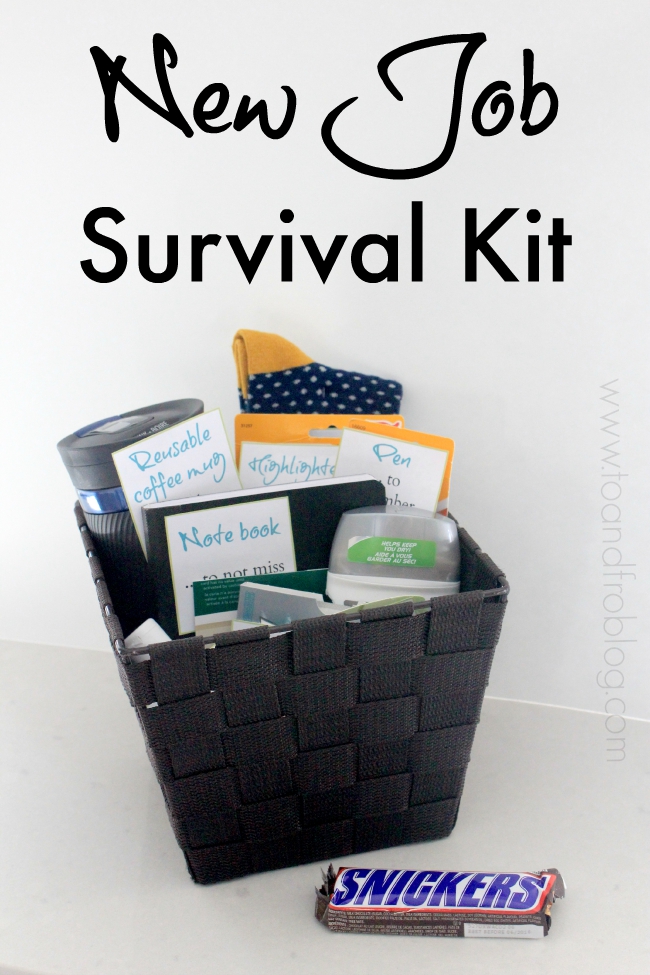
    This week, my husband started a new job - same company, different title and different location. While I am extremely proud of him for excelling in his new career since retiring from hockey, I don't envy the tough transition of starting a new job. So, to help "boss man" ease into his new routine, I created him a new job survival kit - filled with goodies to get him through the first day and week in one piece.

    How to Create a New Job Survival Kit


    1.  Gather the items, aka goodies, for your basket.
    2.  Find a basket that is big enough for your goodies. (The one pictured was from a local dollar store.)
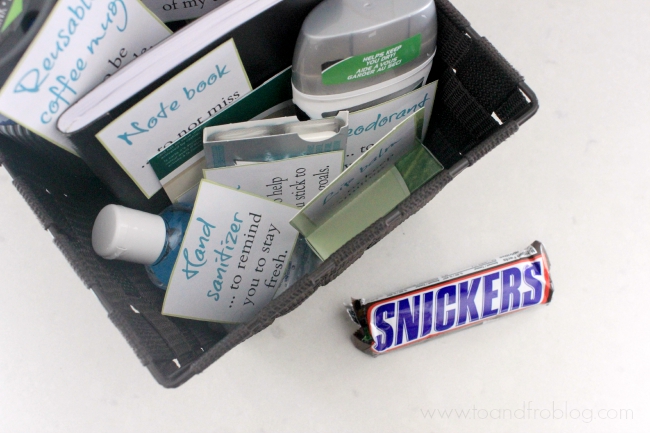
    3.  Print these cute goodie tags, or create your own, to let the person know you are thinking of them. 
    4.  Using a piece of tape, attach the tags to the goodies.
    5.  Arrange goodies in the basket.
    6.  Enjoy the smile you put on their face as they open the basket. 


    new job survival kit

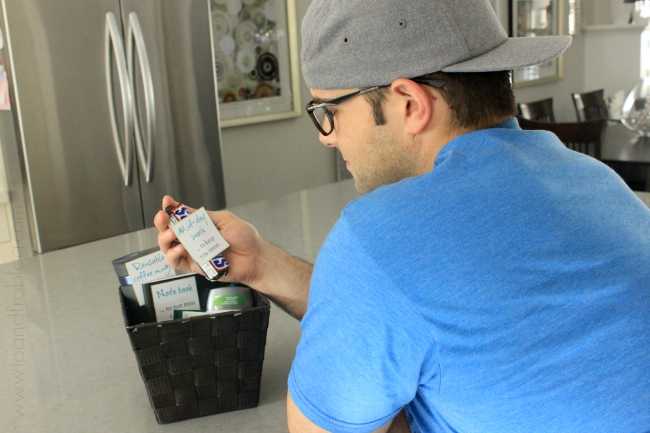
    In my husband's basket, he found...

    1.    Fancy socks  ...  to keep you on your toes.
    2.    Mid-day snack  ...  to keep you sweet.
    3.    Hand sanitizer  ...  to keep you fresh.
    4.    Pens  ...  to remember what's important.
    5.    Reusable coffee mug  ...  to be responsible. 
    6.    Coffee gift card  ...  to fuel your day.
    7.    Note book  ...  to not miss a note.
    8.    Deodorant  ...  to no sweat the small stuff.
    9.    Highlighters  ...  because you are the highlight of my day.
    10.  Gum  ...  to help you stick to your goals.
    11.  Lip balm  ...  to keep smiling.

    inside new job survival kit

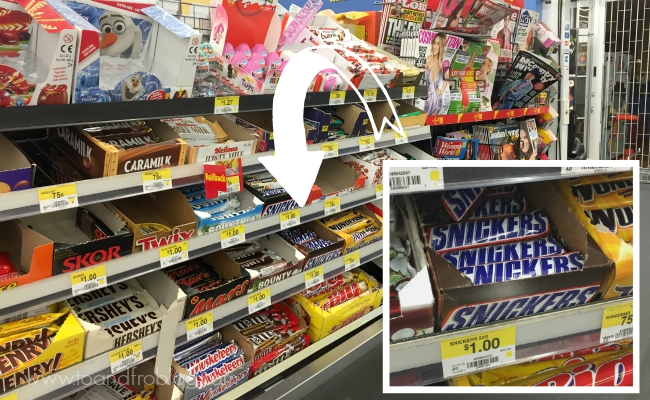
    Found in the checkout aisle at my local Walmart, including a SNICKERS® bar in the survival kit was a no-brainer. Packed with roasted peanuts, nougat, caramel and milk chocolate, a SNICKERS® bar is the perfect mid-day snack to combat that afternoon slump. The last thing I want is for him to go hungry, or turn into a 'princess' mid-afternoon. 


    SNICKERS location in Walmart

    To create your own "New Job Survival Kit", use this free printable, which includes cute notes for each of the goodies pictured above and a shopping list.  

    The verdict? The basket was a hit. And the first week? "Boss man" rocked it like the pro that he is.


    opening new job survival kit


    Who are you when you're hungry? Take the SNICKERS® quiz below to find out. I'd love to hear your results in the comments!


    SHARE:

    June 16, 2015

    Celebrating Dad with Energizer Headlight

    This shop has been compensated by Collective Bias, Inc. and its advertiser. All opinions are mine alone. #DadsMyHero #CollectiveBias

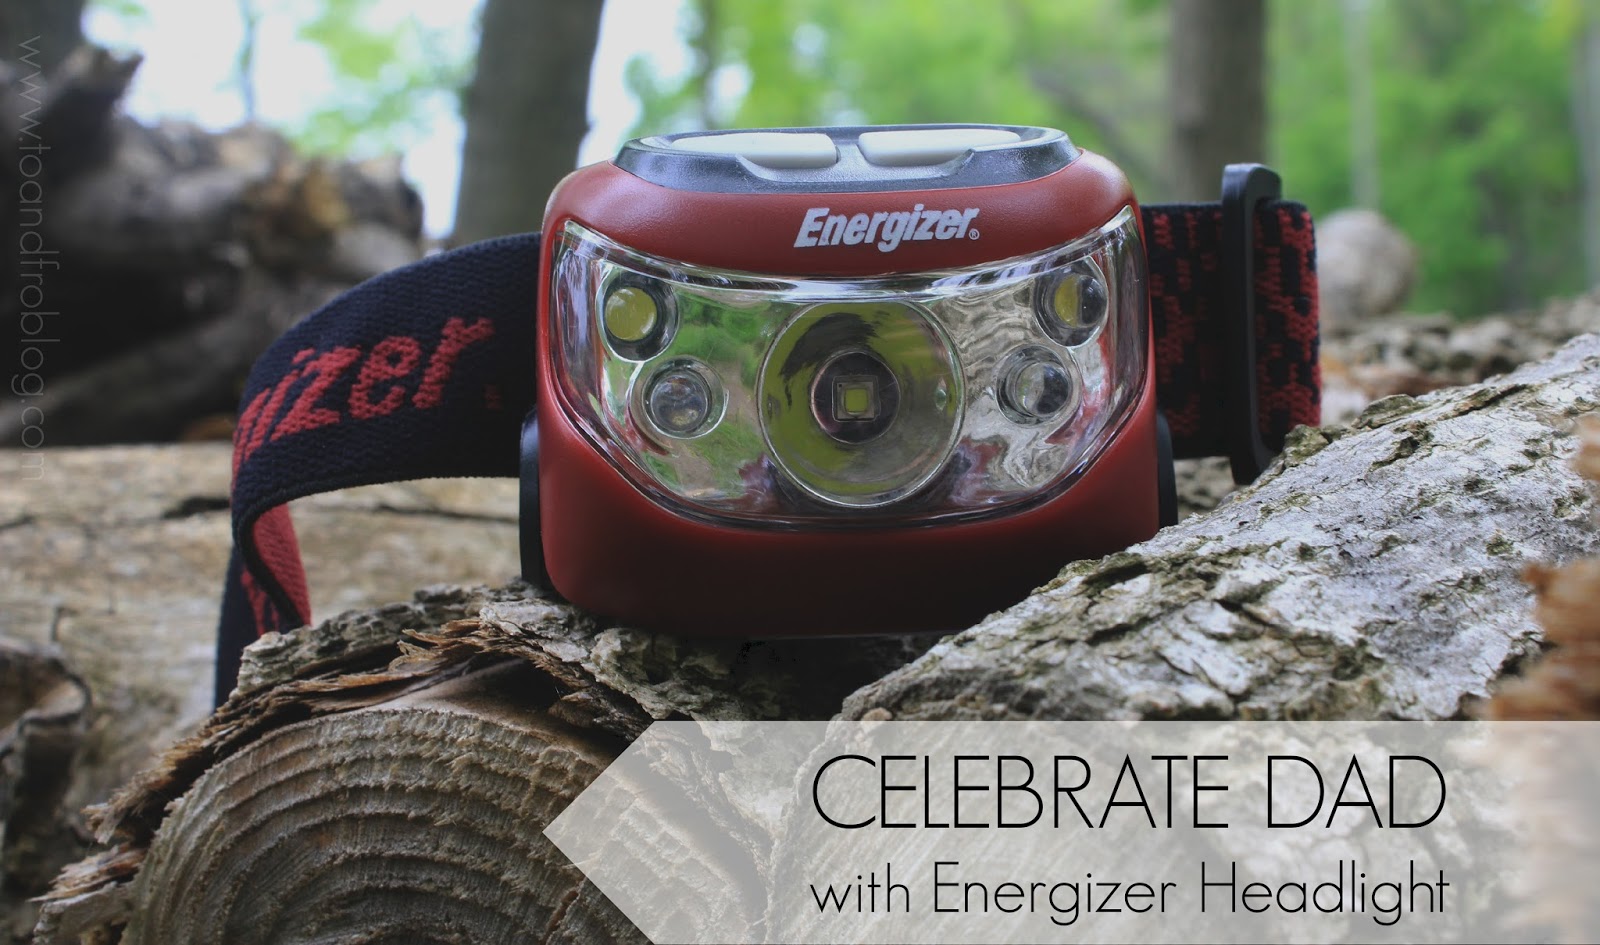
    energizer headlight

    Father's Day is about celebrating the dads in our lives and what makes them a hero. I am not afraid to admit that my dad is my hero. Ever since my brother, sister and I were young, he has worked extremely hard to provide for our family - to make sure we had, and continue to have, the best opportunities, including attending all of those out of town soccer and hockey tournaments and graduating from university debt free. I am forever grateful for what he has scarificed for us. Not to mention, the guy's a volunteer firefighter. In his spare time, he helps those he doesn't even know, which just ups the coolness factor. 

    dad balloons; energizer headlight

    One thing that I can always rely on my dad for is good advice, like when my husband and I were given the opportunity to move to Alaska. "What do you have to lose?", were his exact words as we hummed and hawed over whether it was the right decision. We had no idea what to expect, or what to pack - we only knew what we had heard, that it was cold and it was dark. I will never forget “packing day” - we were sprawled out in my parents' living room, with entirely way too much stuff already, and my dad handed us a headlight to put in our bag. He told us it would come in handy, and he was definitely right. We used that headlight for everything - taking our routine after-dinner winter walks, warming up the car in the dark morning hours, reading in bed and even during our many camping trips. It was the perfect hands free accessory for our Alaskan adventures.

    My dad has always put the needs of others above his own. So, with his retirement fast approaching this summer, we decided to make it all about him by bringing together friends and family to celebrate this milestone. After plenty of good food, good drinks and good laughs, we ended the night with a bang by putting on a spectacular fireworks show. Thanks to the new Energizer headlight that I recently purchased from Walmart using 
    this couponwe were able to show dad just how much we really care. 


    energizer headlight

    Dad, we are extremely proud of you and can’t thank you enough for what you have done for us. Happy Father’s Day!

    energizer headlight

    Be sure to check out more amazing uses for Energizer Headlights here, and purchase your own with this coupon


    How do you celebrate Dad?
    What would you do with your Energizer headlight?


    SHARE:
    Blog Design Created by pipdig