What you need:
- plain mug
- paint in desired colour (I used Martha Stewart multi surface paint)
- foam brush
- sharpie
- rubbing alcohol
- paper towels
- baby wipes

*Make sure the mug is large and flat enough to fit your baby's foot or hand print. Baby girl's hands are always moving, so I opted to use her foot print. Therefore, the mugs I chose had to be tall enough to fit her big foot. The mug also does not need to be white - just make sure that the paint colour that you chose is visible against the mug.
What to do:
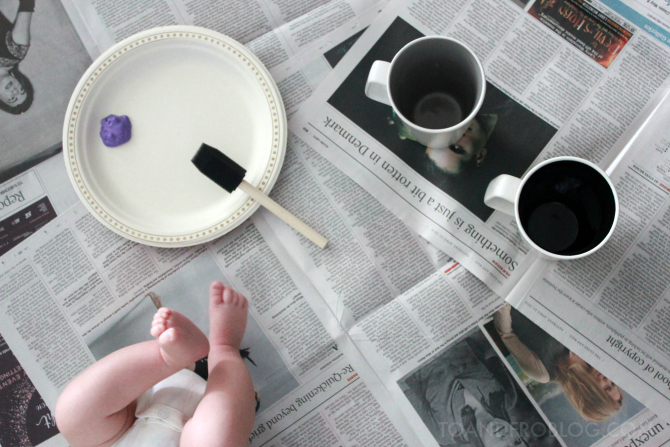
- Clean the mug thoroughly with the rubbing alcohol and paper towel.
- Pour paint onto flat surface, such as a paper plate.
- Using the brush, fully coat the bottom of baby's foot or hand.
- Press foot or hand firmly on the side of the mug. If you do not like the way it looks, immediately remove paint with baby wipe and dry with paper towel. Repeat steps 3 & 4.
- Once you are happy with the print, use the baby wipes to clean the paint off baby. Make sure to be thorough and that all the paint is removed (in case they like putting their hands in their mouth).
- Allow paint to air dry for 1 hour.
- Using the sharpie, add wording, such as baby's name, to the mug. TIP: Write the design in pencil first and trace over it with the sharpie.
- Once the paint is dry, place the mugs in a cold oven. Heat to 350 degrees F and bake for 30 minutes. It is important the oven is cold as the mug needs to heat gradually.
- Once the time is up, turn off the oven and allow to cool with mugs in it.
- If the wording is not dark enough, retrace with sharpie. Repeat steps 8 & 9.

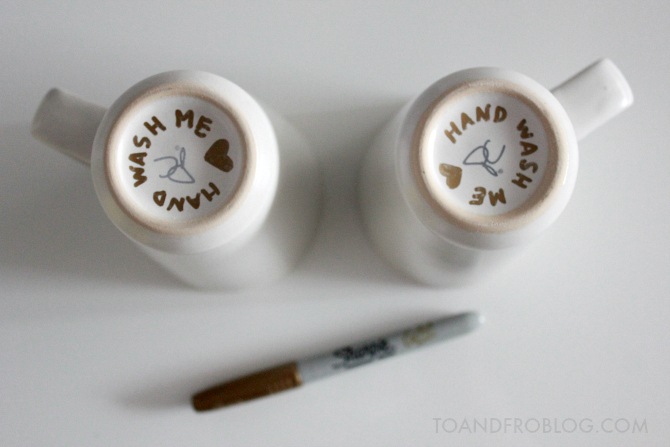
It is best to wait a few days before using the mug to make sure that the paint has set. I also recommend having the recipient hand wash the mug after use, as the paint may wear over time if placed in the dishwasher. To remind Grandma, I wrote instructions on the bottom of the mug using a sharpie.