August 24, 2020

5 Fun & Easy Summer Cricut Joy Projects (+ Preschooler Flashcard DIY)

*Disclosure: This is a sponsored post written by me on behalf of Cricut. All opinions are 100% mine.

Summer. The days are long, and the kids are out of school. And chances are high that you’ve also been home from work - maybe juggling working and caring for your children? Ya, me too. Keeping them busy and engaged, while limiting screen time to allow you to get work done is not an easy task. And if there is ever a time to pull out the Cricut and create some fun projects with (or without) your kiddos, now is the time.

Today, I’m sharing why I love my Cricut Joy™, specifically five of my favourite Cricut Joy DIY projects that I’ve made at home this summer using Cricut Joy Smart Vinyl™.

5 Fun & Easy Summer Cricut Joy Projects

5 Fun & Easy Summer Cricut Joy Projects

Vegetable Garden Markers

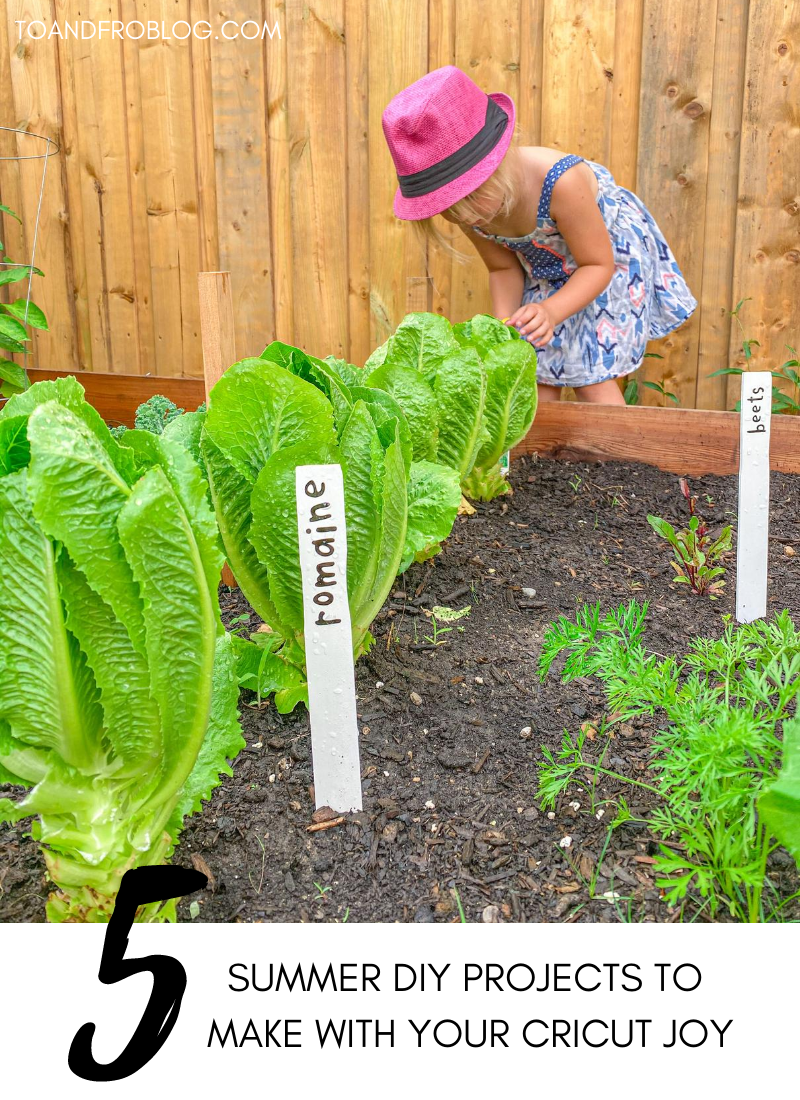
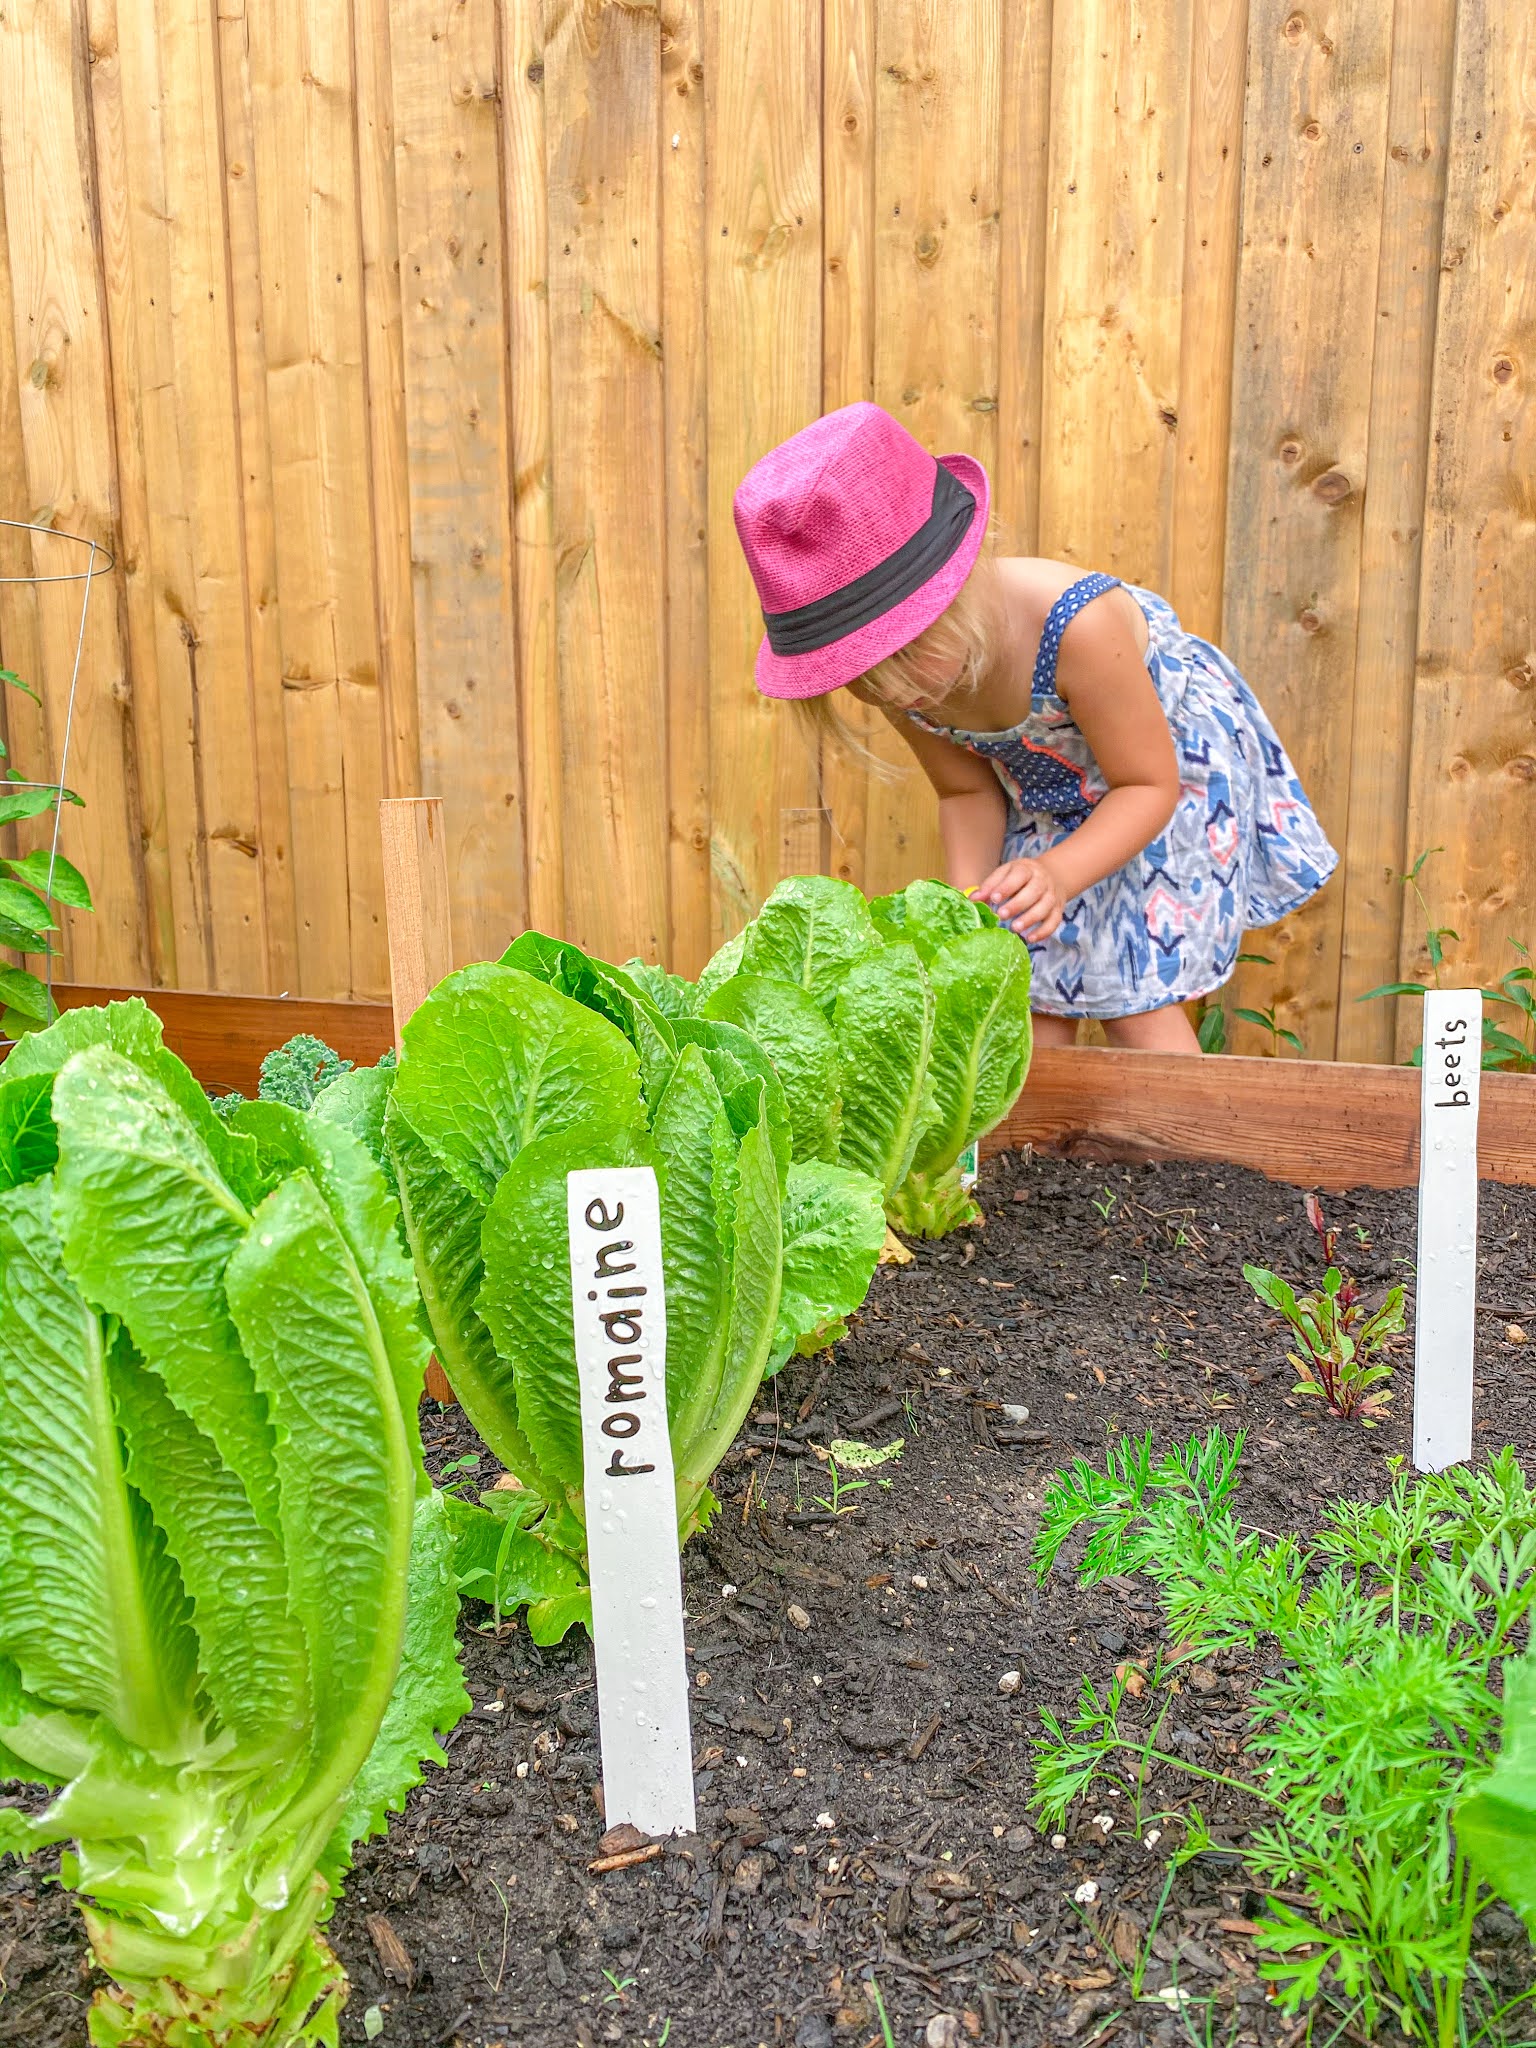
One of my favourite things about our new house is the backyard. It’s crazy what a little green space can do for your mood. Since moving in last summer, I have been so excited for the girls to finally have a place to get outside and play. But, this new green space also meant that I could build an even bigger and better vegetable garden than the container gardens we had on our condo terrace last summer. So we were able to tell what was what, I created these vegetable garden markers using up cycled paint stir sticks that I simply spray painted white and Smart Vinyl - Permanent in black. I measured the size of the paint stir sticks and created the vegetable labels text (DJ Juicy font) in the Cricut design space app. I applied the labels to the painted stir sticks with Transfer Tape, and once completed, added them to my garden next to the appropriate fruit or vegetable. Much better looking that the generic tags that come from the Garden Centre. 

Wooden Welcome Sign

This wooden welcome sign is one of my favourite Cricut Joy projects to date. Earlier this summer, we added a deck to the back of our house, and to give it some added personality, we created this “Welcome to Our Deck” sign. It was also super easy to make, and with several home update projects already on the go, we had all of the materials we needed already at home. I simply created the text in the design space app (Babette font for "Welcome" and Creative Memories Tiny Treasures - Rubber Ducky font for "to our deck"). My design can be found on Design Space here.

5 Fun & Easy Summer Cricut Joy Projects

Mailbox Decal

While our front porch is going to be next summer’s focus, I couldn’t help but take our ugly white mailbox and give it some curb appeal by painting it black to match the porch railings. I then personalized the mailbox with “hello” text created in the Cricut design space app using Babette font (easily my favourite cursive font in the app). Once the mailbox was dry, I applied the cut vinyl in the desired spot using Transfer Tape. 

5 Fun & Easy Summer Cricut Joy Projects

Stemless Wine Glasses

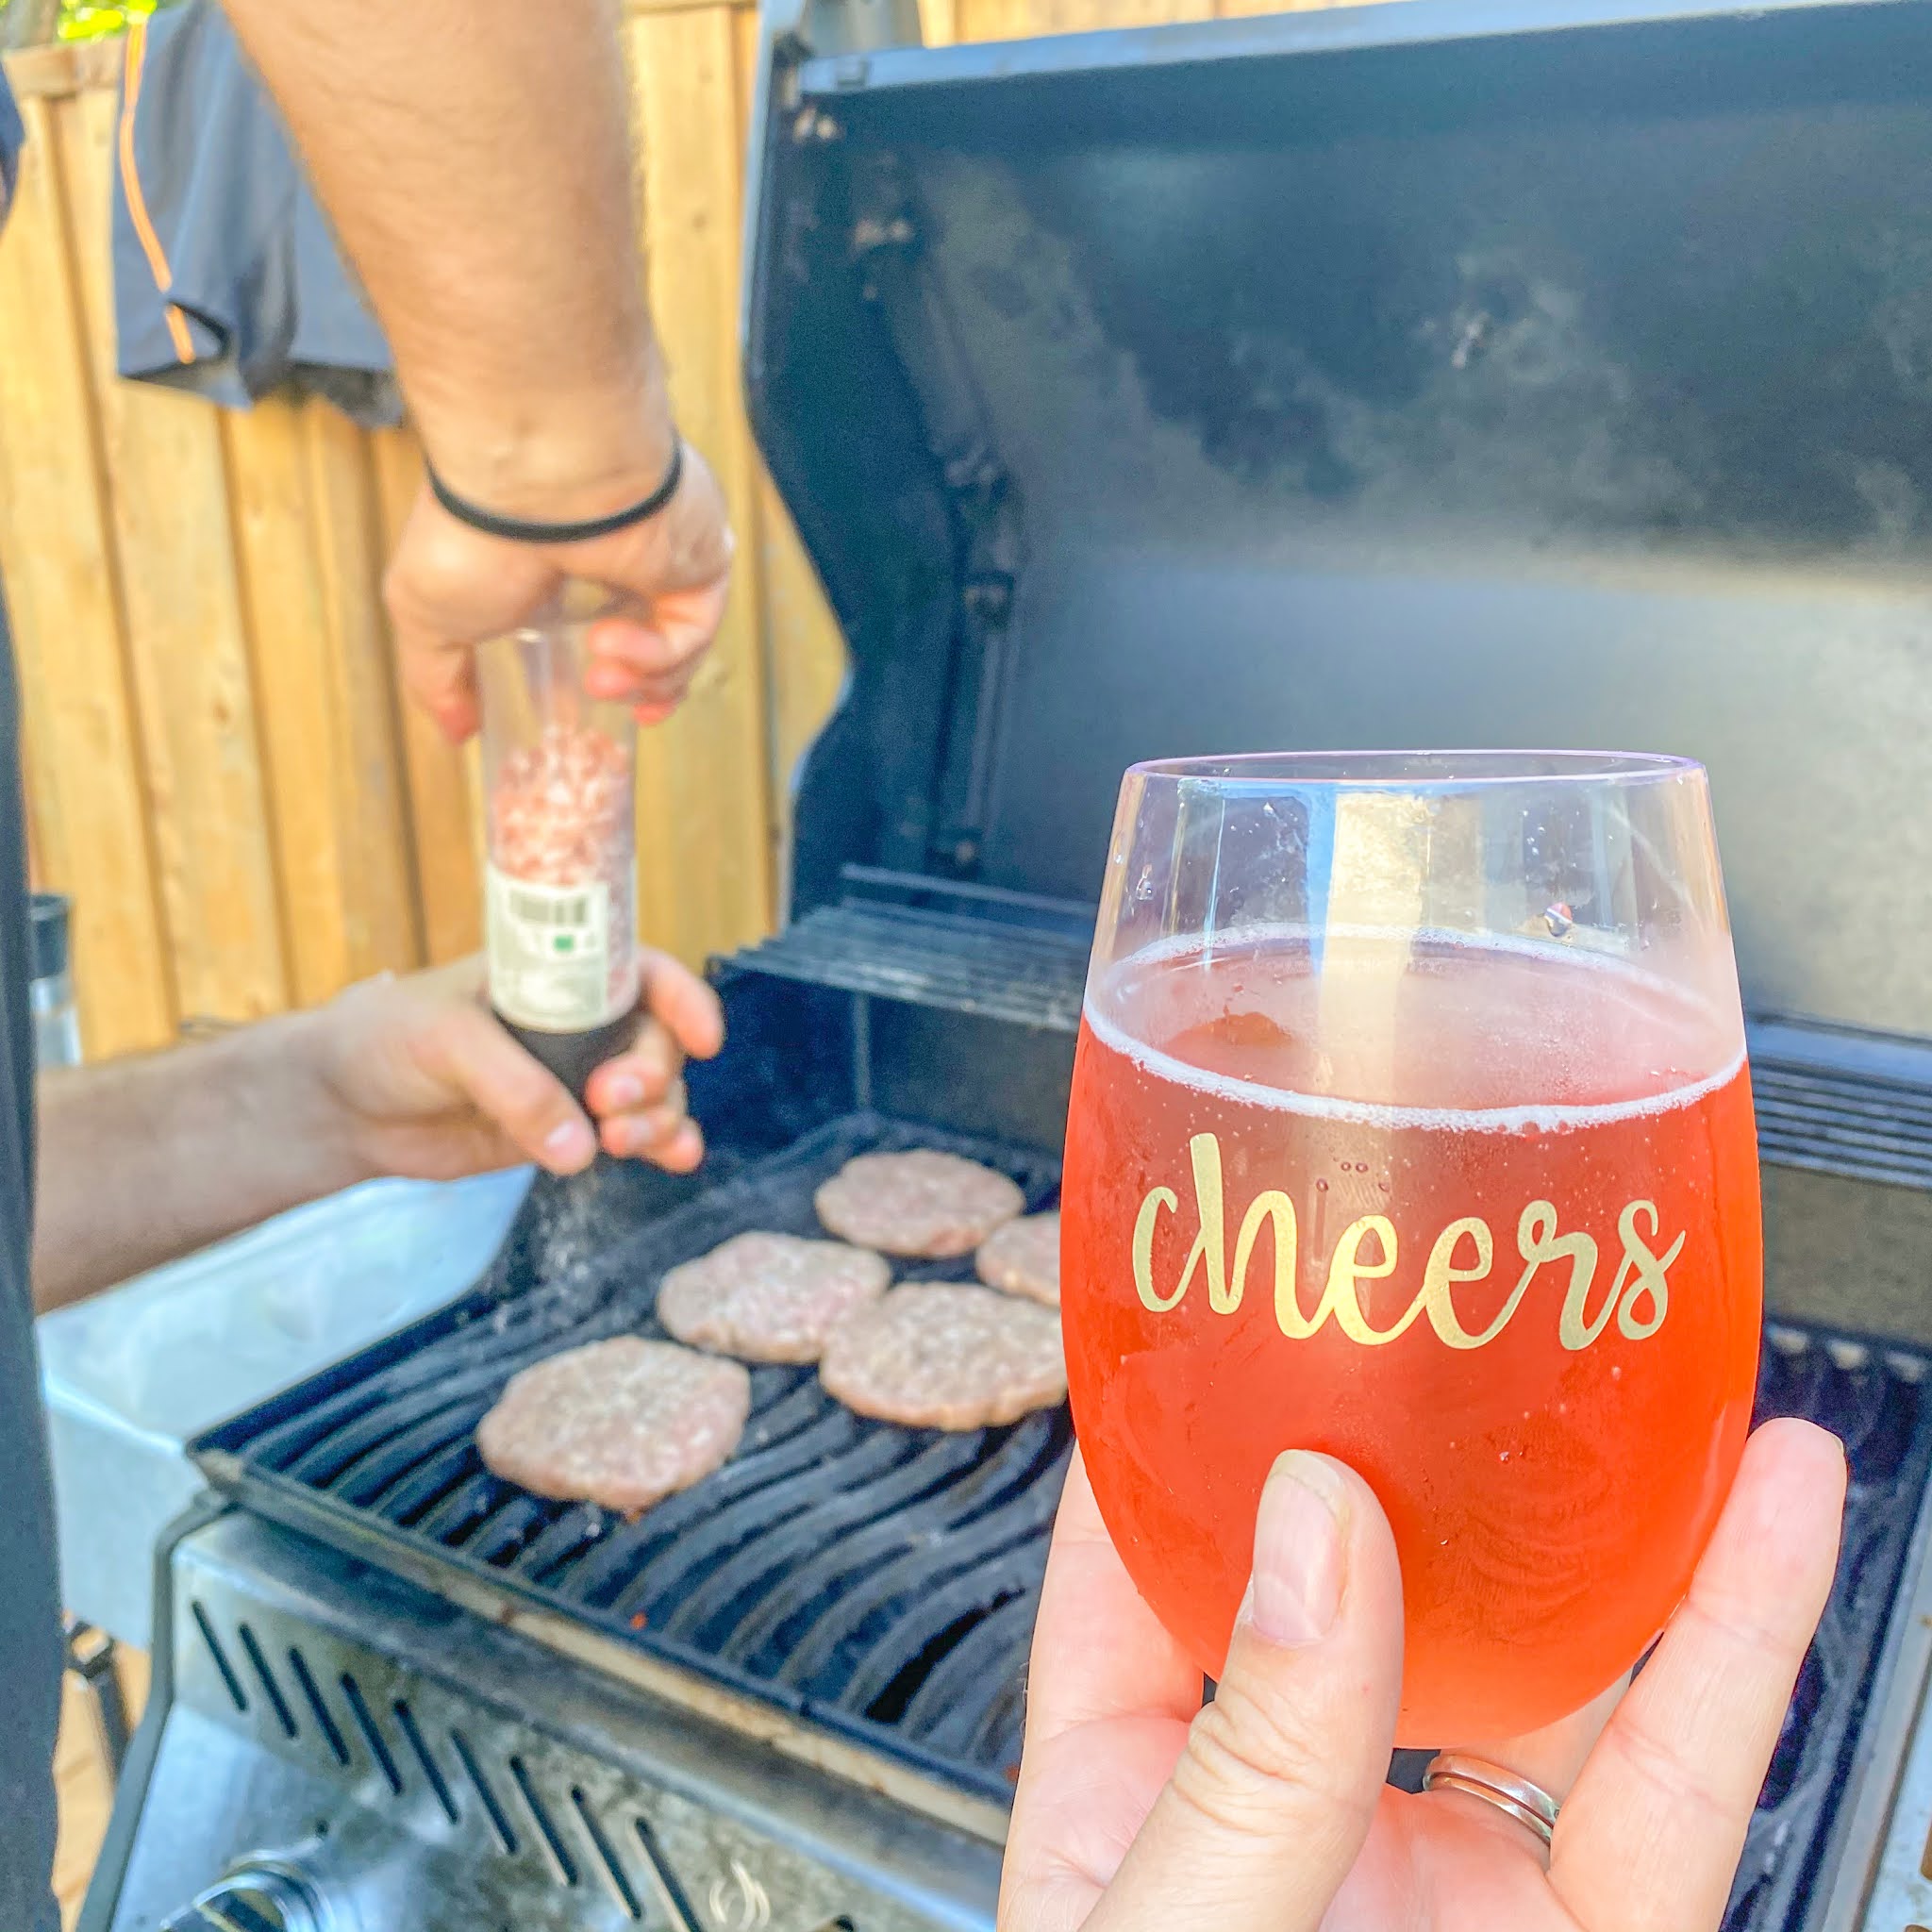
We love to entertain. And while this summer may look a little different when it comes to entertain, I am happy that we have still been able to have those in our bubble over for backyard BBQs. I recently purchased more backyard-friendly plastic stemless wine glasses and decided to jazz them up a little using Smart Vinyl - Permanent in gold. I measured the size of the glasses and created the “cheers” text (Babette font) in the Cricut design space app. I then applied the labels to the outside of the clean glasses uses Transfer Tape. They were very easy to make, and added a little something extra (including lots of compliments and questions about where I bought them) to our backyard get togethers.

5 Fun & Easy Summer Cricut Joy Projects

Preschooler Flash Cards

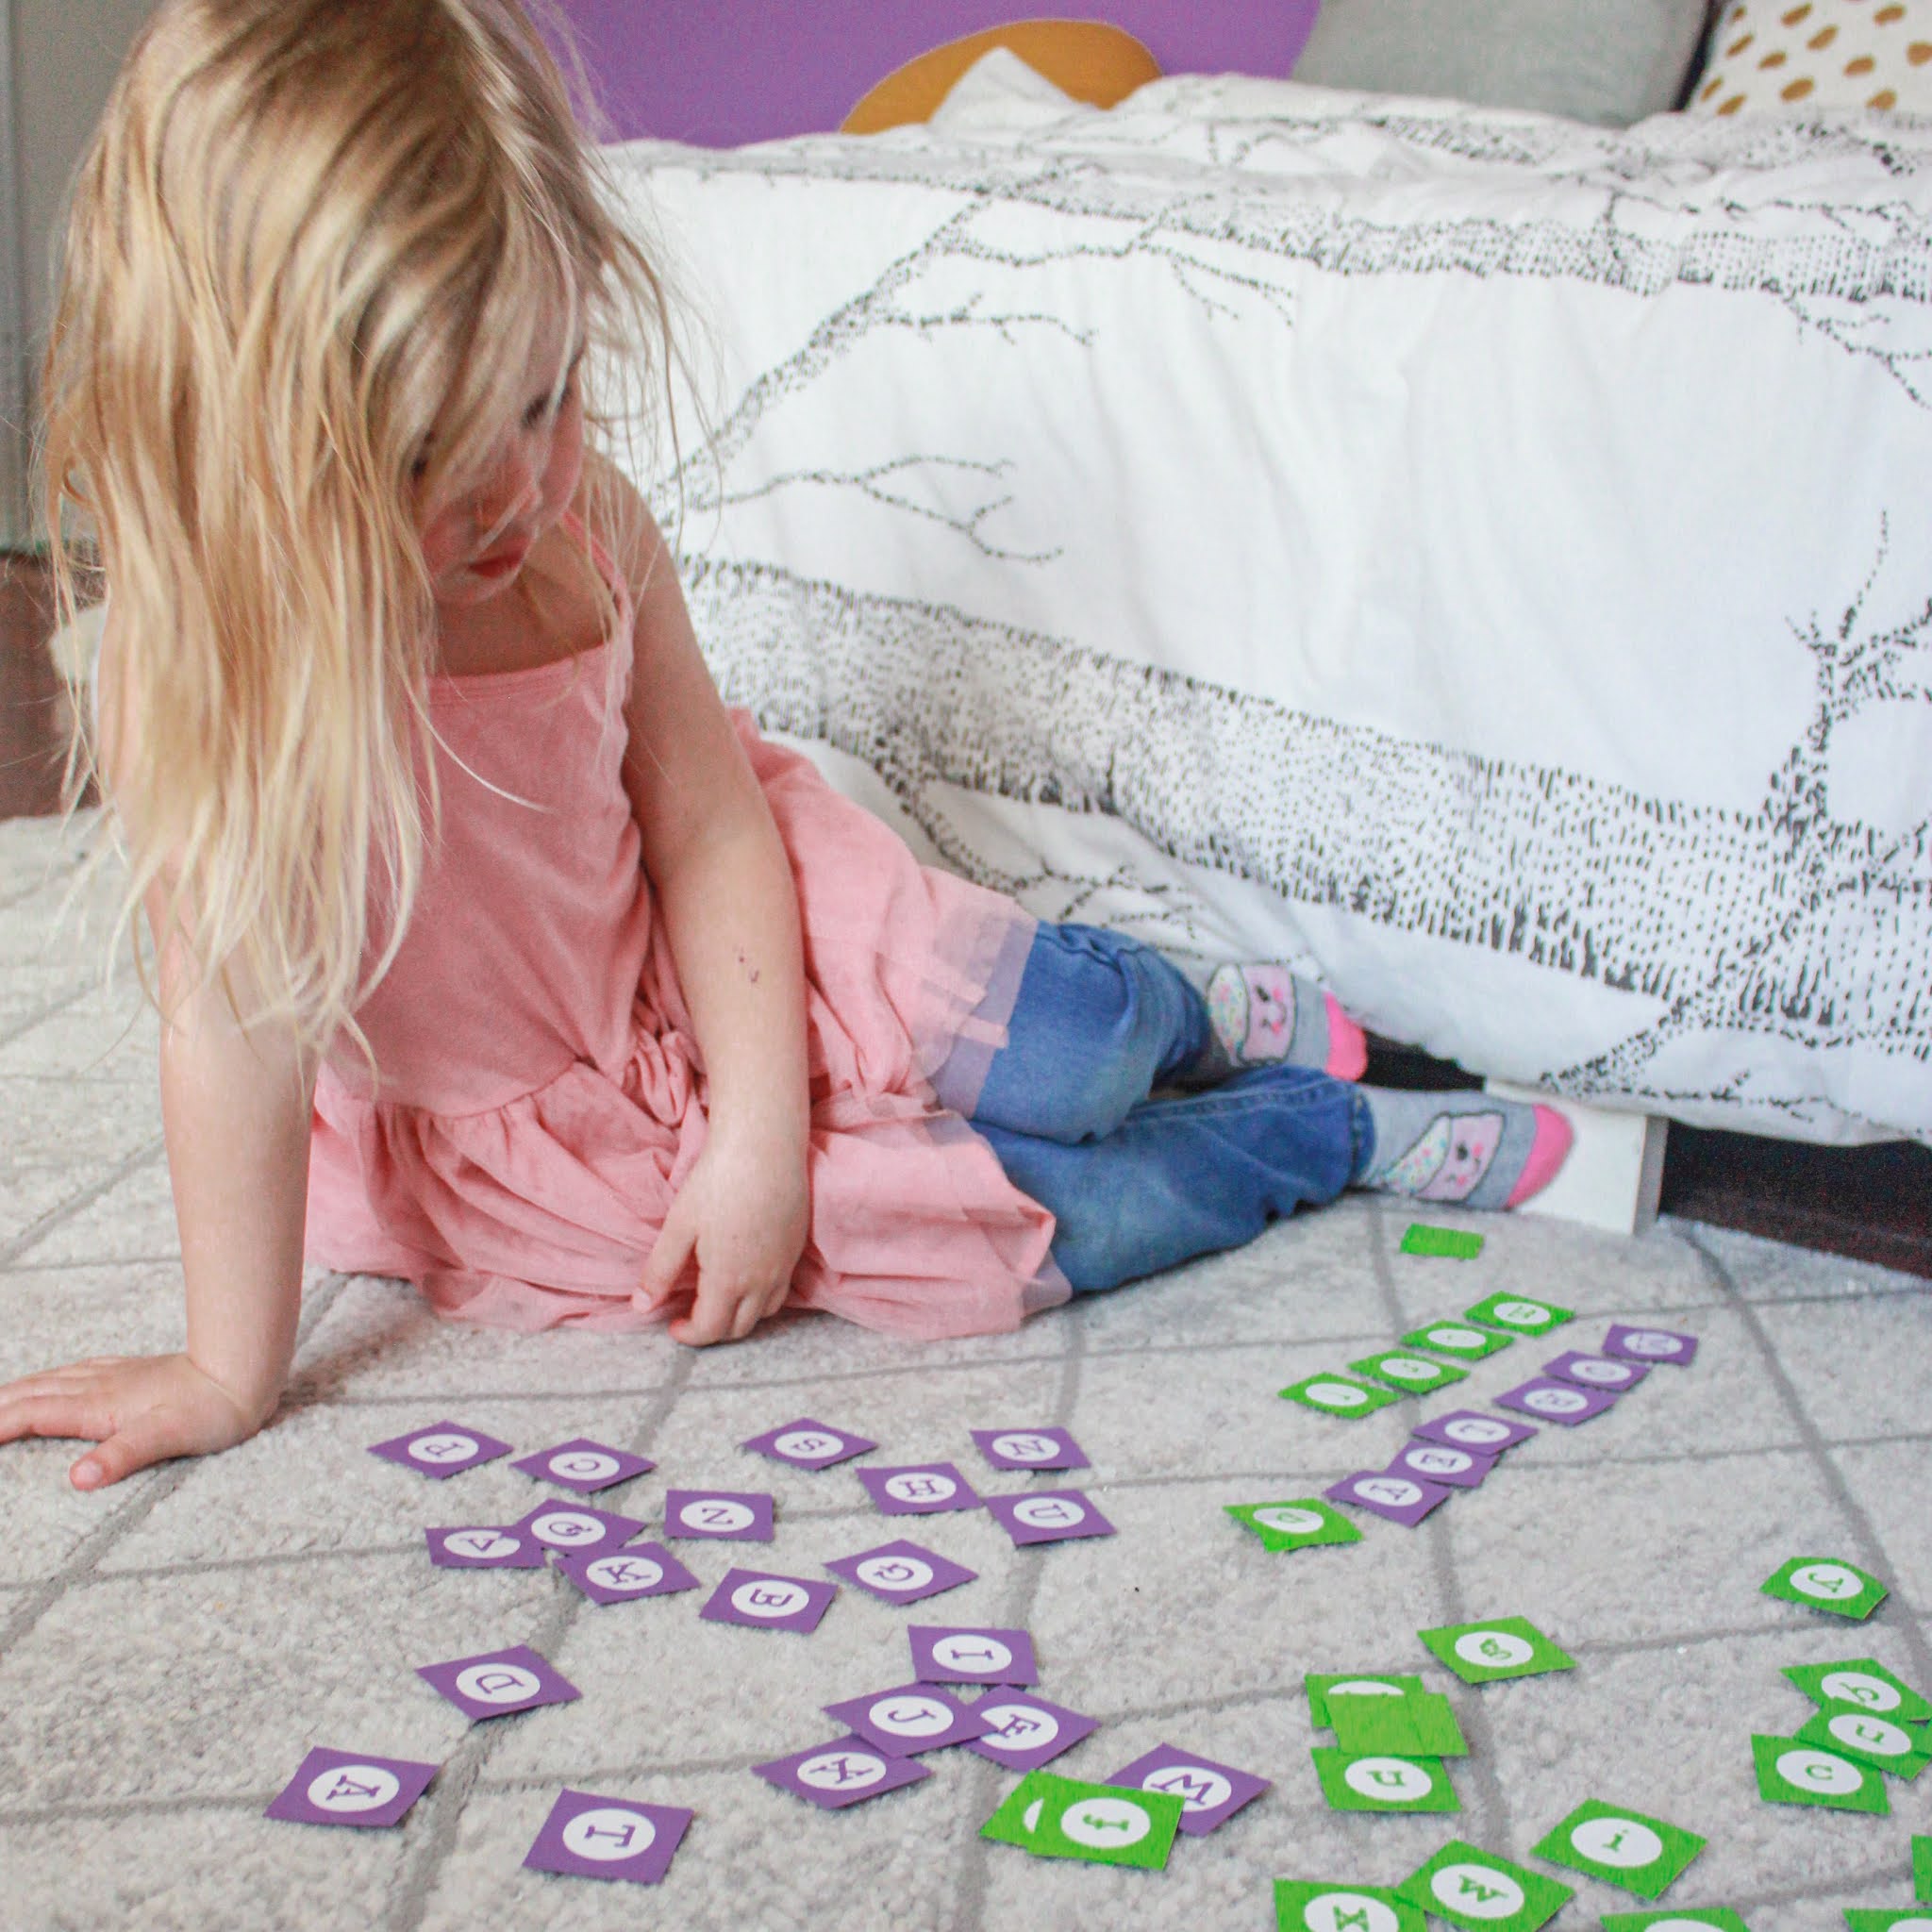
These flashcards were one of the first projects I made with my Cricut Joy when schools closed back in March. I was determined to keep the learning continuing, and these super simple flashcards were a great help in doing so. Using construction paper and Smart Vinyl - Permanent, in white, I created a set of capital letter cards and small letter cards. These flashcards could be used for letter recognition, spelling names and/or matching capital and small letters. The flashcards were very easy to create in design space, as the font Cricut Alphabet Circle already existed. I simply printed it on the vinyl, and applied it to the construction paper using the Transfer Tape. I did used two separate colours of construction paper, one for the capital letters and one for the small letters. But if you wanted to up the difficulty, you could use the same coloured paper for all. 

5 Fun & Easy Summer Cricut Joy Projects

Next up on my Cricut Joy DIY list? Story blocks. Stay tuned to see how they turn out.

The Cricut Joy makes home DIY projects so easy. Unlike other Cricut machines, the Cricut Joy is a compact cutting machine, less than half the size of Cricut Explore and Cricut Maker—making it perfect for people without a dedicated crafting area (like me)! From customized pillows, to personalized glassware and welcome signs, the possibilities are nearly endless with this fun tool.

For the majority of my projects, including those outdoors, I use Cricut Joy Smart Vinyl - Permanent which is water- and UV-resistant, and lasts up to 3 years. Cricut Joy Smart Vinyl also comes in removal and writable, and a variety of different colours, including mattes, metallics, holographic and more. 

Be sure to check out the Cricut blog, where you’ll will find more DIY inspiration and tutorials! Use the hashtag #CricutAtHome when sharing your project on social media - I would love to see what you create!

Do you have a Cricut machine? What’s your favourite project to make? I’d love to hear - I’m always looking for inspiration!


PIN IT

5 Fun & Easy Summer Cricut Joy Projects

5 Fun & Easy Summer Cricut Joy Projects


SHARE:

April 21, 2020

How to Celebrate Earth Day While Social Distancing - 30 Ways to Connect Outdoors & Virtually


Hug a tree, not each other.

It’s how we’ll be celebrating Earth Day 2020, in the face of this global pandemic.

This pandemic has undeniably reshaped life across our beautiful planet. Cities have shut down, businesses have closed, restaurants are solely offering takeout, sports seasons have come to an unexpected end, full time jobs are being done remotely and the kids are home from school. Sigh, the kids are home from school. 

Safe to say, this pandemic has affected each and every one of us.

One thing it hasn’t affected is our ability to celebrate Earth Day. With social distancing in affect, we may not be able to hug each other, but we can definitely still hug a tree and celebrate Mother Nature and the planet we call home.

How to Celebrate Earth Day While Social Distancing - Outdoors & Virtually

How did Earth Day begin?

In 1970, US Senator Gaylord Nelson of Wisconsin had the idea for a national day to focus and raise awareness on environmental challenges. On April 22, his idea inspired 20 million Americans (at the time, 10% of the US population) to take to the streets, college campuses and cities to demand a new way forward for our planet. 

The first Earth Day is credited with launching the modern environmental movement, and is now recognized as the planet’s largest civic event. Earth Day was, and continues to be, a unified response to an environment in crisis.

This Wednesday, April 22, 2020, marks the 50th anniversary of Earth Day. 

With social distancing guidelines still in place across the world, Earth Day will look a little different this year. But rest assured, it will still take place. 

While in-person community events are out of the picture for the most part, there are still many ways to celebrate Earth Day's 50th anniversary whether it is virtually online, at home or in your neighbourhood.

How to Celebrate Earth Day While Social Distancing - Outdoors & Virtually

Here are 30 ways to that YOU and your family can celebrate Earth Day, while social distancing.

How to Celebrate Earth Day While Social Distancing

OUTSIDE

1. Create some sidewalk art with chalk - bring a smile to those passing by!

2. Have a picnic on your porch or in your backyard (if weather allows). 

3. Green your space! Build a vegetable garden in your backyard. Plant some vegetable seedlings indoors. (Most suppliers such as Home Depot Canada, Canadian Tire, Lowe’s, etc. will allow you to order supplies online and pickup curb-side.)

4. Create a fun social distancing mood board, such as this one we did. Have some fun with it, and make it outdoors related!

4. Hang a birdhouse or bird feeder and watch who visits. How many different types of birds do you see?

5. Take a walk around the neighbourhood and look for flowers.

6. Go on a neighbourhood scavenger hunt. One of ours can be found here.

7. Ditch the single use plastics! Decorate a reusable water bottle.

8. Teach your kids about the 3 Rs - reduce, reuse and recycle!

9. Take the opportunity to do some spring cleaning around the house and in the garden. 

10. Start running, or sign up for a virtual run! This website has a comprehensive list of virtual runs from across the world, all supporting different charities. 

11. Go for a walk and collect sticks, leaves, etc. Bring them home and create your own art project!

12. Play with bubbles! (You're never too old to play with bubbles.)


13. Get up early to watch the sunrise. Stay up late to watch the sunrise.


14. Pull out your camera and go on a photo safari around your neighbourhood.

Remember, before going outside check your local restrictions before heading out and stick close to home, so you don’t spread the virus elsewhere.

And if you can’t get outdoors, here are some ways to celebrate Earth Day from the comfort of your home. 

VIRTUALLY

15. Support local - shop online at your favourite small shop, order takeout from your favourite local restaurants or even buy a produce box from your local farming co-op. 

16. Inspire the next generation of scientists, explorers and conservations in your house with Exploring By the Seat of Your Pants. Live stream topics include oceans, biodiversity, women in science, space exploration, ocean plastics, climate change and more. 

17. Check out one of the many amazing documentaries about animals and the environment on your favourite streaming service. Our favourites can be found on Disney+ and Netflix.

18. Check our your favourite zoos and aquariums to see what virtual learning resources they are offering. The Association of Zoos and Aquariums has a comprehensive daily calendar of live streams and activities. 

19. Tune into Earth Day Network’s Earth Day Live 2020 - they have an all-star lineup of speakers and performers. The 15-hour stream will run from from 9 a.m. to 11 p.m. EST. 

20. Take a virtual tour through a US National Park, such as Yellowstone National Park, Kenai Fjords National Park in Alaska or Joshua Tree National Park in California, to name a few.

21. Check out Earth from space with Google Earth. Can you find where you live?

22. Check out "NASA Science Live" on Wednesday at 3pm EST (NASA TV and YouTube), featuring NASA experts discussing how NASA plays a big role in understanding and improving the earth.

23. Check out virtual programming offered at your favourite museums and science centres.

24. Go ‘scuba diving’ on the Great Barrier Reef with Sir David Attenborough (think Planet Earth) as your guide. Learn about the animals that call this reef home, its importance in our everyday life and the threats it faces. 

25. Check out the cherry blosson "Bloom Cam" at the National Mall, a 24/7, live, real-time look at one of the most popular and beloved sites in Washington, DC. The blossoms signal the arrival of spring and symbolize hope, renewal, and friendship.

26. Start to plan your next vacation. There are lots of great online resources to inspire you travel plans, including Lonely Planet, Frommer’s and even social media. Search your favourite travel-related hashtags on Instagram - #travel, #goexplore, #wanderlust, for example.

27. Create some earth-inspired art! There are many great resources online to inspire your own art project. For example, the Bob Ross ‘Joy of Painting’ series is available to watch on YouTube, where you can learn to paint a beautiful landscape. 

28. Explore available online environment related curriculum activities with you kids. If you are a  water lover and city dweller like me, these activities to help understand the urban watershed may be of interest to you. 

29. Use the US Environment Protection Agency's online Carbon Footprint calculator to learn how you daily activities affect the environment. 


30. For those high school and university students and parents looking to learn more, check out Coursera, which offers courses, certificates and degrees online from world-class universities and companies. Check out this free course about exploring the Arctic, offered by the University of Colorado. 

Also, don’t forget to check out these 50 essential outdoor activities for Spring for more things you can do with your family this season. 

How to Celebrate Earth Day While Social Distancing - Outdoors & Virtually

The theme for Earth Day 2020 is climate action. The enormous challenge — but also the vast opportunities — of action on climate change have distinguished the issue as the most pressing topic for the 50th anniversary. 

How will you celebrate Earth Day while social distancing? I’d love to hear your thoughts and ideas in the comments below.


PIN IT


How to Celebrate Earth Day While Social Distancing - Outdoors & Virtually

SHARE:

February 6, 2019

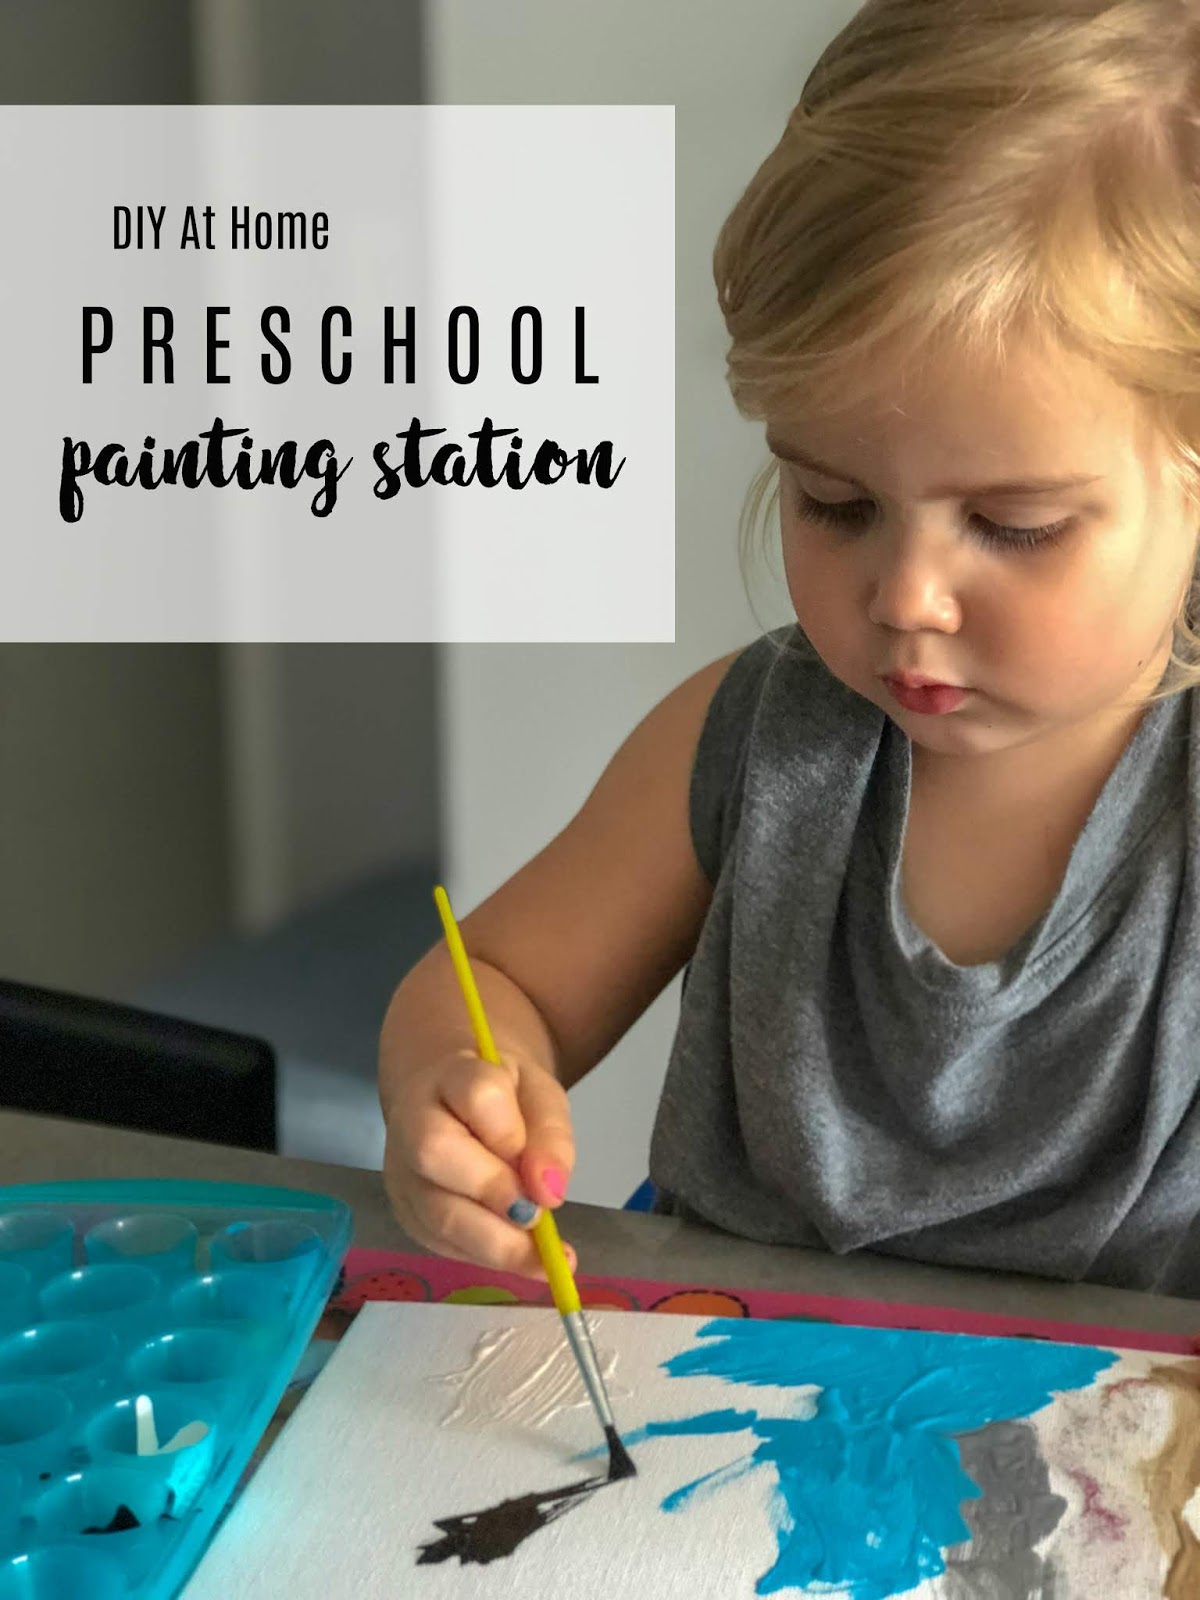
Easy At Home Preschooler Paint Station


With winter finally here and Mother Nature deciding to drop the mother load (pun intended) of snow and cold weather on us the past week, we’ve gone into deep hibernation.

Staying indoors with a 5 month old and almost three year old all day is not easy. Finding things to keep the both of them busy and engaged takes quite a bit of planning.

That’s why we like to have some activities ready to go, “in our back pocket”, for days just like the ones we’ve been having lately. 

Easy At Home Preschooler Paint Station Plus Painting Smock DIY

Last week, I shared our DIY “water table” for baby - one of our go to sensory play activities for the little one.

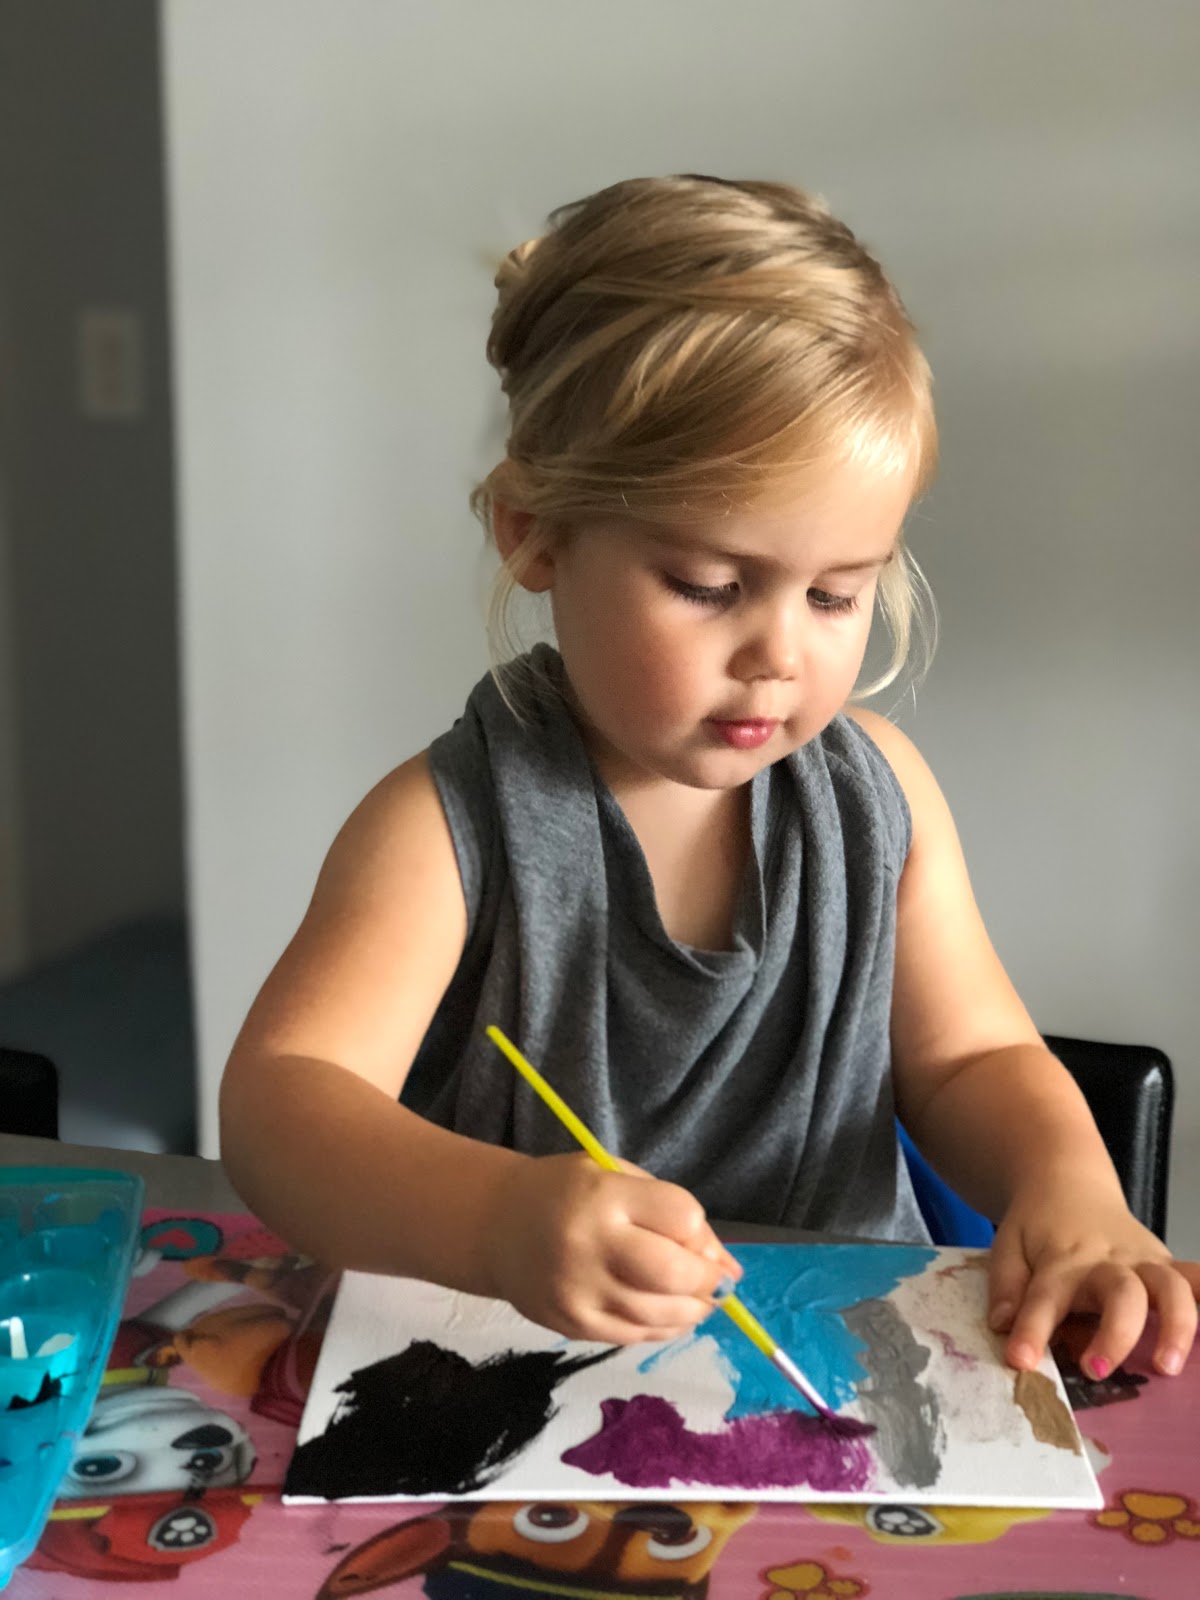
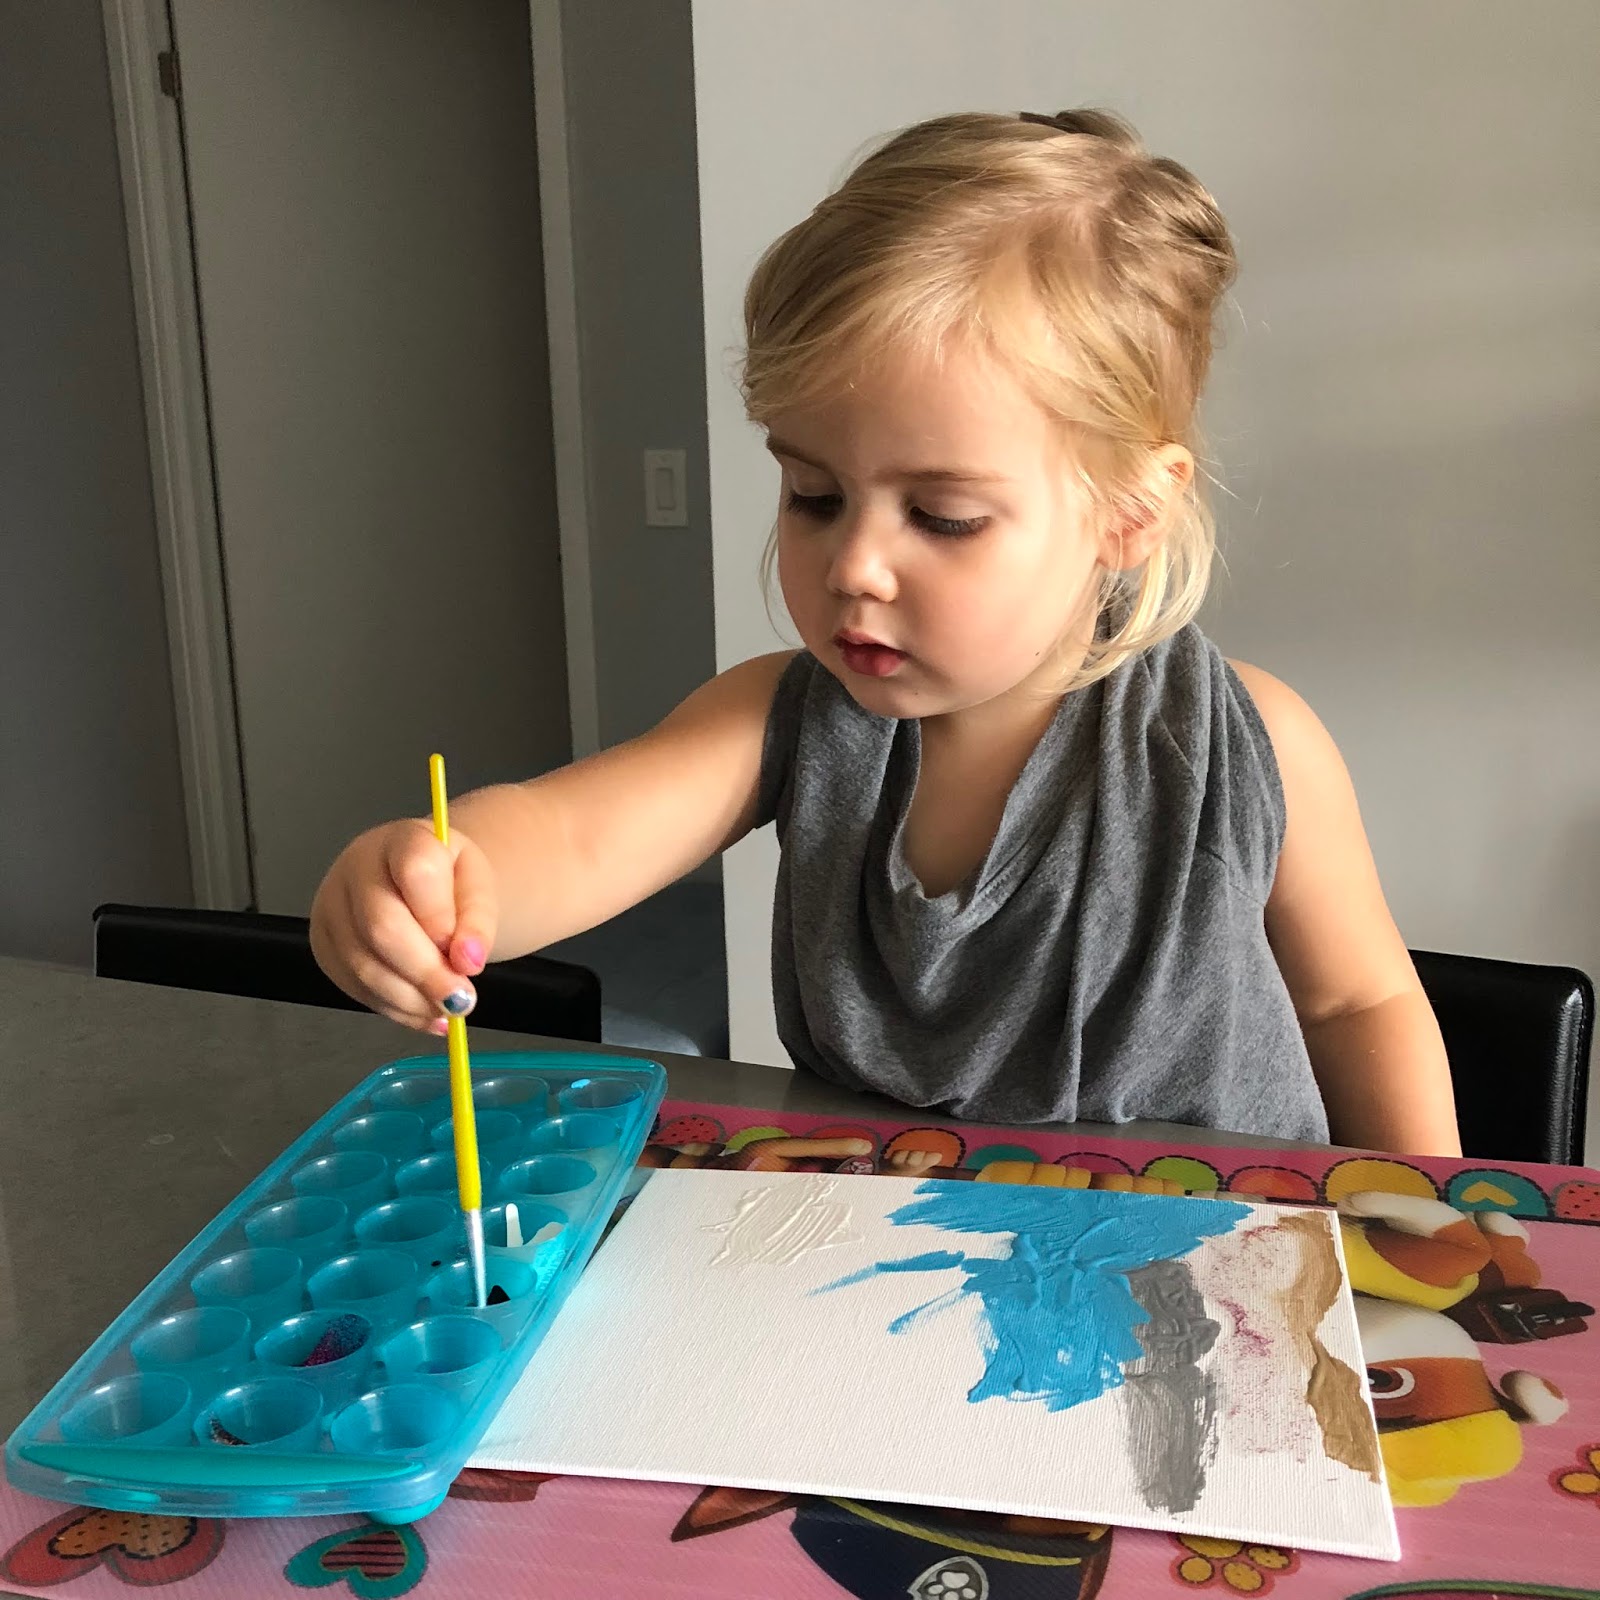
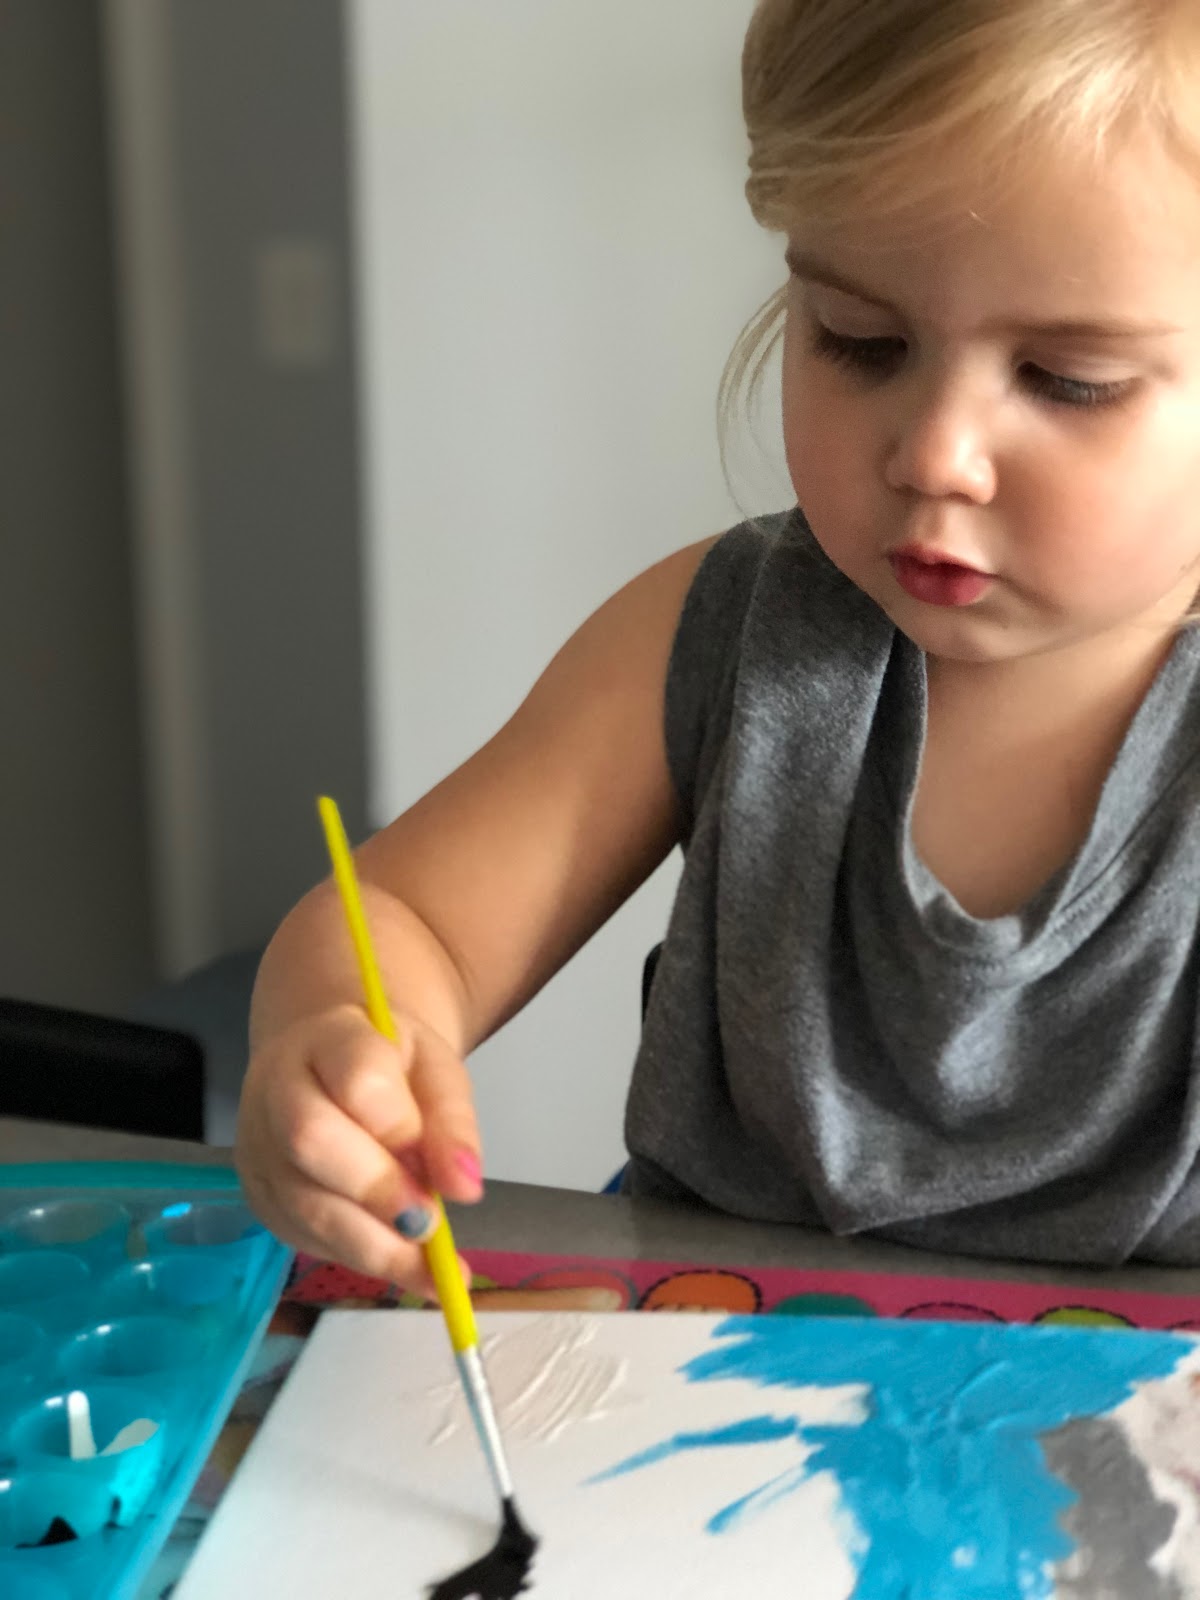
Today, I’m sharing one of our go to activities for our budding artist - this easy, at home preschooler paint station.

All materials required for this activity can be found at your local dollar store (in our case, Dollarama), which means its not only easy BUT also affordable.

Here’s a list of items you’ll need to make your own station (all for $15!). And then, scroll down to learn our simple DIY painting smock.

At Home Preschooler Paint Station

Materials:
Place mat, newspaper or packing paper
Ice cube tray
Acrylic paper (number and colours of choice)
Small canvases or card stock
Paint brushes
Painter’s smock (see easy DIY below)

Easy At Home Preschooler Paint Station Plus Painting Smock DIY

One of the great things about this activity (besides keeping my daughter occupied, focused and using her imagination to create her latest masterpiece) is that it is very affordable. For just $15, you can create your own painting station with enough materials for a weeks’ worth of painting. 

Like I said, it’s always good to be prepared.

Here is the cost breakdown for our activity kit:
Place Mat: $0 (already had at home)
Acrylic Paint: $1.50 each colour x 5 colours = $7.50
Painter’s Smock: $0 (DIY - see below)
Paint Brushes: $3 for pack of 25
Ice Cube Tray: $0 (already had at home)
5x7 Canvas: $1.50 for pack of 3 x 3 packs = $4.50

Total Cost: $15 for 9 paintings

Easy At Home Preschooler Paint Station Plus Painting Smock DIY

And if you're not into spending $15, you can make it even cheaper!

The above cost is only if you want to paint on the mini 5x7 canvases. If you have paper, card stock, construction paper, newspaper, cardboard, etc. at home, the painting station is even more affordable - all you’re buying is paint and paint brushes! (Read on for the reason why we use canvases.)

We keep all of the materials in a bin (in our laundry room, away from where she can get to it by herself) for easy access when needed.

Since this is one of my daughter’s favourite activities, she’s created quite a few painted canvas masterpieces. Luckily, they make great gifts! While we’ve added a few to gallery wall (a nice pop of colour), the others have all been given as gifts to family members. Make sure to add a description of the photo (you know, in case it is very “abstract”) as well as the date. 

Easy At Home Preschooler Paint Station Plus Painting Smock DIY

Ok, before we end this post, I know what you’re thinking… painting is messy. And yes, yes it is.

When Morley was in daycare, I remember I could always tell when they did a painting activity. I would be so upset because it would be all over her clothes, ruining them because the stain sat for so long. I always thought, why couldn’t they just cover her up to prevent her from ruining her clothes? 

While painting is messy, it’s important to remember that when it comes to little ones, messy play is good play and should not be avoided. 

There are ways however to limit the spread of the mess, and one of those ways is for your little painter to wear something that covers their clothing, like this DIY painting smock. 

DIY Kid’s Painting Smock

What You Need:
old t-shirt
chip clip or hair clip

What You Do:
Put the t-shirt on your child backwards. 
Grab the back of the sleeves and gather in the middle of their back.
Fasten tightly (but comfortably) with the clip to avoid the t-shirt from falling down. 
*See photo below for example.


Easy At Home Preschooler Paint Station Plus Painting Smock DIY


And voila, with a few items from home and a few purchased items from your local dollar store, you have an easy and affordable preschooler painting station. The perfect addition to your "back pocket" activities for days when you're stuck inside. 

Stay tuned for more back pocket indoor activity ideas for babies and preschoolers, coming soon to Instagram and the blog!

I would love to know - what are your favourite indoor activities for your little ones? 


PIN IT:

Easy At Home Preschooler Paint Station Plus Painting Smock DIY

SHARE:

January 25, 2019

DIY Indoor Water Table for Baby


Who else is going a little stir crazy with this weather? One day it's sunny and we're out for a walk, the next it's freezing rain and we're stuck inside.

When we can't get outside, I often find myself scrambling to come up with stimulating indoor activities for the girls. It's always good to have some in your back pocket. 

And because you asked (thanks to an IG story poll), over the next few weeks, I'll be sharing my back pocket indoor activities for both babies and toddlers/preschoolers, starting with this DIY Indoor Water Table for Baby!

DIY Indoor Water Table for Baby

One of my favourite indoor play ideas for the littlest in our family is this DIY indoor water table. I'm a water lover, and have thankfully also passed that on to my girls. Morley often tells me she would like to be a mermaid, that's how much she loves the water. This indoor water table was an activity I often pulled out when she was little, so I figured I'd give it a go again for her water-loving little sister.

It's a super simple idea to have in your back pocket when the weather isn't ideal to get outside (or when it is, and you're just looking for something fun) and it can be recreated with materials you very likely already have lying around.

So how did little B like it? Of course, it was a hit. Big sis was also loving it, showing B how to splash and grab the toys.

DIY Indoor Water Table for Baby

Benefits of Water Play for Baby:

This water play activity is not only fun, but it gives many opportunities to develop fine and gross motor skills (think hand-eye coordination). It's also an amazing sensory experience introducing them to textures and even temperatures. Plus, it's a great way to help get your babe more comfortable around the water (yes, they will get wet) AND to sneak in a little tummy time without them putting up too much of a fuss. 

Important note: While I say that this water play activity is good for baby, I recommend only doing it for those that are strong enough to push up on their arms and hold their head up while on their bellies. 

DIY Indoor Water Table for Baby

What You Need:

  • Large, clean cookie sheet
  • Clean, warm water
  • Towel
  • Baby-safe and water-safe toys (i.e. bath toys, utensils, cups, etc.)

What To Do:

  1. Place the towel flat on the floor. Put the cookie sheet on top of the towel.
  2. Add enough warm water (not too hot) to cover the bottom of the cookie sheet. (You don't want to to add too much water, it may not stay in the cookie sheet.)
  3. Add baby-safe and water-safe items to the water. 
  4. Place your babe on their tummy, with their arms in the water (so the edge of the cookie sheet is essentially in their armpits).
  5. Have fun watching them splash in the water.

Important note: Remember to NEVER leave them unattended!

DIY Indoor Water Table for Baby

Stay tuned for more back pocket indoor activity ideas for babies and preschoolers, coming soon to Instagram and the blog!

What are some of your favourite DIY indoor activities? I'd love to hear!


PIN IT:

DIY Indoor Water Table for Baby

SHARE:
Blog Design Created by pipdig