October 18, 2019

Bring Nature Indoors with this Do It Yourself Mid Century Modern Plant Stand


If you're looking for a stylish yet minimalist plant stand, this inexpensive do it yourself mid century modern-inspired plant stand is a simple solution for your indoor plant needs. 

Mid Century Modern Plant Stand DIY

While living in a big city has some challenges to getting outside into nature, one way we cope is by bringing nature to us, and filling our house with greenery. Not only do plants held purify the air, but they also help to reduce stress (yet another “side effect” of living in a big, busy city). I haven’t yet achieved “crazy plant lady” status, but I’m well on my way.

Since we moved into our new house, I’ve been on a little bit of a plant buying kick. And with all of the new plant babies, I was needing some planters that would be worthy AND kick my plant cred up a bit.

I’ve seen these mid century modern-type plant stands being sold at fancy retailers for in the hundreds of dollars. I’ve always loved the look of them, but not the pricey tag associated. I knew it was something I could easily make myself, for a fraction of the cost. So, a DIY it was. 

Mid Century Modern Plant Stand DIY

Here’s how to make your own Mid Century Modern Plant Stand (with a custom plant pot)

What You’ll Need


For the pot:
plant 
pot
white spray paint
accent paint (optional)
brush
painter’s tape
gravel (if pot lacks drainage)

For the plant stand:
1 - 1’’ x 2’’ x 8ft select pine board
1 - 1’’ x 2’’ x 6ft select pine board
4 - 3/8’’ wood dowels 
1/2’’ wood chisel
drill
saw
wood glue
sand paper
rag
wood stain
clamps

What You’ll Need to Do

First step is to pick your plant, and the pot it will go in. This will determine the size of your stand. 

For the plant, I opted for a Dracaena marginata, better known as a Dragon tree. This plant is an attractive, stiff-leaved plant with green sword-like leaves edged with red. They are perfect for a beginner crazy plant lady (like myself) because they're very easy to grow indoors.

I bought my pot at a local thrift store, for $4.99. I liked it’s unique shape. Try to find a pot that does not have drainage holes in the bottom. If it does, you will have to add a tray underneath (which may not fit in the plant stand) or risk water on the floor. Of course you could opt for a store bought, plain old Jane pot, but what’s the fun in that?! 

*Skip ahead to the plant stand portion if you are not customizing your pot.

Now it’s time to create your custom pot. Spray paint your pot white (or colour of your choice). I used Rust-Oleum Painter’s Touch 2x Ultra Cover Paint + Primer (spray paint) in flat white. It is fast drying, and even bonds to plastic if that’s the type of pot you’ve chosen. 

Mid Century Modern Plant Stand DIY

Since you won’t be completely filling the pot with dirt, make sure you spray inside of the pot, approximately 1-2’’ down from the top. A note about spray painting the pot – don’t hold the can too close to the pot or the paint will run! If it runs, quickly wipe the drips with a rag.

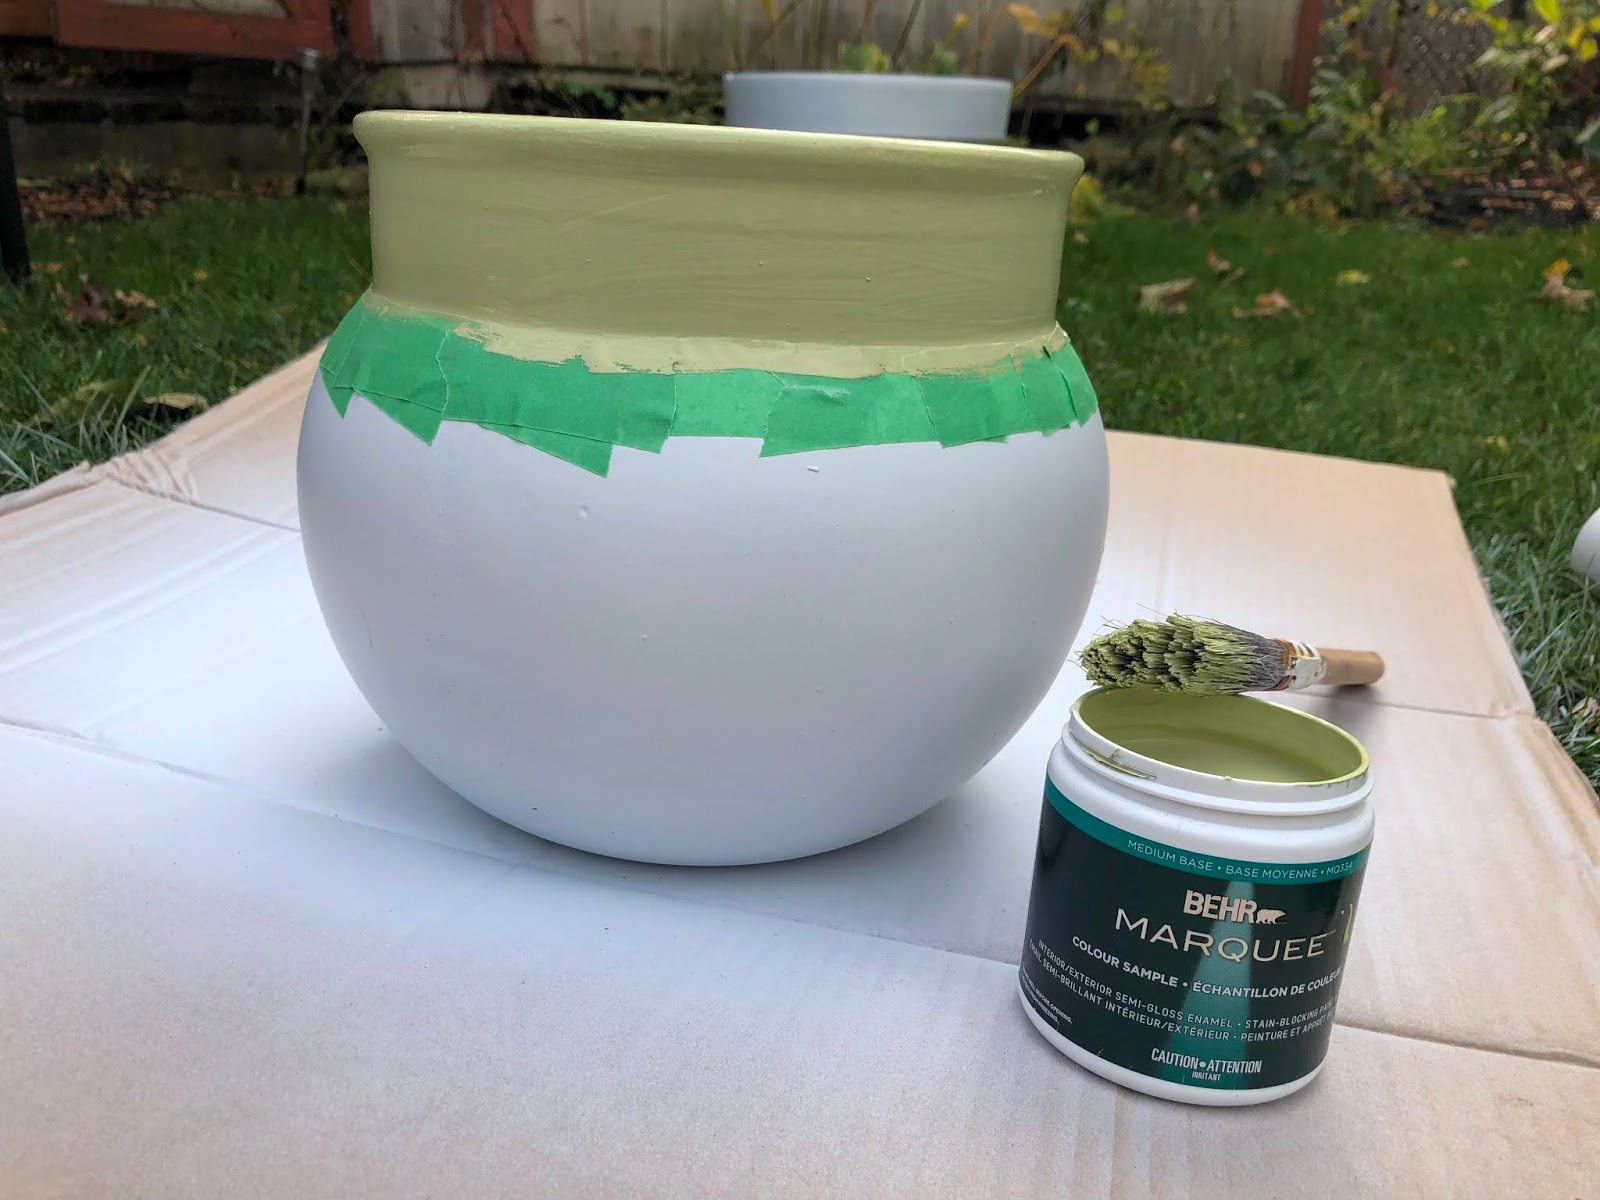
Once the pot is dry, use painter’s tape to create your design. My pot has a very prominent top, so I opted for a simple stripe design.

Add your accent colour. I used Behr’s 2020 Colour of the Year “Back to Nature” (S340-4) to add a little pop of colour. I was instantly drawn to the name, and knew it would help to add some warmth and comfort to our house in the times that we cannot actually get back to nature.

Mid Century Modern Plant Stand DIY

Once the pot is dry, remove the tape to reveal your design. (The shape of the pot made it a bit difficult to apply the tape in a straight line, so the green paint did slightly bleed and the line was not crisp. I did have to touch it up with some white spray paint.)

Pot the plant. If you pot does not have drainage holes, add some loose gravel to the bottom to collect any standing water.

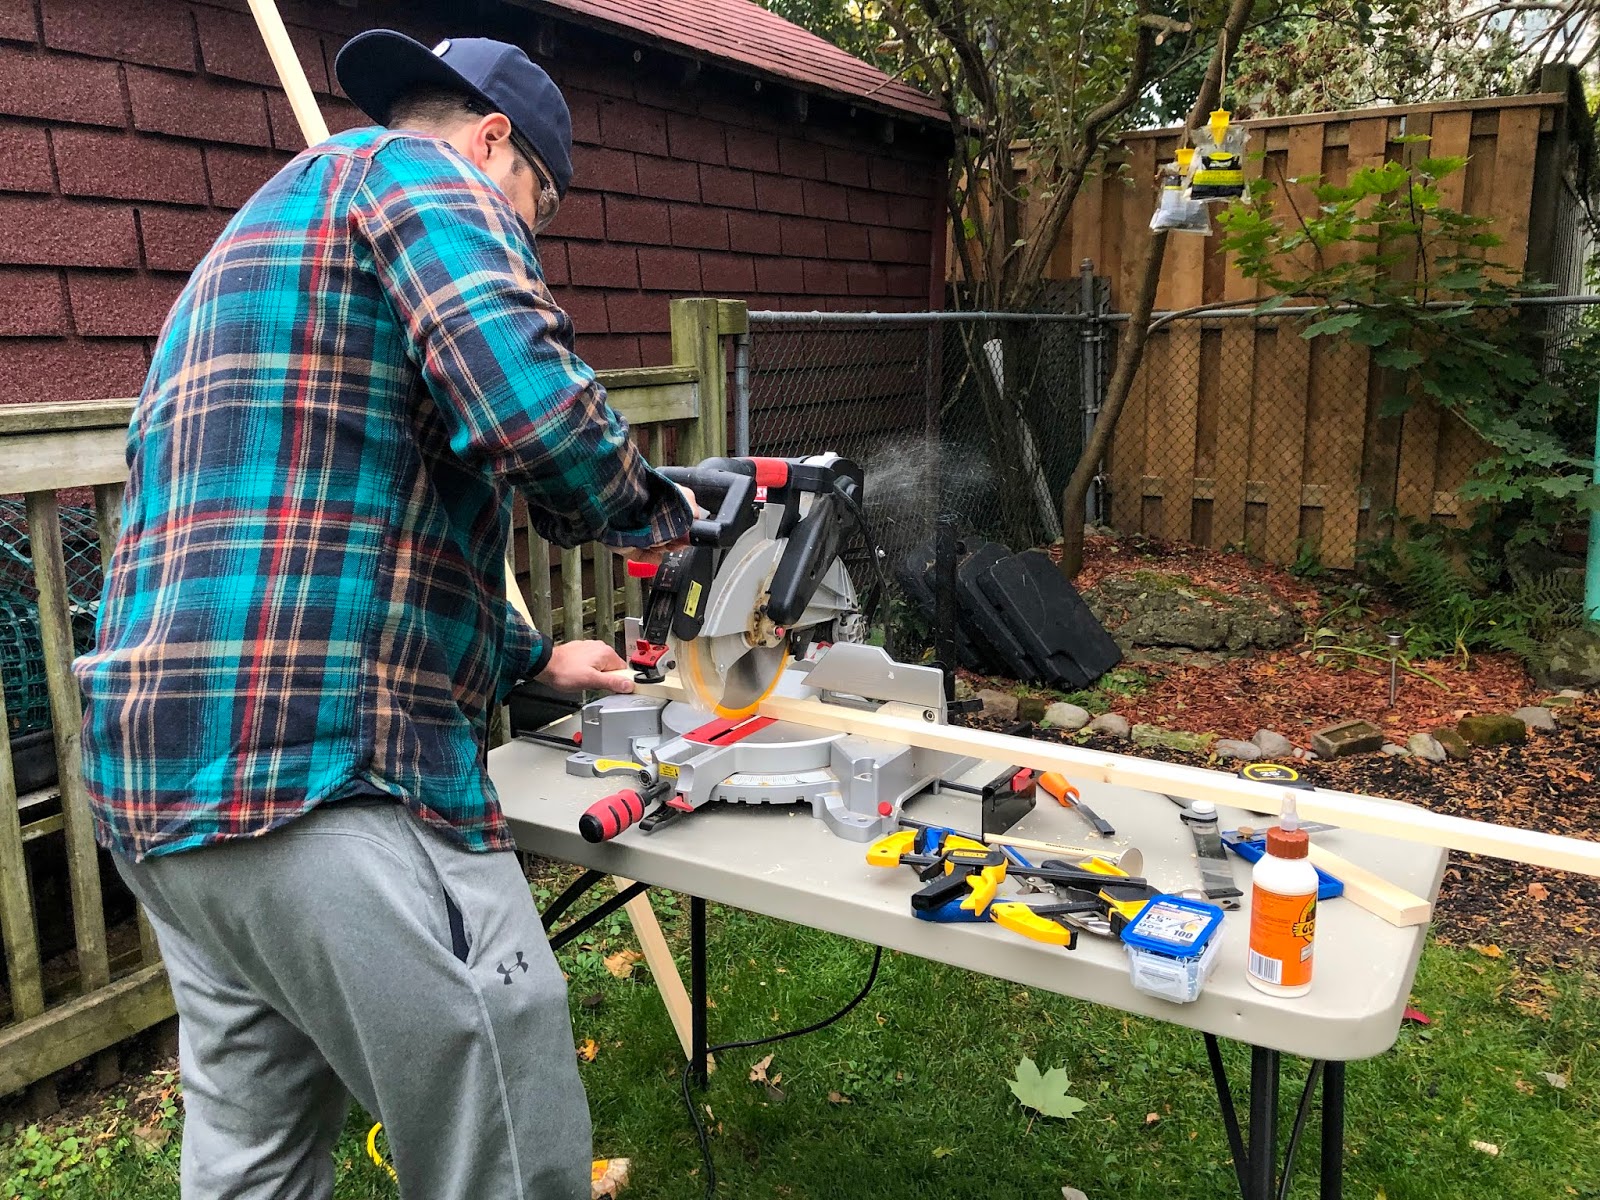
Now for the main piece, the mid-century modern plant stand itself. For help with this, I brought in some reinforcements (also known as, my husband). 

Measure out how high you want your plant stand. We opted for window level (approximately 24’’). Using a saw, cut this measurement (x4) from the 1’’x 2’’x 8ft. Since the legs were to be 24’’ each, we used the entire piece of wood for the legs. For ease, we just cut it evenly in 4 pieces.

Mid Century Modern Plant Stand DIY

To make the piece that the pot will sit on, measure the diameter of your pot and add one inch. If your pot does not have straight sides, measure the widest part of the pot. This is the length you will be cutting your 1’’x 2’’x 6ft board into. You need two of these pieces cut. For reference, our pieces were 11’’ wide each. 

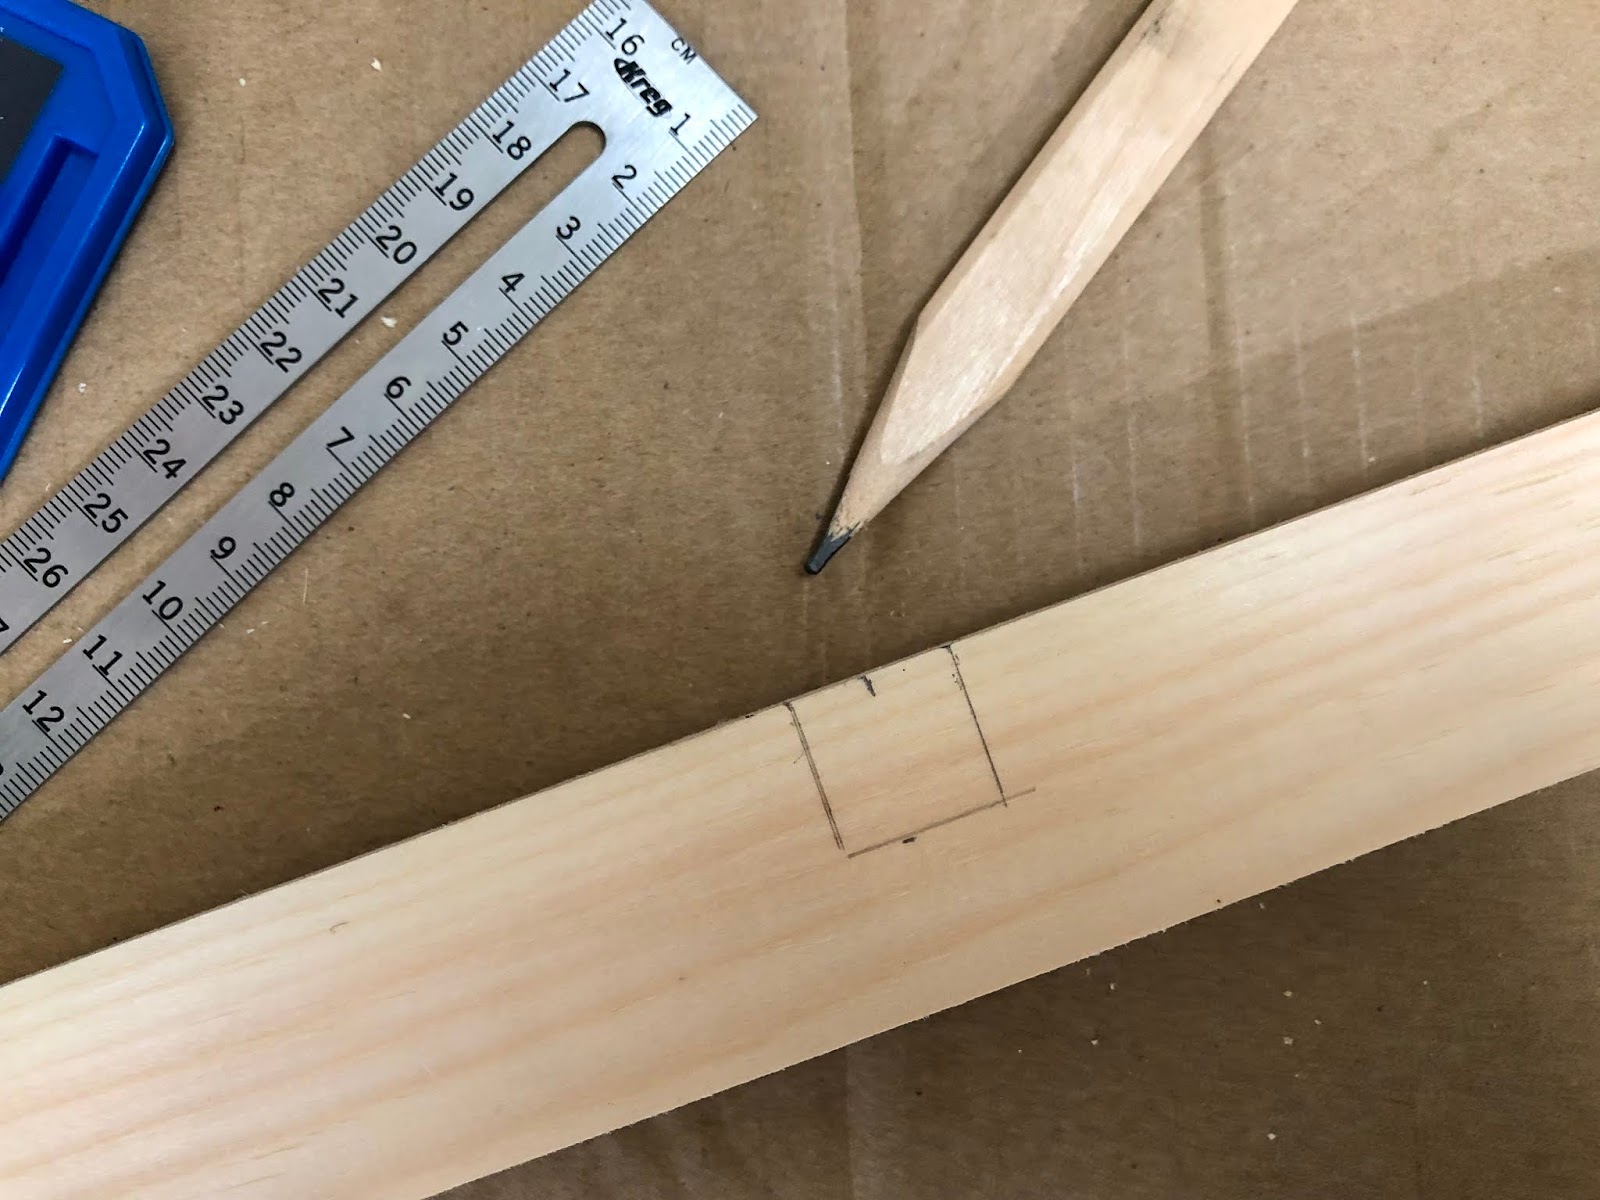
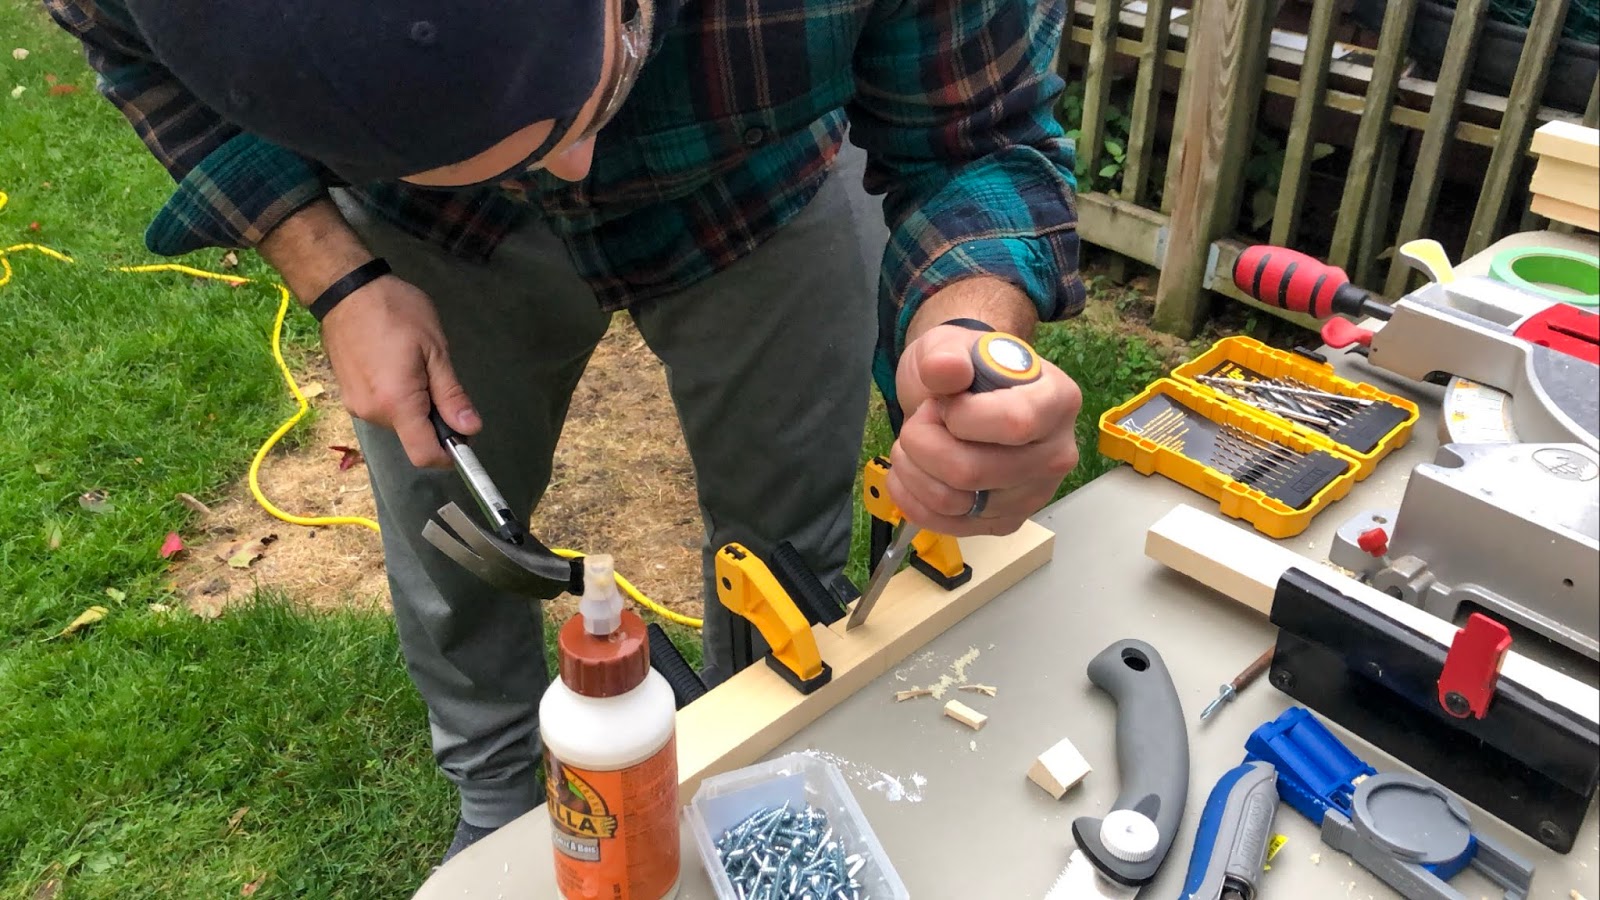
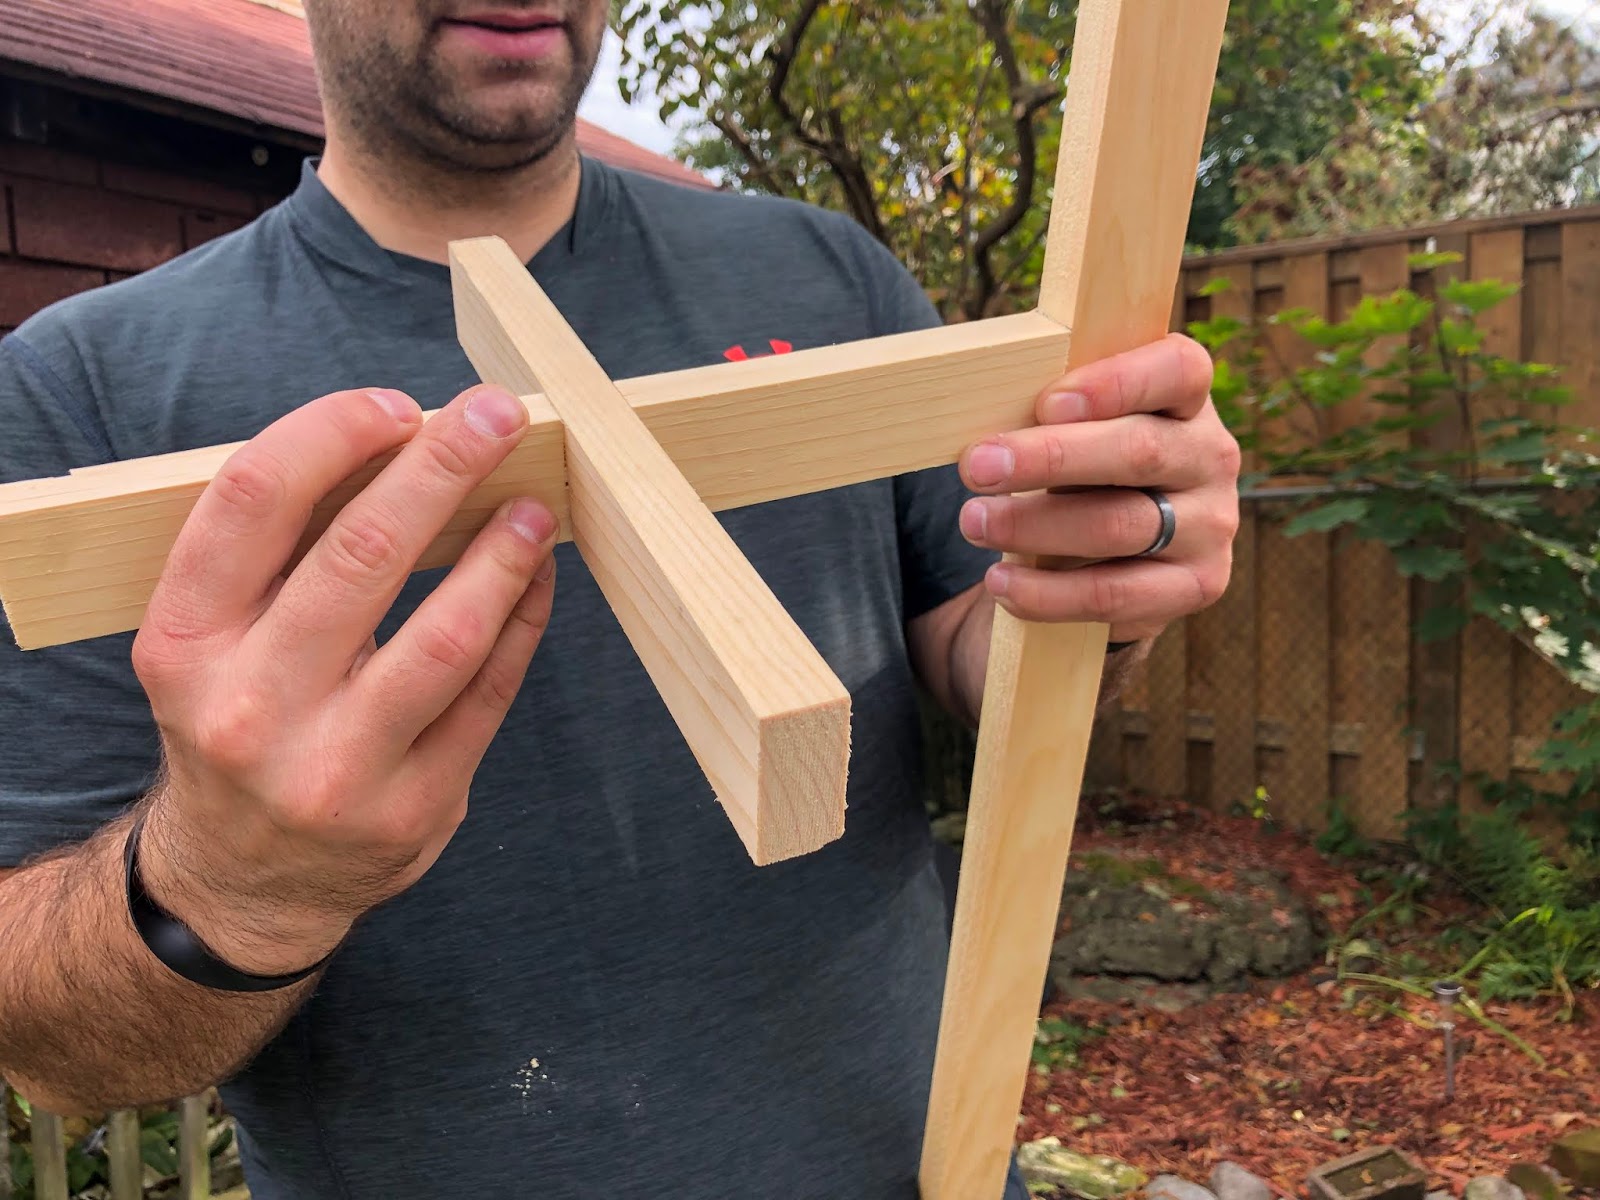
Using a ruler, measure to the middle of the boards and draw out a 3/4″ square on each board (see photo below for reference). Use the wood chisel to carefully remove this piece. 

Mid Century Modern Plant Stand DIY

Lay the two pieces into one another. They should fit snugly without too much play and the top should be level. If your cut was not 100% accurate, you may need to sand a little to get them to line up evenly. Do not attach them two pieces just yet. 

Now to attach the cross piece to the legs. Measure the height of your pot and remove 1-2’’. You want the top of the pot to be higher than the legs of the stand. Mark where the cross pieces will rest on the legs.

Mid Century Modern Plant Stand DIY

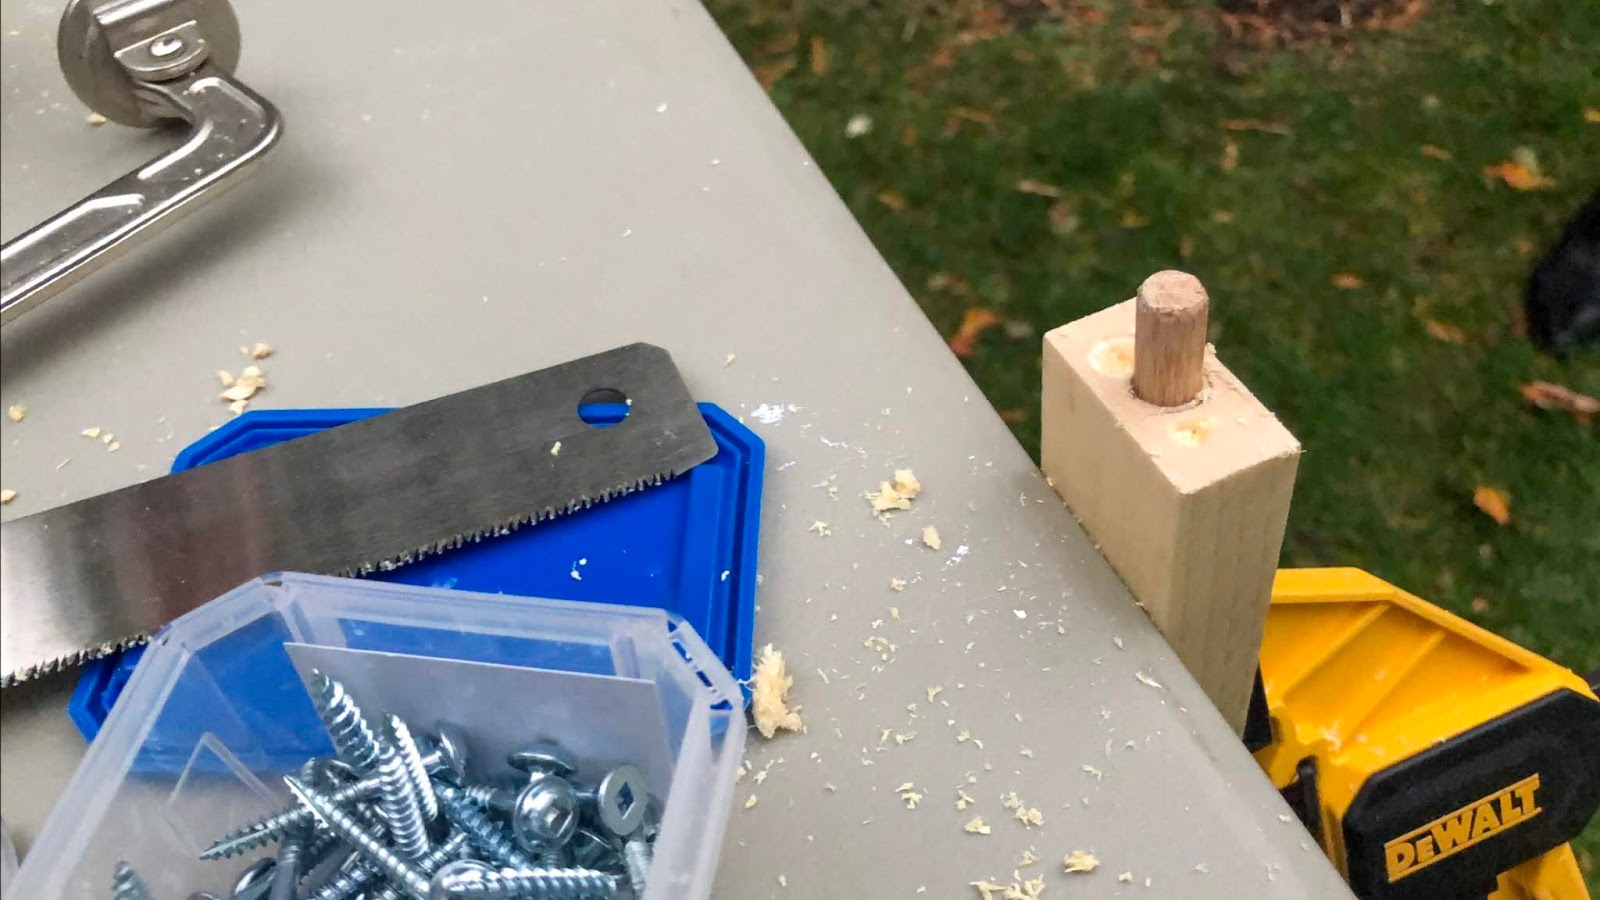
Using a drill, make a hole in the end of the cross pieces. Insert the 3/8’’ dowel. Add wood glue if needed. Depending on where you would like the pot to sit, drill holes in each of the four legs. For reference, the cross piece of our stand sits 6’’ down. 

Attach the legs to each of the cross pieces by inserting the dowels and adding wood glue to ensure they stay attached. Fasten a clamp and allow to sit until glue is dry.

Once the glue is dry, remove the clamps. Using a rag, generously rub your stain colour of choice on the wood. After approximately 5 minutes, wipe excess stain off. Repeat if needed. We used Varathane Classic Penetrating Oil-Based Wood Stain in Special Walnut. 

Once the stain is dry, fasten the two pieces together. You can fasten with a screw, or by simply adding wood glue. Allow to dry before putting your pot on the stand. 

And, voila! Your mid-century modern plant stand, all for under $55!

Let’s break down the cost…

Rust-Oleum Painter’s Touch 2x Ultra Cover Paint + Primer (flat white) - $8.97
Pot (thrifted) - $4.99 
Behr Marquee Ultra Pure White Semi-Gloss Paint Sample w/ Primer - $4.97

1x2x6 Select Pine - $4.18
1x2x8 Select Pine - $5.80
Alexandria Moulding Hardwood 3/8’’x 2’’ Dowel Pins (bag of 18) - $4.83
Varathane Classic Penetrating Oil-Based Wood Stain (Special Walnut) - $9.47
HUSKY Steel Butt Wood Chisel - 1/2’’ - $9.47

Total Cost (plant stand + custom post) = $52.68

Note: All items, unless otherwise noted, were purchased from the Home Depot Canada. Items without a cost or not listed we already had at home. Total cost in Canadian dollars, not including tax. Prices and availability may vary depending on location.

Mid Century Modern Plant Stand DIY

The project supplies themselves were fairly inexpensive. The biggest cost was our time. While we love the final project, it did take a bit of time to finish. Between painting the pot, allowing it to dry, cutting, drilling, gluing, staining, drying and joining the wood, the project was completed over a few days. 

It must also be noted, while I would love to say this was an easy project it did  cause a few headaches. All of the tutorials I came across on the internet said it was easy. But it wasn’t. Maybe it was the tools we were using, maybe it wasn’t. But despite this costing us less than $55 to make, I started to understand why the fancy retailers charge well over that. It took a bit of trial and error in terms of the best way to attach the legs to the cross piece the pot would rest on, and ensure it held.

But that being said, despite the trial and error, we finally go it and are so happy with the newest addition to our (growing) plant collection!

Now, onto the next project…

Have you done any home DIYs lately? I’d love to hear what it was!


Disclosure: I received product and/or compensation in exchange for this post. However, all opinions are 100% that of To & Fro. Thank you Home Depot!

PIN IT:

Mid Century Modern Plant Stand DIY

SHARE:

October 10, 2019

And Then There Were Four: Becoming a Two Kid Family


You’ve got this!” Three words I would hear all the time when pregnant with my second child. They were almost always followed by, “You already have a little one, what more could you need to know?

Truth is, when we found out we were pregnant with our second, I was nervous. I was MORE nervous for number two than I was when pregnant with our first.

I knew having a baby would change things. Our social life would change, our routines would change and even our relationship would change. I knew that was inevitable.

But with baby number two, I didn’t know what to expect. We were so cozy as a little family of three, how would our established rhythm change? The unknown of becoming a two kid family was what made me nervous.

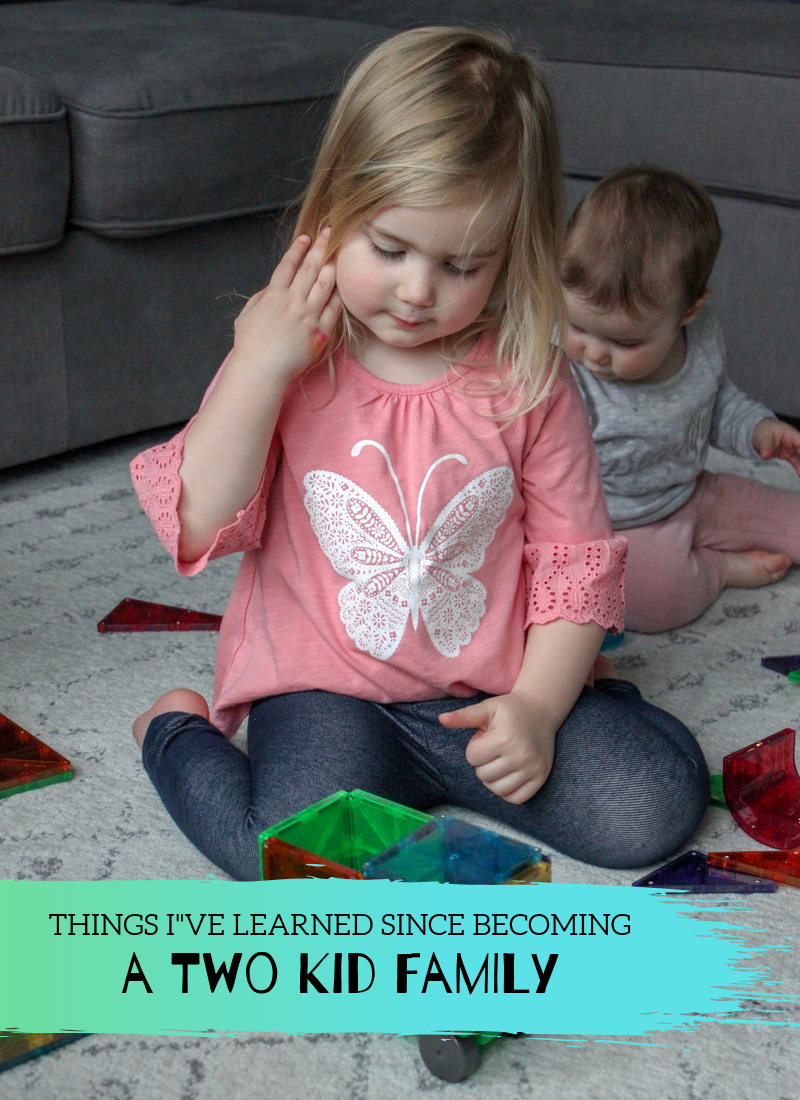
preschooler playing with magnetic tiles

Since little sister’s birth late summer 2018, it’s safe to say things are definitely different. Things have changed in ways that I did expect, and ways that I could not have expected. Some of the things that have changed I absolutely love, and some are still up for debate. Some things we knew how to handle, and some things we had to learn from scratch.

But the truth is, kids don’t come with a user manual. Regardless of having one, two, three or ten, being a parent is a “learn on the job” kind of role. 

Adjusting to the challenges that come with growing your family is also something you must learn as you go.

kids playing with magnetic tiles

I’m no expert, but here are just a few of the things that I’ve learned in the past 14(ish) months since becoming a family of four. 

Kids are different. Seems like a no brainer right? I knew they would be different, but I don’t think I knew just HOW different they’d be. The second child is never the same as the first, and you must start all over again. What may be true for one, may not be for the other. There are clear differences between them, and you must learn to adapt and change (or relearn) your way of thinking.

Take sleeping for example…

Exhaustion is real. Not to toot my own horn, but my oldest daughter was a pretty good sleeper when she was a baby. We knew she was setting the bar high in the sleep department, but didn’t know by how much. Little sister? Not the best. Definite room for improvement. I now know the true meaning of sleep deprivation.

Privacy does not exist. Think you didn’t get alone time before? Ha! There is NO such thing as alone when you have more than one child. In the shower, sitting on the toilet, brushing your teeth, making dinner - now there will always be someone right there beside you demanding your attention. Yes, even if dad is home. 

kids playing with magnetic tiles

And with the lack of privacy comes…

You’ll never have enough hands. Honestly. My oldest needs a snack at the most inconvenient of times - when I started cutting raw chicken for dinner, when I’m in the bathroom, when I started feeding her sister (weird, eh?). And it’s not just a, “I would like a snack”. No, it’s a full on, “I need a snack now or I may starve to death.” One hand per child is not enough.

Time is a thief. I’m sure you’ve heard the saying, “The days are long, but the years fly by.” I knew this was true with baby number one, but since having number two, I live it every day. I feel like I’ve time travelled through the past year an a bit, and know that time won’t be slowing down any time soon.

kids playing with magnetic tiles

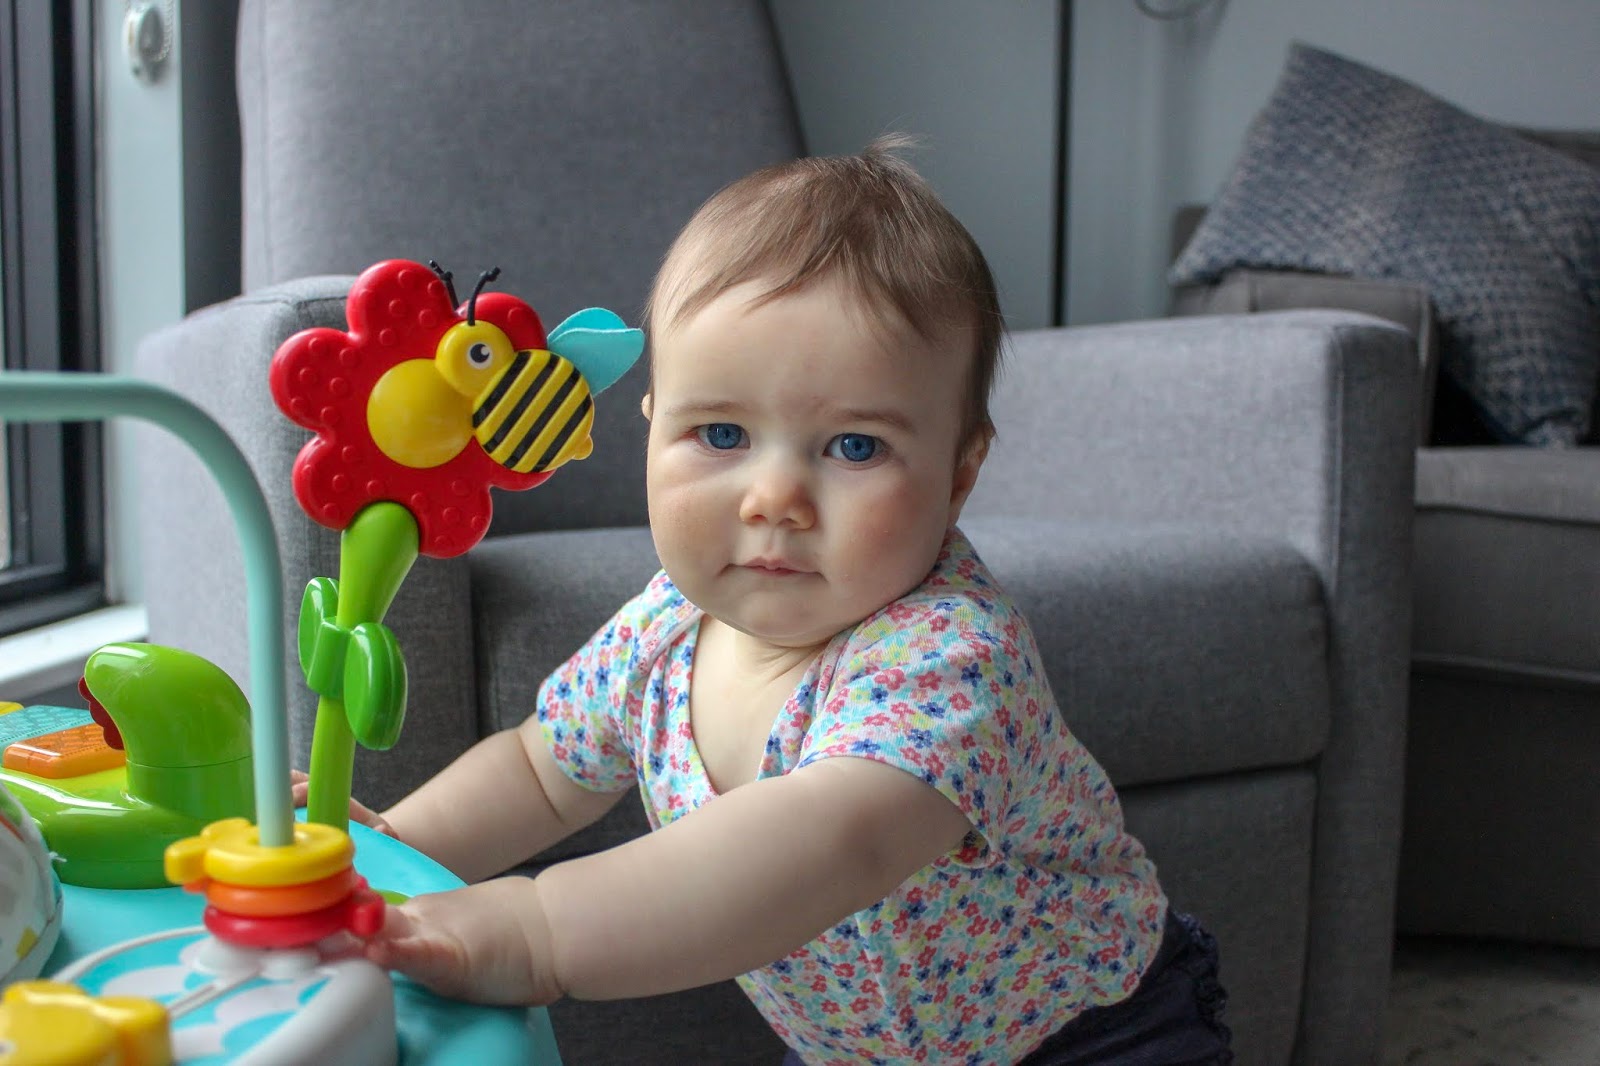
Don’t mess with sibling love. Being the oldest of three, I understand the strong bond siblings share. But being able to sit back and watch it grow, is something truly special. While their love for each other wasn’t immediate, and they have their odd spats (which for right now include their fair share of grabbing, scratching and hair pulling), their relationship is amazing. The way they look at each other, make each other laugh and talk to each other in their ‘secret’ language that only they can understand, has made my heart swell to a size I never knew was possible.

And with that special relationship comes…

Sharing is caring. I’m happy my oldest knows how to share with her little sister, but having more than one child has taken sharing to a whole new level. This includes sharing illness. When it comes to sharing germs, no thank you. 
toddler playing with magnetic tiles

With big sister in preschool, I knew her bringing home germs was inevitable, but what I didn’t know was that it would be a constant cycle of cough, sneeze, rrunny nose, regardless of the season.

While there may be a lot of things to learn with being a family of four, one thing we can rely on is Children's Advil. In families with children in school, the number of colds per child can be as high as 12 a year (1)! So, when big sister comes home with a bug, Children’s Advil (for children age 2-12 years) provides her with up to 8 hours of fever relief so that she can get back to being a kid.

Life with a preschooler and toddler isn’t always easy, but it’s our new normal. It’s going to be a hard journey to raise these strong little ladies. I know I won’t end every day with a smile, but I’m ready for the challenge.

Do you have two or more kids? What’s the ONE piece of advice you would give to someone growing their family? I’d love to hear!


*Disclosure: I have partnered with Children’s Advil and have received compensation for this post. As always, all opinions and experiences are 100% that of To & Fro. Be sure this product is right for your kids, always read and follow the label.


References:
1. https://www.webmd.com/cold-and-fly/common_cold_overview 


PIN IT:

Things I've Learned Since Becoming a Two Kid Family


SHARE:

October 7, 2019

To the Mama Sending Her Baby to Daycare for the First Time


Daycare - a seven letter word that carries so many different emotions.

Anxiety. Because it means your maternity leave is nearing an end and you’re starting to think about
going back to work.

Guilt. Because you may second guess every decision you make when it comes to going back to work,
your child’s care, etc. (that is, if you haven’t been already).

Happiness. Because it may mean a few days of “freedom” each week where you can focus on yourself while knowing your child is in a safe space.

Pride. Because you will be able to watch your child learn and grow - mentally, physically, socially and emotionally.

Frustration. Because some of those things that your child learns may be less than desirable behaviours.

Worry. Because daycare can be associated with… illness.

Tips for Preparing For a Positive Daycare Experience

At least, those were some of the emotions that were swirling in my head when my oldest daughter went to daycare for the first time.

I’m not going to lie, daycare is an emotional experience. Really though, that’s parenthood - a roller
coaster of emotions.

But despite all of those emotions I went through, you know what?

She survived. She thrived. She absolutely loved it. And when I did it all over again at the end of the
summer with my second daughter, I took a lesson from my own playbook, and stayed calm, cool and collected as I kissed her goodbye on that very first day, and all of those that followed.

Tips for Preparing For a Positive Daycare Experience

For you mamas that are getting ready to send your little one off for the first time, rest assured, day-care does not need to be “day-scare”. To help both you and your child navigate this big change in routine, check out these tips that I used to help prepare for a positive first daycare experience.

Preparing For a Positive Daycare Experience

Start the change in routine early. If attending daycare requires a new schedule (i.e. waking up earlier, eating breakfast at a different time, etc.), begin this new routine several days before to make the transition easier for your child. When you register, ask for a copy of their daily schedule so that you can plan accordingly.

Ease into it. Take advantage of the transition week. A slow, part-time introduction to the new
environment works best for many kids. Most centres also give parents the choice of dropping off and
leaving or hanging around for a bit during the first week.

Trust and communicate. While the thought of someone else caring for your child, teaching your child new things and creating memories with your child may scare you (and even make you a wee bit jealous), remember this is their job. They are licensed professionals, so you must put your trust in them. If you have questions or concerns regarding your child, make sure they are heard and addressed immediately.

Start a goodbye routine. Establishing a specific goodbye routine will help your child be more
comfortable at drop-off time, so begin one the first day. Even if your child is upset, stay calm. A
confident attitude will help reassure your little one that everything will be okay. It may sound cruel, but sometimes the best method is to just leave. They will quickly be distracted by a new friend or toy, and forget why they were even upset.

Be patient. Be flexible. The first week of daycare involves an adjustment for you, as well as your child. Be patient. It will take some time, but everything will work out for the both of you. If you are heading back to work right away, make sure your employer is aware of your situation. You might need a little extra flexibility in your schedule over the next few days to establish your new routine.

Be prepared. Most daycares will provide parents with a list of items to bring beforehand. This usually includes diapers, wipes, extra clothes, indoor shoes, weather-appropriate outdoor clothing, expressed milk/formula, etc.

Tips for Preparing For a Positive Daycare Experience

Being prepared also means prepping for the things that happen away from daycare, like one of my big worries - illness.

In daycare, colds spread easily among children because they often touch their noses, eyes and put
objects in their mouths during play. In fact, children under the age of 2 can suffer from as many as eight to 10 colds a year (2.).

Fact is, colds are likely inevitable when it comes to daycare. But, there is something that can help with the unpleasant side effects. Advil Pediatric Drops (for children age 4 months to 3 years) reduce fever for up to 8 hours while also relieving pain due to colds, sore throat—so your baby can rest peacefully while at home. They also come with a SURE-DOSE™ oral syringe, for precise and easy dosing.

So part of that preparation? Stocking up on pain relief (and plenty of sick days) when baby first goes to daycare.

Tips for Preparing For a Positive Daycare Experience

It may be hard to hand your baby over to someone else, but preparing yourself for what’s to come while focusing on the friends they'll make, the new things they'll learn and the fun they'll have will make the both of you feel better about the experience.

Do you have any tips or tricks to share for preparing for a first daycare experience? I'd love to hear!

*Disclosure: I have partnered with Children’s Advil, and have received compensation for this post. As always, all opinions and experiences are 100% that of To & Fro. Be sure this product is right for your kids, always read and follow the label.

References:
1. https://www.babycenter.ca/x1049702/do-kids-in-daycare-get-sick-more-oftenthan-kids-who-stay-home
2. https://www.cps.ca/en/media/cold-fighting-tips


PIN IT:

Tips for a Positive First Daycare Experience


SHARE:
Blog Design Created by pipdig